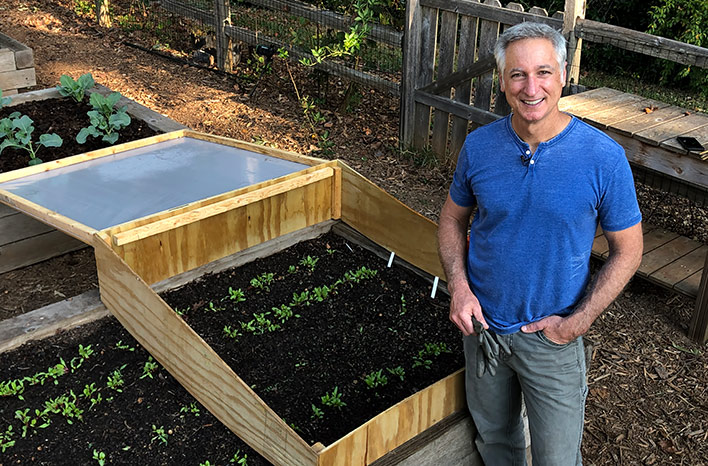
Extend Your Growing Season: Build a Simple DIY Cold Frame Using Reclaimed Materials
Imagine sinking your teeth into the first juicy, sun-ripened tomato of spring, months before your neighbors even think about planting. Picture vibrant, leafy greens gracing your table even as winter winds howl outside. With a simple cold frame, this dream can become a reality! At Better Homes and Harvests, we're all about empowering you to create a more self-sufficient life, and this beginner-friendly project is the perfect way to dip your toes into the world of gardening and homesteading.
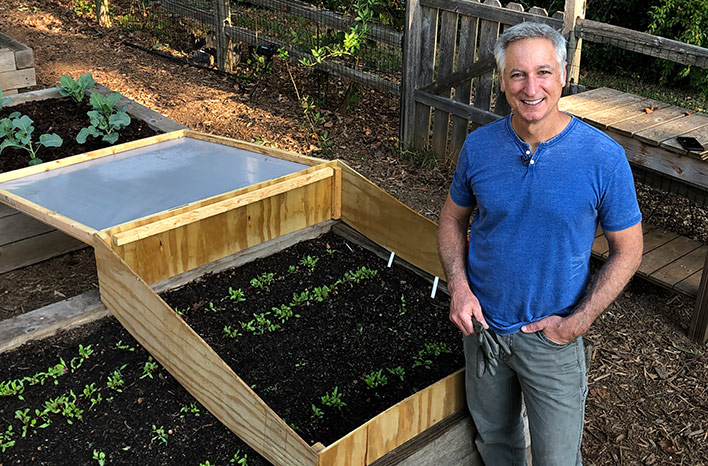
Why Build a Cold Frame? The Benefits of Extending Your Growing Season
A cold frame is essentially a miniature greenhouse, offering a protected environment for your plants. It harnesses the power of the sun to create a warmer microclimate, shielding your precious seedlings from frost, wind, and pests. But why should you bother building one? Here’s why:
- Extend the Growing Season: Start your seeds earlier in the spring and continue harvesting later into the fall.
- Protect Seedlings: Give your delicate seedlings a head start by protecting them from harsh weather conditions.
- Increase Food Security: Grow your own food for a longer period, reducing your reliance on grocery stores.
- Save Money: By starting your own seeds and extending your harvest, you'll save money on produce and starter plants.
- Boost Confidence: Successfully completing this project will give you a huge sense of accomplishment and inspire you to tackle more DIY projects!
Gathering Your Materials: Reclaimed Treasures and Budget-Friendly Finds
The best part about building a cold frame is that you don't need to spend a fortune. Reclaimed materials are your best friend! Here’s what you’ll need for this simple DIY cold frame:
- Old Window (or Plexiglass): This will be the lid of your cold frame. Single pane windows are fine. Check your local classifieds, salvage yards, or ask friends and neighbors. Estimated Cost: Free - $20.
- Scrap Lumber: You'll need enough lumber to build a box frame around the window. Pallet wood, old fence posts, or leftover project wood work great. Aim for lumber that is at least 6 inches wide. You'll want enough to create four sides. Consider how large the window is and make the box to match, with about 1" of space all around. Estimated Cost: Free - $30 (if you need to purchase lumber).
- Hinges: Repurpose old door hinges or purchase new ones. Two or three hinges should suffice. Estimated Cost: Free - $5.
- Screws or Nails: For assembling the frame and attaching the hinges. Estimated Cost: $5.
- Drill or Screwdriver: For attaching the hinges and assembling the frame.
- Saw: To cut the lumber to size. A handsaw will work, but a circular saw or miter saw will make the job easier.
- Measuring Tape: For accurate measurements.
- Pencil: For marking cuts.
- Safety Glasses: Always protect your eyes!
Remember to always prioritize safety when working with tools. Wear gloves and eye protection.
Step-by-Step Guide: Building Your DIY Cold Frame
Follow these simple steps to build your own functional and affordable cold frame.
Step 1: Prepare the Lumber
Measure your window (or plexiglass). This will determine the size of your cold frame. Cut the lumber to create a box that is slightly larger than the window. The back of the box should be taller than the front to create a sloped roof, which helps with sunlight capture and water runoff. A good angle is about 15-20 degrees. For example, if the front is 6 inches high, the back should be 12-18 inches high.
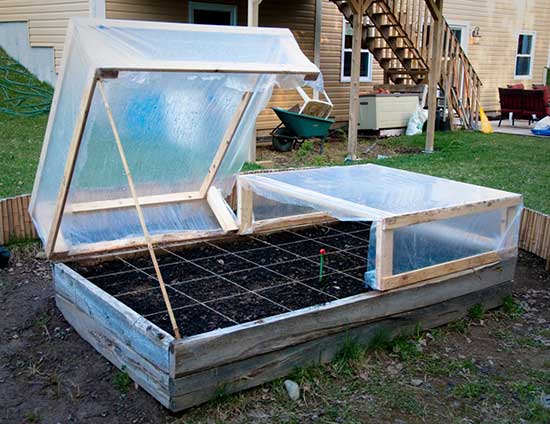
Alt text: Diagram of a basic cold frame with the dimensions and angle of the back panel labeled.
Step 2: Assemble the Frame
Using screws or nails, assemble the four pieces of lumber to create the box frame. Ensure the corners are square and the frame is sturdy. A carpenter's square can be helpful here.
Alt text: A close-up image showing the corner of a cold frame being screwed together using reclaimed lumber.
Step 3: Attach the Hinges
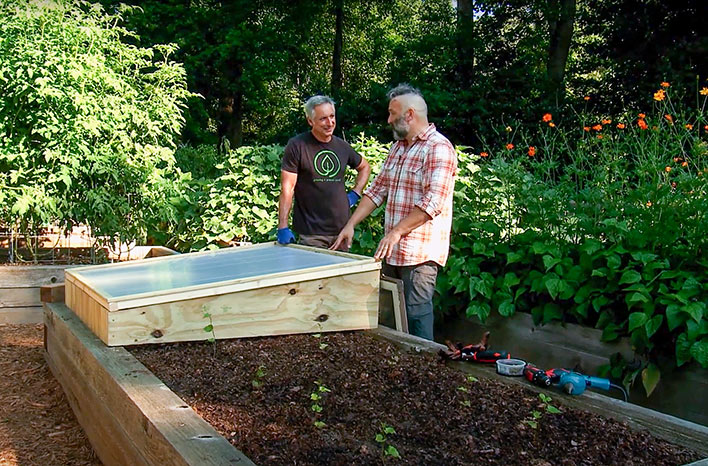
Position the window (or plexiglass) on top of the frame. Attach the hinges to the back edge of the frame and the corresponding edge of the window. This will allow you to open and close the cold frame for ventilation and access.
Alt text: Screwing a hinge onto the back of a wooden cold frame.
Step 4: Finishing Touches (Optional)
You can add a simple latch to keep the cold frame closed, especially in windy conditions. Painting the frame can also help protect the wood from the elements and extend its lifespan.
Alt text: Close-up photo of a metal latch used to secure the lid of a wooden cold frame.
Step 5: Placement and Preparation
Choose a sunny location for your cold frame, preferably one that receives at least 6 hours of sunlight per day. Orient the cold frame so the sloped side (with the window) faces south to maximize sunlight exposure. Prepare the soil inside the cold frame by adding compost or other organic matter.
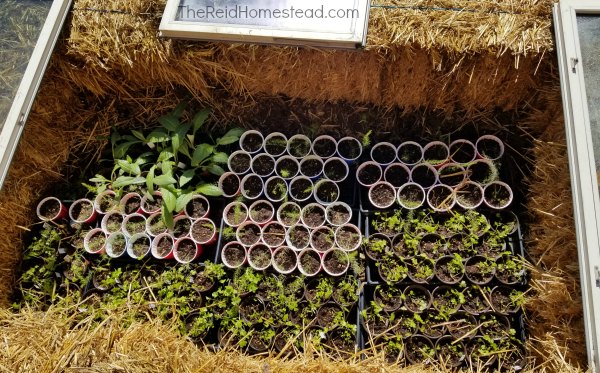
Alt text: Seedlings growing inside a small DIY cold frame in a garden.
Common Challenges and Solutions
- Overheating: Cold frames can heat up quickly on sunny days, even in winter. It’s crucial to ventilate the cold frame by propping open the lid on warm days. Consider adding a simple prop or adjustable vent.
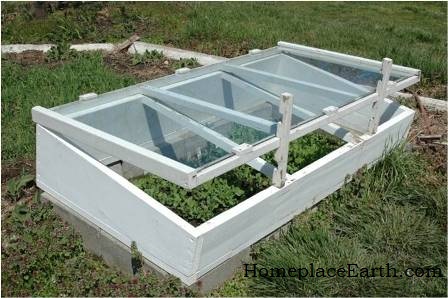
Alt text: A cold frame with the lid slightly open, showing a simple wooden prop used for ventilation.
Pests: Keep an eye out for pests like slugs and snails. Use organic pest control methods if necessary.
Moisture: Ensure proper drainage to prevent waterlogging.
Lack of Sunlight: If you live in a cloudy area, you may need to supplement with grow lights.
Straw Bale Cold Frame Alternative
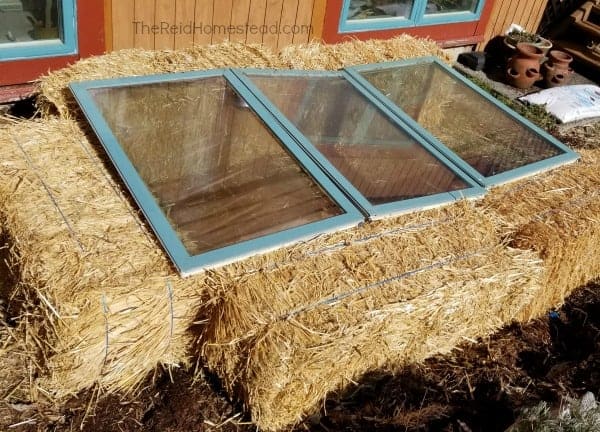
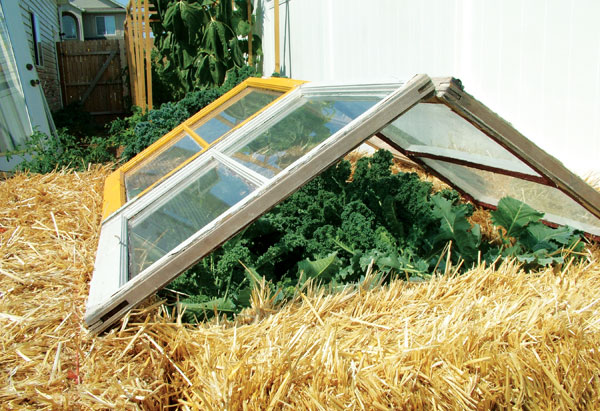
Another even simpler option is to use straw bales as the walls of your cold frame. Simply arrange the bales in a square or rectangle, and top with your reclaimed window. This is a great option if you don't have lumber readily available.
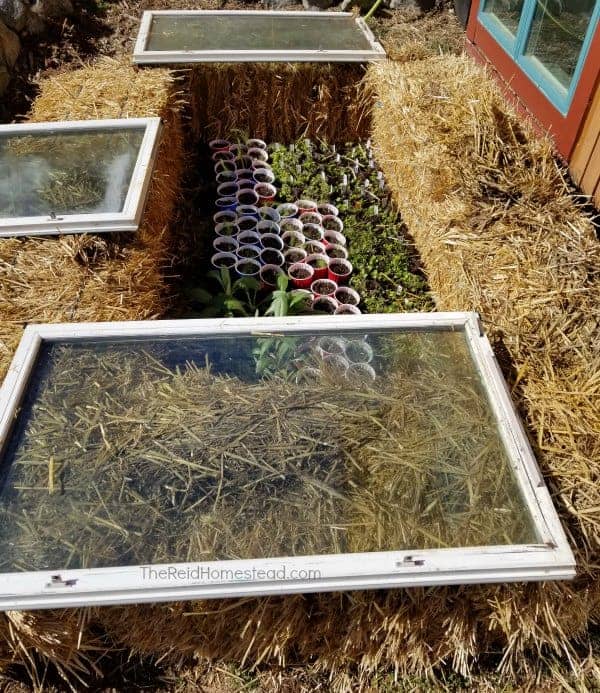
Alt text: A cold frame built with straw bales and a reclaimed window on top.
The Rewards of Your Labor: Extending Your Harvest and Enjoying Fresh Food
Congratulations! You’ve built your own DIY cold frame. Now, it’s time to reap the rewards. Imagine harvesting fresh lettuce, spinach, or kale in the dead of winter. Picture the satisfaction of nurturing your own seedlings and watching them thrive, ready to transplant into your garden in the spring. By building a cold frame, you're not just extending your growing season, you are actively participating in the growing of your own food, increasing your self-sufficiency, and embracing the rewarding journey of homesteading.
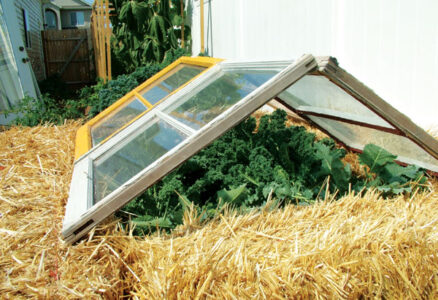
Alt text: Hands harvesting fresh leafy greens from inside a cold frame.
Ready to Get Started?
We hope this guide has inspired you to build your own cold frame and extend your growing season. What will you grow in your cold frame? Share your plans and any questions you have in the comments below! We’re here to support you on your journey to a more self-sufficient and fulfilling life. Happy homesteading!