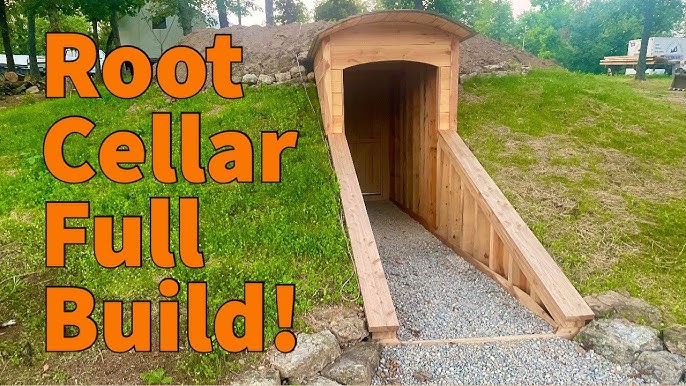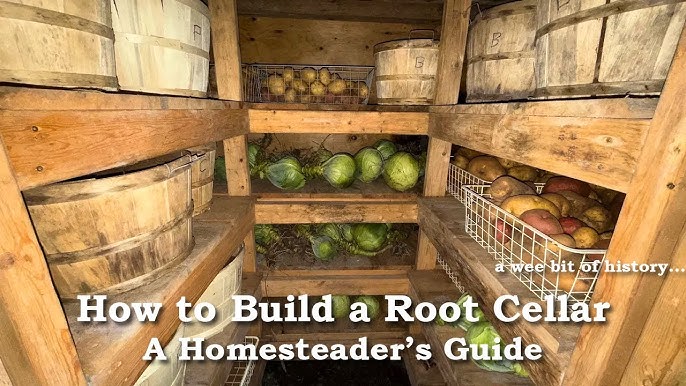
Empower Your Homestead: Step-by-Step Guide to Building a Budget-Friendly Root Cellar for Year-Round Food Security
Imagine harvesting fresh vegetables from your own garden, even in the dead of winter. This dream can become reality with a well-built root cellar! For Better Homes and Harvests readers who are passionate about self-sufficiency and reducing reliance on grocery stores, a root cellar is a game-changer. This post provides a detailed, beginner-friendly guide to building a simple, affordable root cellar that will keep your produce fresh and nutritious all year long. This project is about taking control of your food storage, preserving the bounty of your garden, and embracing a more sustainable lifestyle.
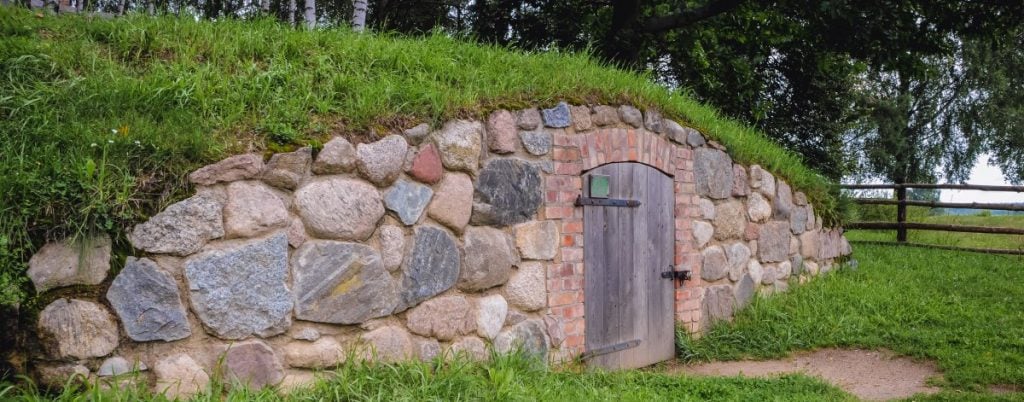
What does success look like? Imagine pulling crisp carrots from your root cellar in February, six months after the last harvest. Picture potatoes that haven't sprouted, still firm and ready for roasting, well into the spring. This DIY root cellar aims to extend the storage life of your root vegetables by at least 6 months, reducing spoilage by as much as 75% compared to storing them in a refrigerator. That's fewer trips to the grocery store and more delicious, homegrown meals!
Why Build a Root Cellar?
Before we dive into root cellar construction, let’s explore the benefits of this age-old food preservation technique:
- Extended Harvest: Store root vegetables, fruits, and even some canned goods for months.
- Cost Savings: Reduce your grocery bills by relying on your own preserved produce.
- Nutritional Value: Retain more nutrients in your produce compared to freezing or canning.
- Self-Sufficiency: Increase your independence and resilience by controlling your food supply.
- Sustainable Living: Reduce your carbon footprint by minimizing reliance on commercially produced and transported food.
Planning Your Budget-Friendly Root Cellar: An Earth-Bermed Design
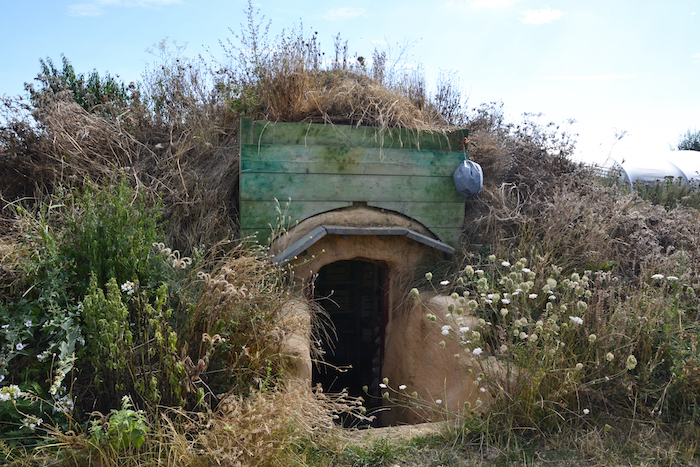
This guide focuses on an earth-bermed root cellar design. This style is relatively easy to build, utilizes readily available materials, and takes advantage of the earth's natural insulating properties. The basic principle is to bury a structure partially underground and then cover the exposed walls with earth (berming). This helps maintain a cool, consistent temperature and high humidity, ideal conditions for food storage.
Step 1: Site Selection – Location, Location, Location!
Choosing the right location is crucial for a successful root cellar. Consider these factors:
- Shade: Pick a location that receives shade, especially during the hottest part of the day. The north side of a building or a naturally shaded area is ideal.
- Drainage: Excellent drainage is essential to prevent flooding. Avoid low-lying areas or spots where water tends to collect. A slight slope can be beneficial.
- Accessibility: Think about how easily you can access your root cellar, especially during winter months. You don’t want to trudge through deep snow to retrieve your carrots!
- Proximity to Garden: Ideally, your root cellar should be relatively close to your garden for easy harvesting and transport.
- Soil Type: Sandy or well-draining soil is preferable for easier excavation and to prevent waterlogging.
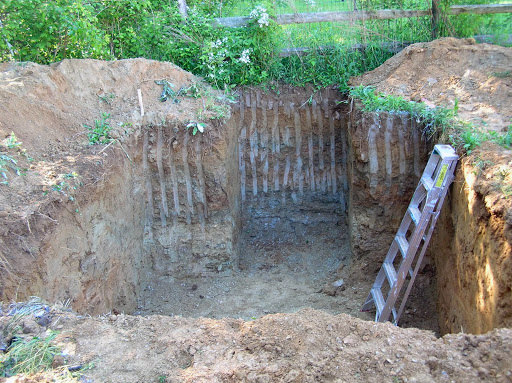
Safety First: Before you dig, check with your local utility companies to locate any underground pipes or cables. Call 811 (in the US) or your local equivalent.
Step 2: Excavation – Digging In
Once you’ve selected your site, it’s time to excavate.
- Dimensions: For a small budget root cellar, aim for an interior size of approximately 6ft wide x 8ft long x 6ft high. This will provide ample storage for a family's needs. Adjust dimensions based on your needs.
- Excavation Depth: Dig down approximately 3-4 feet, depending on your local frost line (the depth to which the ground freezes in winter). The goal is to keep the floor of your root cellar below the frost line.
- Slope: If possible, create a slight slope for drainage away from the entrance.
- Tools: Use a shovel, pickaxe, and wheelbarrow for manual excavation. A small excavator can significantly speed up the process if you have access to one.
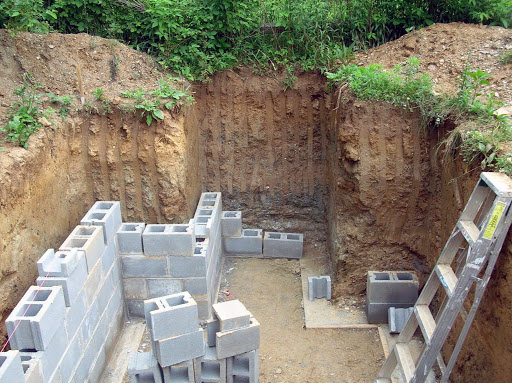
Personal Anecdote: When helping my neighbor build his root cellar, we underestimated the amount of soil we needed to remove. Don't make our mistake! Accurate measurements are key. We ended up renting a small tractor for a day to finish the job. It was worth it!
Step 3: Building the Structure – Walls, Roof, and Door
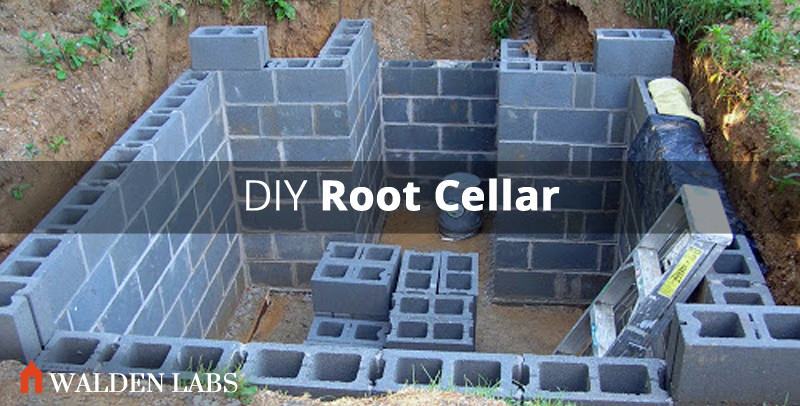
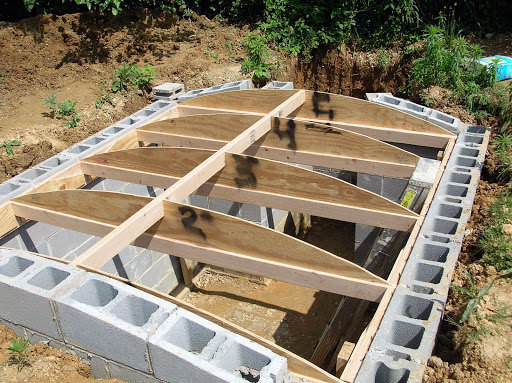
There are several options for building the structure of your root cellar. For this budget root cellar guide, we’ll focus on using cinder blocks or concrete blocks, as they are relatively inexpensive and readily available. However, consider using reclaimed materials if available, further minimizing cost.
- Foundation: Lay a level bed of gravel (4-6 inches deep) as a foundation for your walls. This will improve drainage and prevent the blocks from settling unevenly.
- Walls: Stack the cinder blocks, using mortar to secure them together. Ensure the walls are plumb and level.
- Roof: The roof is the most challenging part. We recommend using pressure-treated lumber for the rafters and sheeting. Create a slightly sloped roof to allow water runoff. Cover the sheeting with a waterproof membrane (e.g., roofing felt or heavy-duty plastic sheeting).
- Door: Use a solid, insulated door to maintain temperature and humidity. A reclaimed or repurposed door can be a great budget option. Ensure the door seals tightly to prevent drafts.
Troubleshooting Tip: Water infiltration is a common problem. To prevent this, consider applying a waterproof sealant to the exterior of the cinder block walls before backfilling.
Step 4: Ventilation – Letting It Breathe
Proper ventilation is crucial to maintain the correct temperature and humidity levels in your root cellar and prevent spoilage.
- Intake Vent: Install an intake vent near the floor on one side of the root cellar. This vent allows cool air to enter.
- Exhaust Vent: Place an exhaust vent near the ceiling on the opposite side. This vent allows warm, moist air to escape.
- Adjustable Vents: Make sure both vents are adjustable so you can control the airflow based on the season and weather conditions.
- Vent Pipe: Use PVC pipe for the vents, burying the intake vent pipe a few feet underground to cool the incoming air further.
Video Demonstration: (Embed a short video here demonstrating how to properly install and adjust ventilation vents)
Step 5: Berming – Earth to Shelter
Now it's time to backfill around the root cellar walls with the excavated soil. This is called berming.
- Layering: Backfill in layers, compacting each layer as you go. This will prevent settling and ensure a stable berm.
- Slope: Create a gentle slope away from the walls to promote water runoff.
- Thickness: Aim for at least 2-3 feet of soil covering the walls. The more earth, the better the insulation.
- Vegetation: Plant grass or other vegetation on the berm to prevent erosion and further insulate the root cellar.
Personal Anecdote: When berming my root cellar, I noticed a significant drop in temperature inside. The earth really does provide incredible insulation!
Step 6: Interior Finishing – Shelving and Organization
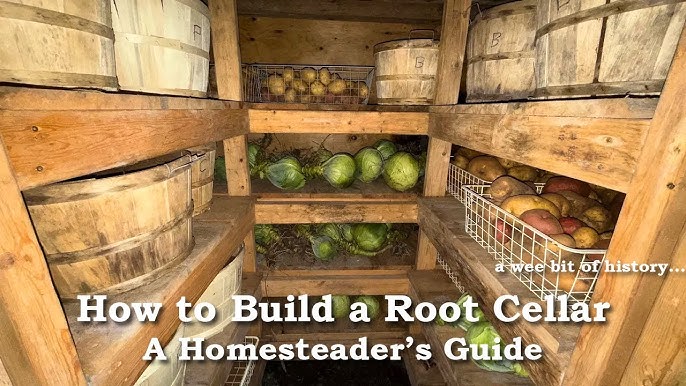
- Shelving: Build sturdy shelves from wood or reclaimed materials. Use a variety of shelf heights to accommodate different-sized produce.
- Flooring: A gravel floor is sufficient for drainage. You can also use bricks or concrete pavers for a more finished look.
- Containers: Use wooden crates, baskets, or plastic bins to store your produce.
- Organization: Label your shelves and containers clearly to easily find what you need.
Materials List and Budget Breakdown (Estimated)
This is an approximate cost, and it can vary significantly based on location, materials availability, and the use of reclaimed items.
- Cinder Blocks/Concrete Blocks: $200 - $400
- Mortar: $20 - $40
- Pressure-Treated Lumber (Roof): $150 - $300
- Roofing Felt/Plastic Sheeting: $50 - $100
- Insulated Door: $100 - $300 (Reclaimed options can significantly reduce cost)
- Gravel: $50 - $100
- PVC Pipe (Ventilation): $30 - $50
- Wood for Shelving: $50 - $150 (Reclaimed wood is a great option)
- Fasteners (Nails, Screws, etc.): $20 - $30
- Total Estimated Cost: $670 - $1570
Budget Root Cellar Tip: Source reclaimed materials like used lumber, doors, and even cinder blocks to significantly reduce costs. Check local classifieds, construction sites (with permission, of course!), and salvage yards.
Safety Considerations
- Excavation Safety: Be aware of the risk of cave-ins during excavation. Slope the sides of the excavation or use shoring to prevent collapse.
- Lifting Heavy Objects: Use proper lifting techniques when handling cinder blocks and lumber. Get help if needed.
- Ladder Safety: Use a sturdy ladder when working on the roof.
- Ventilation: Ensure adequate ventilation during construction, especially when using mortar or sealants.
Common Root Cellar Crops and Their Optimal Storage Conditions
Each vegetable has specific temperature and humidity requirements for optimal storage. Here's a quick guide:
- Potatoes: 38-42°F, 85-95% humidity
- Carrots: 32-36°F, 90-95% humidity
- Onions: 32-36°F, 65-70% humidity
- Apples: 32-40°F, 85-90% humidity
- Cabbage: 32-36°F, 90-95% humidity
Call to Action
Building a root cellar is a rewarding project that can significantly improve your homesteading efforts and increase your self-sufficiency. We hope this guide has inspired you to take on this project!
What produce are you most excited to store in your root cellar? Share your thoughts and experiences in the comments below!
For a free downloadable checklist of common root cellar crops and their optimal storage conditions, sign up for the Better Homes and Harvests email list! Take the next step in your journey towards food independence.
