Embrace the Off-Season: Simple Cold Frames for a Year-Round Harvest
There's a certain melancholy that settles in as summer fades, isn't there? The vibrant hues of your garden slowly transition to muted browns and yellows. The abundance of tomatoes, zucchini, and cucumbers dwindles. But what if you could extend that bounty, savoring fresh, homegrown greens and vegetables even as the first frosts dust the landscape? Enter the cold frame – your secret weapon for a nearly year-round harvest. With a little planning and effort, you can continue to enjoy the taste of summer long after it's officially gone, and even get a head start on spring! In this guide, we'll explore the wonders of cold frames, showing you how to build, plant, and care for these simple structures to maximize your harvest and enjoy fresh produce even in the depths of winter.

What is a Cold Frame and Why Do You Need One?
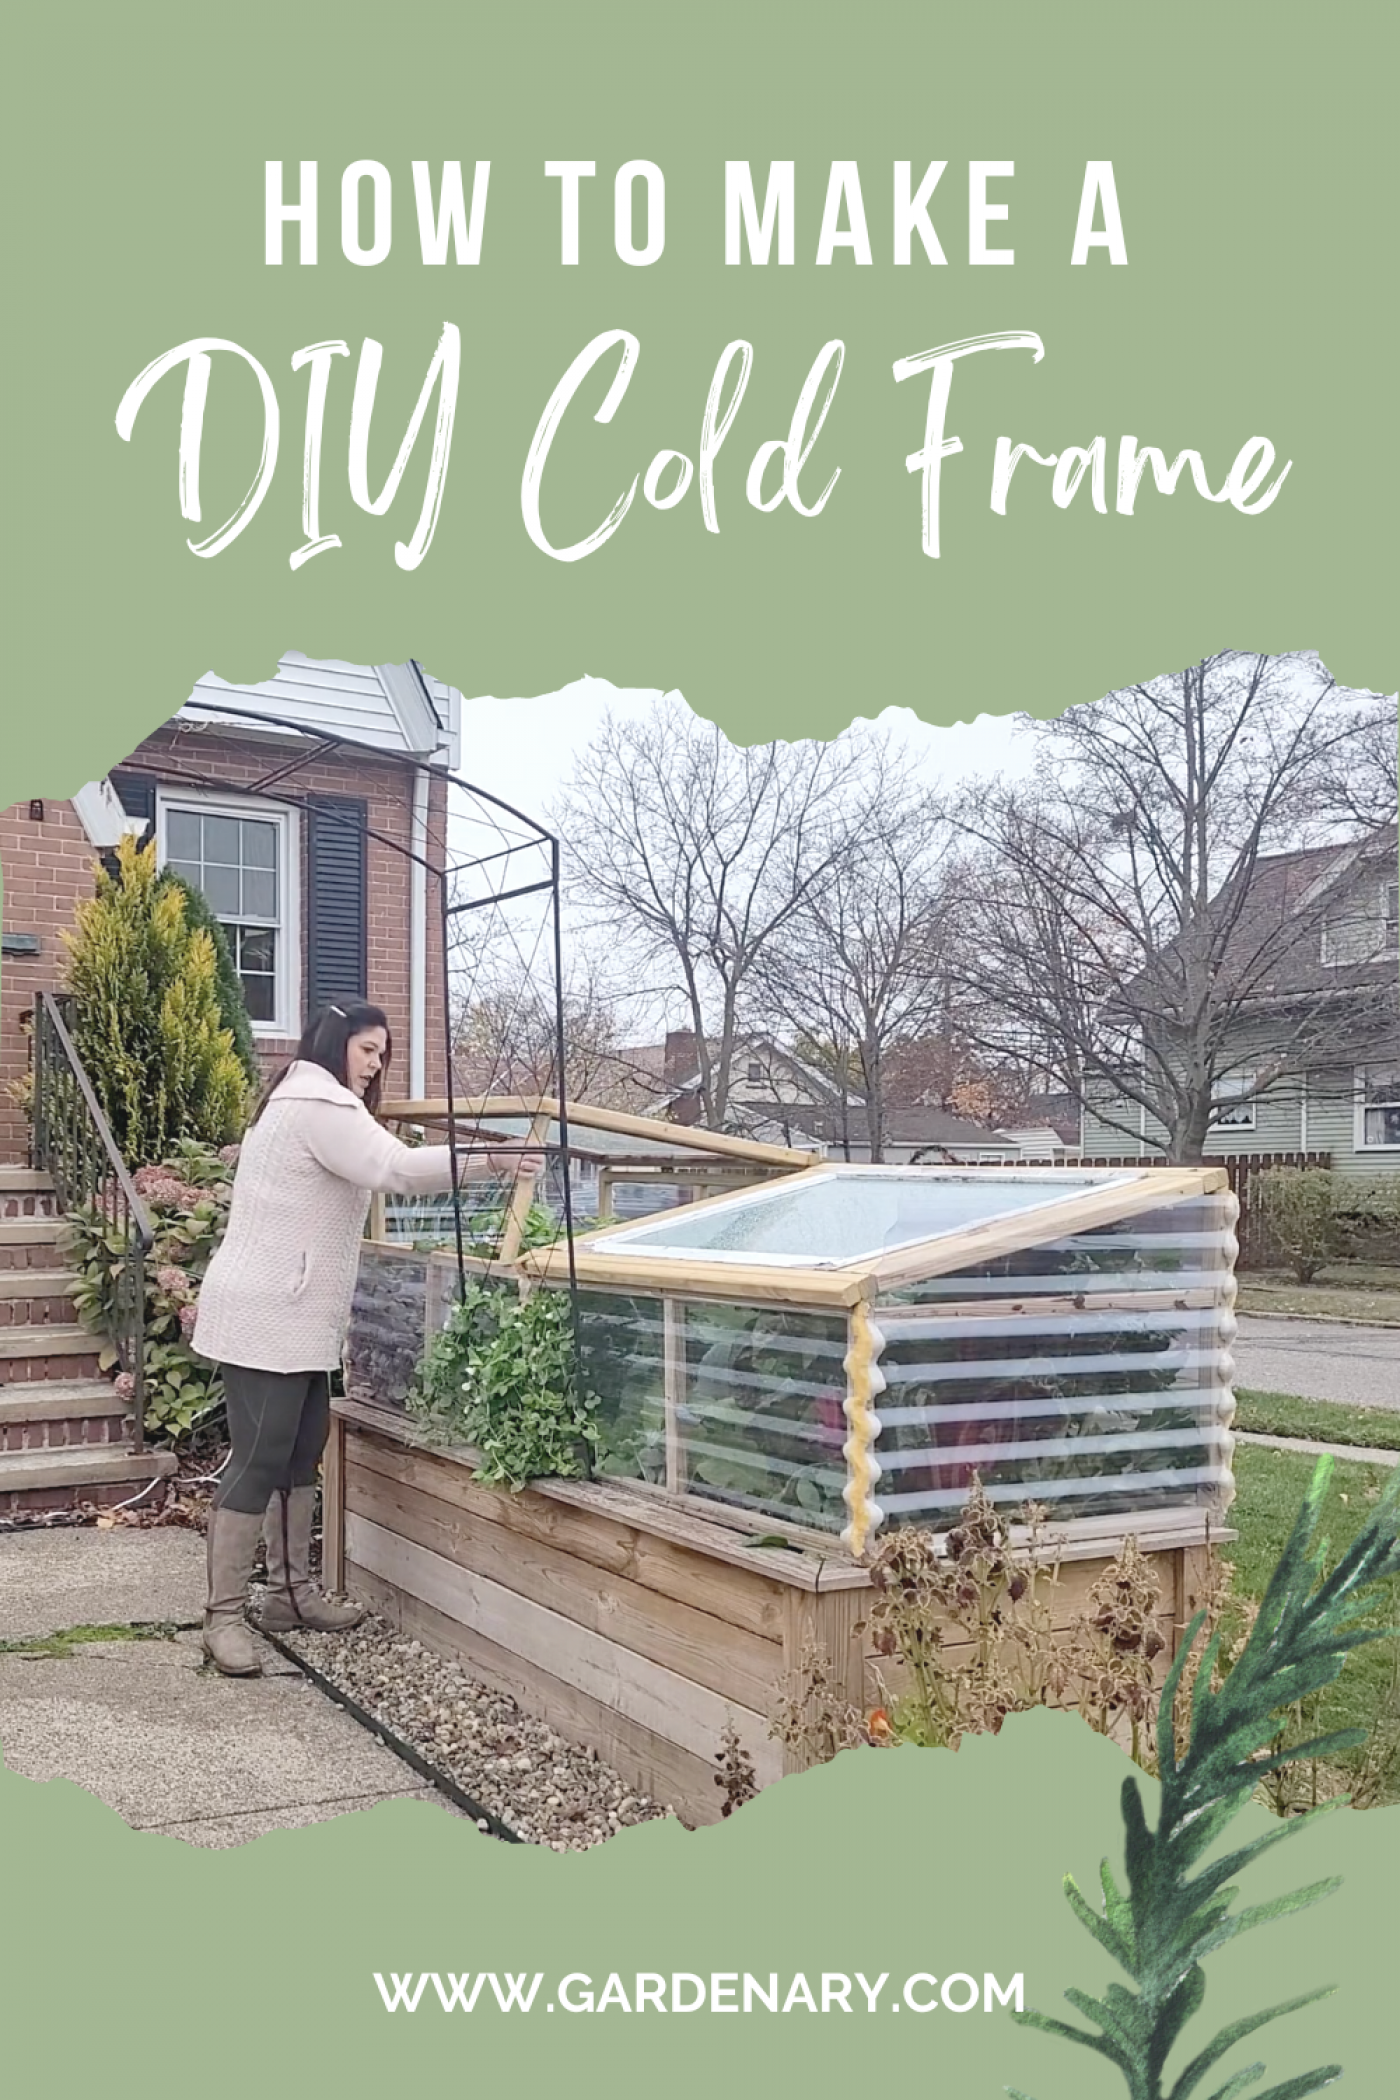
At its core, a cold frame is a simple, unheated mini-greenhouse designed to protect plants from the harsh realities of cold weather. It works by trapping solar heat within an enclosed space. Sunlight penetrates the transparent covering (glass, plastic, or polycarbonate), warming the soil and air inside. The frame then acts as an insulator, preventing the accumulated heat from escaping, even on chilly nights. This creates a microclimate that is significantly warmer than the surrounding environment, allowing you to extend the growing season for weeks or even months.
But the benefits of a cold frame extend beyond just season extension. These versatile structures also offer:
- Protection from Pests and Diseases: The enclosed environment of a cold frame provides a physical barrier against many common garden pests, such as slugs, snails, and certain insects. It can also help protect plants from fungal diseases that thrive in damp, cold conditions.
- Early Start for Spring Seedlings: Cold frames are ideal for starting seeds early in the spring. The warmer soil temperatures allow seeds to germinate quickly and seedlings to develop strong roots before being transplanted into the garden.
- Hardening Off Young Plants: Before transplanting seedlings grown indoors into the garden, they need to be "hardened off," gradually acclimated to outdoor conditions. A cold frame provides the perfect environment for this process, sheltering plants from harsh winds, intense sunlight, and fluctuating temperatures.
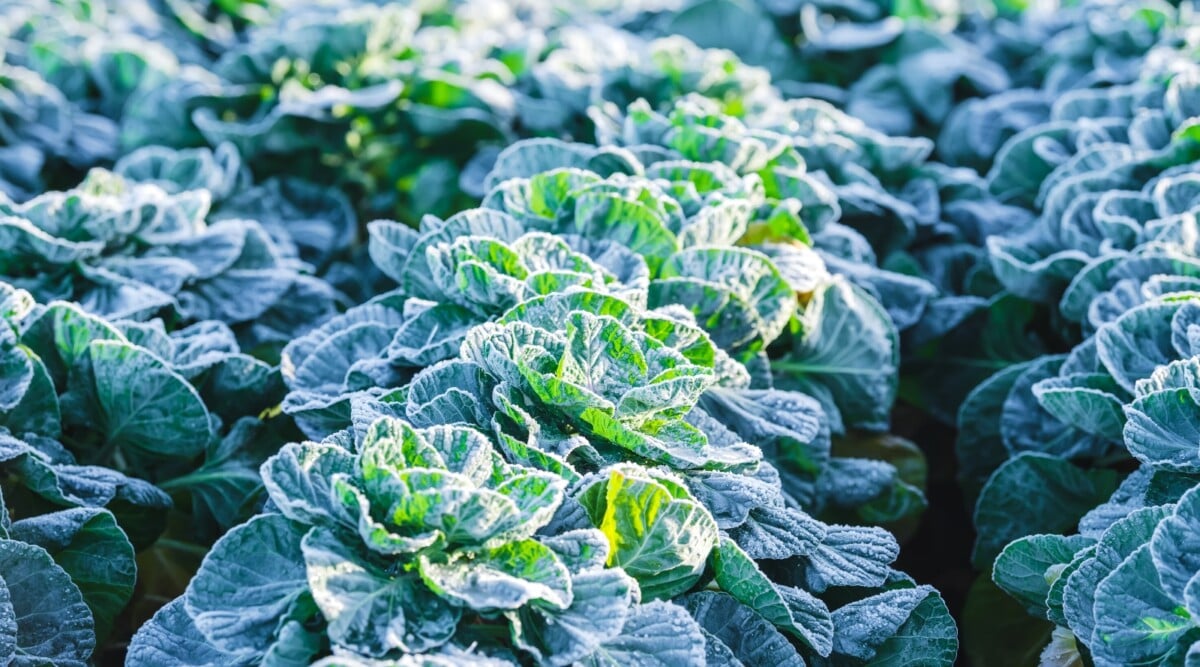
- Overwintering Tender Perennials: Many tender perennials that are not hardy enough to survive winter outdoors can be successfully overwintered in a cold frame. This allows you to enjoy these plants again next spring without having to purchase new ones. In warmer zones, some cold-hardy greens and vegetables can overwinter completely, providing a fresh, small-batch harvest throughout the colder months.
In short, cold frames are a versatile and valuable tool for any gardener looking to maximize their harvest, protect their plants, and enjoy fresh, homegrown food year-round. They are an essential element to a pollinator-friendly garden by helping to extend the flowering season and provide food source for overwintering bees.
Choosing the Right Cold Frame for Your Garden
The best cold frame for you will depend on your individual needs, available space, and budget. Here's a breakdown of the most common types:
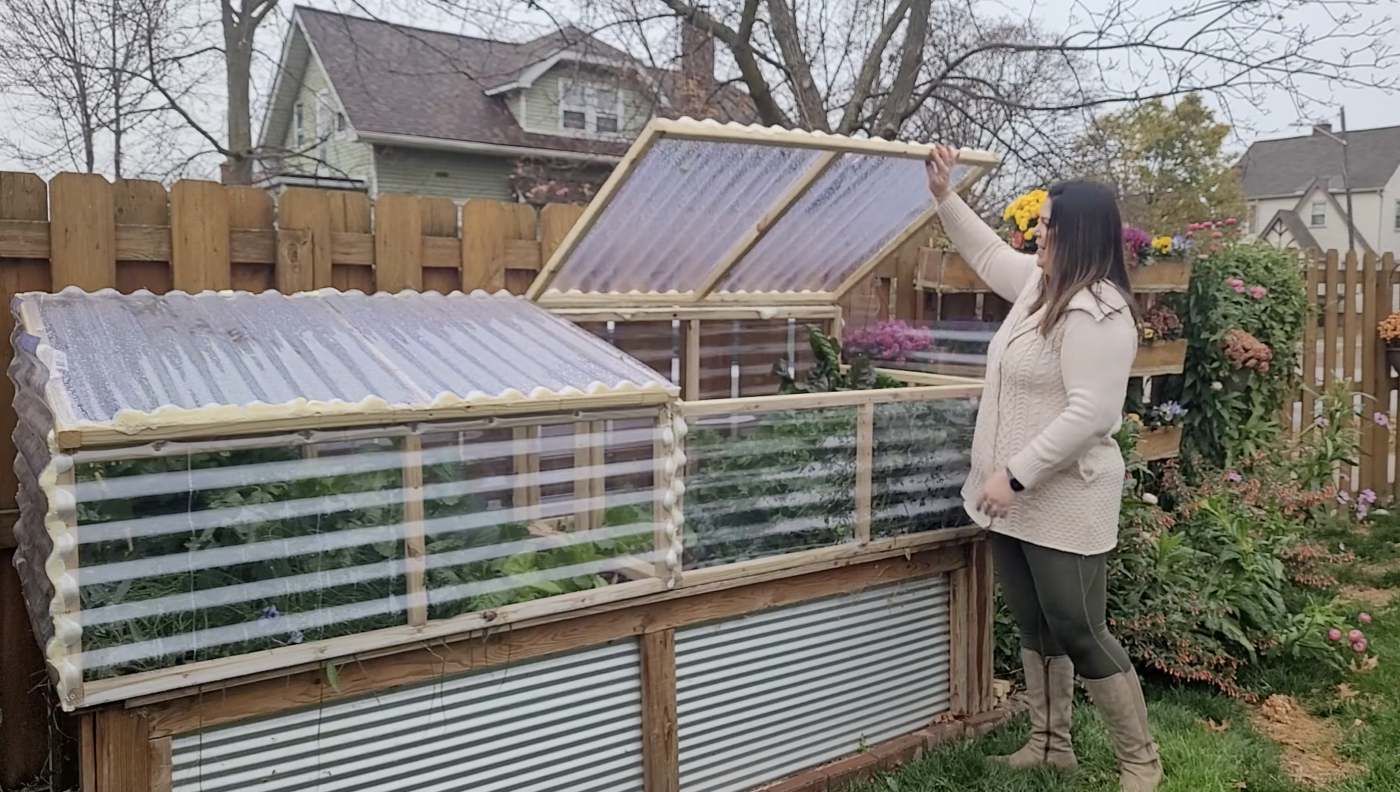
- Simple Box Frame: This is the easiest type of cold frame to build, typically constructed from wood and covered with a transparent material like glass or plastic. The frame is usually rectangular or square in shape, with a hinged lid for easy access. This type is perfect for growing low-growing plants like lettuce, spinach, and radishes.
- A-Frame: An A-frame cold frame offers more height than a box frame, making it suitable for taller plants like kale and chard. The sloping sides of the frame also allow for better light penetration, which is especially important during the winter months.
- Lean-To Frame: A lean-to cold frame is built against an existing wall, such as the side of a house or shed. The wall provides extra insulation, helping to keep the cold frame warmer during cold weather.
- Upcycled Options: Get creative and repurpose materials to build your cold frame! Old windows, doors, and pallets can all be transformed into functional and attractive structures. Upcycling is a sustainable and cost-effective way to create a cold frame that fits your unique style and needs.
Materials:
- Frame: Wood is a popular choice for cold frame frames, with cedar and redwood being naturally rot-resistant options. Recycled wood is another great choice. Bricks and cinder blocks can also be used to create a sturdy and durable frame.
- Covering: Glass is an excellent option for cold frame covers, providing excellent light transmission and insulation. However, it can be heavy and breakable. Plexiglas is a lighter and more durable alternative to glass. Plastic sheeting, such as polyethylene or polycarbonate, is the most affordable option, but it may not last as long as glass or Plexiglas.
Size and Location:
Consider the size of your garden and the types of plants you want to grow when choosing the size of your cold frame. The location of your cold frame is also important. Choose a spot that receives at least six hours of sunlight per day, ideally with a south-facing orientation to maximize sun exposure.

Ultimately, the best cold frame is the one that best suits your space, budget, and gardening needs. Don't be afraid to experiment and get creative with your design!
Building a Simple DIY Cold Frame: A Step-by-Step Guide
Here's how to build a basic box-frame cold frame using readily available materials:
Materials List:
- Four pieces of lumber (e.g., 2x6 or 2x8) – adjust the dimensions to your desired cold frame size. For example: Two pieces at 4 feet long, and two pieces at 3 feet long.
- One old window, piece of Plexiglas, or plastic sheeting (cut to fit the top of the frame)
- Hinges (2-3)
- Screws or nails
- Drill or hammer
- Saw
- Measuring tape
- Safety glasses
Instructions:
- Cut the Lumber: Cut the lumber to the desired lengths for the sides, front, and back of the cold frame. Consider making the back slightly taller than the front to create a sloped top for better light penetration.
- Assemble the Frame: Assemble the frame by attaching the sides, front, and back pieces together using screws or nails. Make sure the corners are square.
- Attach the Hinges: Attach the hinges to the top edge of the back of the frame and to the window or covering.
- Attach the Lid: Carefully attach the lid to the hinges. Ensure it opens and closes smoothly.
- Optional: Add a Latch: Install a latch to secure the lid in the closed position, especially in windy areas.
- Finishing Touches: Sand down any rough edges and apply a coat of exterior paint or sealant to protect the wood from the elements.
Tips:
- Use recycled materials whenever possible to save money and reduce waste.
- Add insulation to the inside of the frame for extra warmth.
- Consider building a slightly larger cold frame to accommodate more plants.
Planting and Caring for Cold Frame Crops
Choosing the right crops and providing proper care are essential for success with cold frame gardening.
Best Crops for Cold Frames:
- Cool-Season Vegetables: Lettuce, spinach, kale, arugula, radishes, carrots, chard, mustard greens, scallions.
- Herbs: Parsley, cilantro, mint, thyme, oregano.
- Flowers: Pansies, violas, calendula.
Soil Preparation:
Prepare the soil inside the cold frame by amending it with plenty of compost. Compost improves drainage, provides essential nutrients, and helps retain moisture.
Watering:
Water regularly, but avoid overwatering. Check the soil moisture level before watering and only water when the top inch or two feels dry.
Ventilation:
Ventilation is crucial for preventing overheating and humidity buildup inside the cold frame. Open the lid on sunny days to allow for airflow and release excess heat. Close the lid at night to retain heat. The amount of ventilation needed will vary depending on the weather. A good rule of thumb is to open the lid when the temperature inside the cold frame reaches 70°F (21°C).
Pest and Disease Control:
Inspect plants regularly for signs of pests or diseases. Use organic pest control methods, such as insecticidal soap or neem oil, to control aphids, whiteflies, and other common pests. Ensure good air circulation to prevent fungal diseases.

Extending the Season Further: Tips and Tricks
Want to take your cold frame gardening to the next level? Try these tips and tricks:
- Insulation: During extremely cold weather, add extra insulation to the cold frame by wrapping it with straw bales, blankets, or bubble wrap. This will help to retain heat and protect plants from freezing.
- Thermal Mass: Add rocks, bricks, or water jugs inside the cold frame to absorb heat during the day and release it at night. This will help to moderate temperature fluctuations and keep the cold frame warmer.
- Succession Planting: Plant new crops every few weeks to ensure a continuous harvest. For example, sow a new batch of lettuce seeds every two weeks to have a constant supply of fresh greens.
- Overwintering Tender Plants: Use cold frames to successfully overwinter marginally hardy herbs and flowers. Mulch well and provide water only when necessary.
Embracing Seasonal Eating, Year-Round
Cold frames offer a simple and effective way to extend the growing season, enjoy fresh, homegrown food, and connect with nature throughout the year. By building, planting, and caring for your own cold frame, you can savor the taste of summer long after it's officially gone and get a head start on spring planting.
Whether you're preparing for a winter harvest of hearty greens or planning ahead for next season's spring seedlings, the cold frame provides a cozy shelter for your plants.
Now, tell us: What are you most excited to grow in your cold frame this season? Share your plans and tips in the comments below!