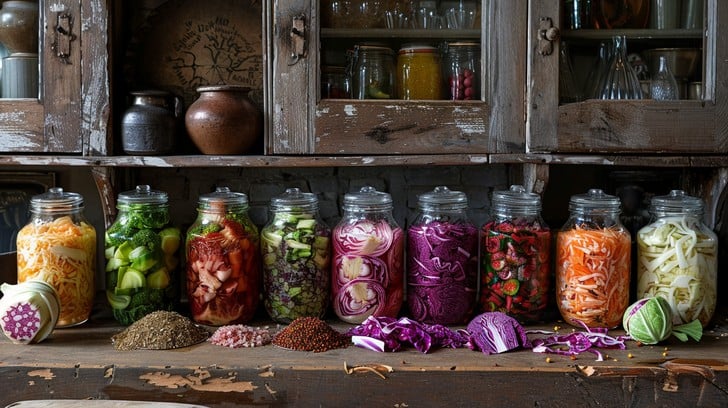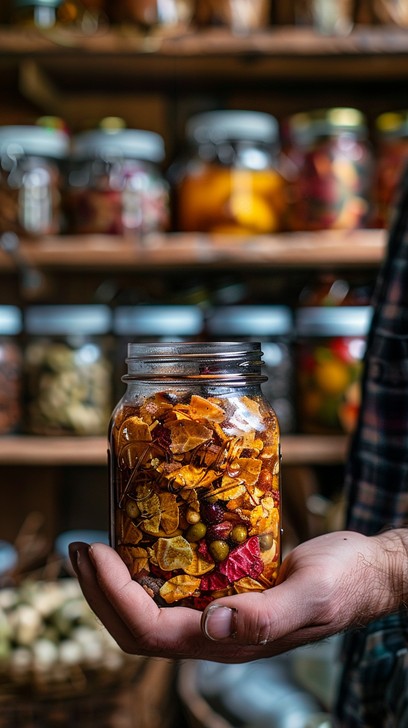
Embrace the Autumn Abundance: 5 Simple Ways to Preserve Your Late-Season Harvest and Create Cozy Pantry Staples
The crisp air carries the scent of woodsmoke, and the evenings are drawing in earlier. It's that time of year when our gardens are overflowing with the last of the summer's bounty, and we're craving the warmth of a homemade meal. Rows of tomatoes are ripening, herbs are reaching their peak fragrance, and even the last zucchini are finally ready. But what to do with all this glorious produce before the first frost arrives?
In this post, you'll discover 5 easy and rewarding ways to preserve your late-season harvest, creating pantry staples that will nourish you through the colder months and bring the taste of summer back to your table. We’ll explore fermentation, drying, fruit leathers, infused oils, and the magic of homemade jams. So grab a cup of herbal tea (perhaps from your own garden!), and let's get started!
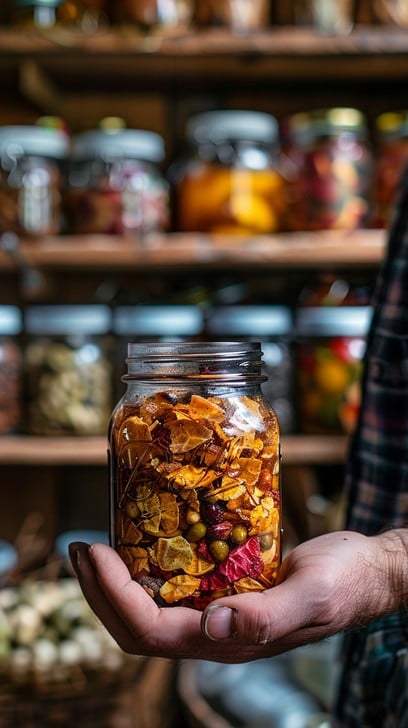
5 Ways to Preserve the Season's Goodness
1. Fermented Vegetables: Unlock the Power of Probiotics
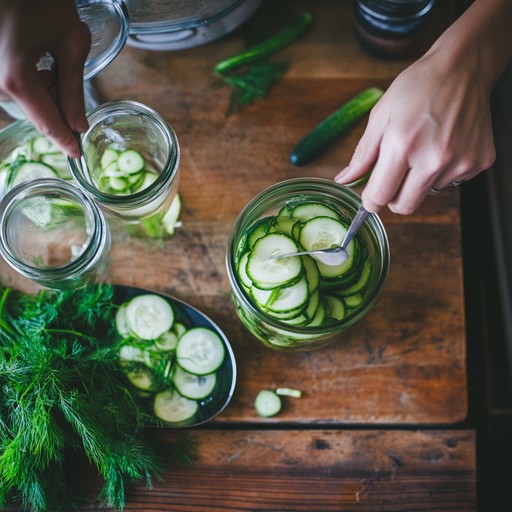
Fermenting vegetables is a time-honored tradition, a way to not only preserve your harvest but also to boost your gut health. Fermented foods are teeming with probiotics, beneficial bacteria that aid digestion, strengthen your immune system, and even improve your mood. Plus, the tangy, complex flavors are simply irresistible. From sauerkraut and kimchi to pickled beets and carrots, the possibilities are endless.
Let's start with a simple sauerkraut recipe:
Simple Sauerkraut Recipe
Ingredients:
- 1 medium head of cabbage, cored and thinly shredded
- 1 tablespoon sea salt
- Optional: caraway seeds, juniper berries, garlic cloves
Instructions:
- In a large bowl, massage the salt into the shredded cabbage for 5-10 minutes, until it begins to release its juices.
- Add any optional spices.
- Pack the cabbage tightly into a clean glass jar, pressing down firmly to release more juices. Ensure the cabbage is fully submerged in its own brine. If necessary, add a bit of filtered water.
- Weigh down the cabbage with a fermentation weight or a clean glass pebble to keep it submerged.
- Cover the jar loosely with a lid or cloth.
- Ferment at room temperature (65-75°F) for 1-4 weeks, tasting occasionally. The longer it ferments, the tangier it will become.
- Once it reaches your desired taste, transfer to the refrigerator to slow down fermentation.
My first attempt at sauerkraut was a bit…adventurous. I forgot to weigh down the cabbage properly, and let's just say there was a bit of mold involved. Don't be discouraged if your first batch isn't perfect! Fermentation is a learning process, and every batch is a new opportunity to experiment.
2. Drying Herbs: Capture Summer's Fragrance
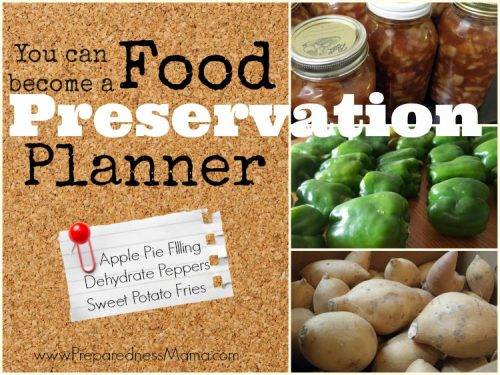
Imagine having the vibrant flavors of summer herbs at your fingertips all winter long. Drying herbs is a simple and effective way to preserve their aromatic oils and culinary potential. Basil, oregano, thyme, rosemary, mint – all these herbs thrive when dried properly.
There are several ways to dry herbs:
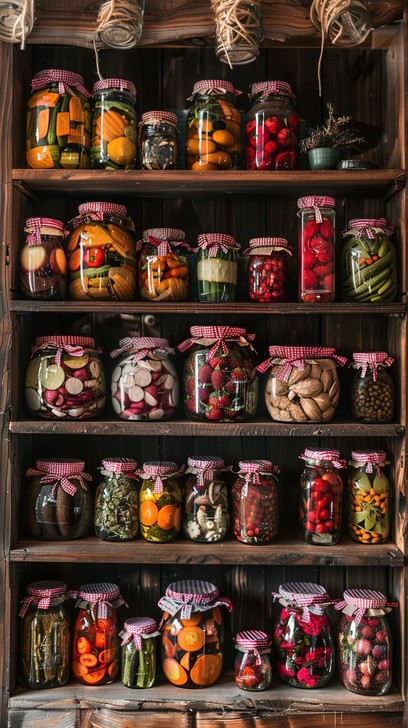
- Air Drying: Bundle small bunches of herbs together with twine and hang them upside down in a dark, well-ventilated space. This is the most traditional method and works well for herbs with low moisture content.
- Oven Drying: Spread the herbs in a single layer on a baking sheet and dry them in a low oven (170°F or lower) for several hours, until they are brittle. Watch carefully to prevent burning.
- Dehydrator: A dehydrator offers precise temperature control and even drying, making it ideal for preserving larger quantities of herbs.
Pro Tip: Hang your herbs in a dark, well-ventilated space to preserve their color and aroma. Sunlight can fade the color and diminish the flavor. Once dried, store your herbs in airtight containers in a cool, dark place.
3. Making Fruit Leather: A Healthy and Delicious Treat
Fruit leather, also known as fruit roll-ups, is a fantastic way to use up excess fruit and create a healthy, portable snack. It's naturally sweet, packed with vitamins, and free from artificial ingredients. Applesauce, berries, plums, peaches – any fruit can be transformed into delicious fruit leather.
Easy Applesauce & Berry Fruit Leather
Ingredients:
- 2 cups unsweetened applesauce
- 1 cup mixed berries (fresh or frozen)
- 1 tablespoon lemon juice (optional, to brighten the flavor)
Instructions:
- Preheat your oven to 170°F (or the lowest setting).
- Blend the applesauce, berries, and lemon juice (if using) in a blender until smooth.
- Line a baking sheet with parchment paper or a silicone baking mat.
- Pour the fruit puree onto the prepared baking sheet, spreading it evenly into a thin layer (about 1/8 inch thick).
- Bake for 3-6 hours, or until the fruit leather is no longer sticky to the touch. Oven temperature may vary.
- Let the fruit leather cool completely before cutting it into strips and rolling it up.
- Store in an airtight container at room temperature or in the refrigerator.
4. Infused Oils: Bottling Flavor for Culinary Delights
Infused oils are a simple yet elegant way to capture the flavors of your garden and elevate your cooking. Garlic, chili peppers, rosemary, basil – these aromatics infuse olive oil with their unique essence, creating a versatile ingredient for drizzling, sautéing, and dressing.
Garlic Infused Oil
Ingredients:
- 1 cup olive oil
- 4-6 cloves garlic, peeled and lightly crushed
Instructions:
- In a small saucepan, combine the olive oil and garlic.
- Heat over low heat until the garlic starts to sizzle gently.
- Remove from heat and let the oil cool completely.
- Pour the oil into a clean glass bottle. Add the garlic cloves.
- Store in a cool, dark place for up to 2 weeks. Important: For safety reasons, it's recommended to store garlic-infused oil in the refrigerator to prevent botulism. Use within 1 week for best results.
Use your infused oils to add depth of flavor to roasted vegetables, pasta dishes, salads, and more. They also make beautiful and thoughtful homemade gifts.
5. Homemade Jams and Jellies: Spread the Joy of Homegrown Goodness
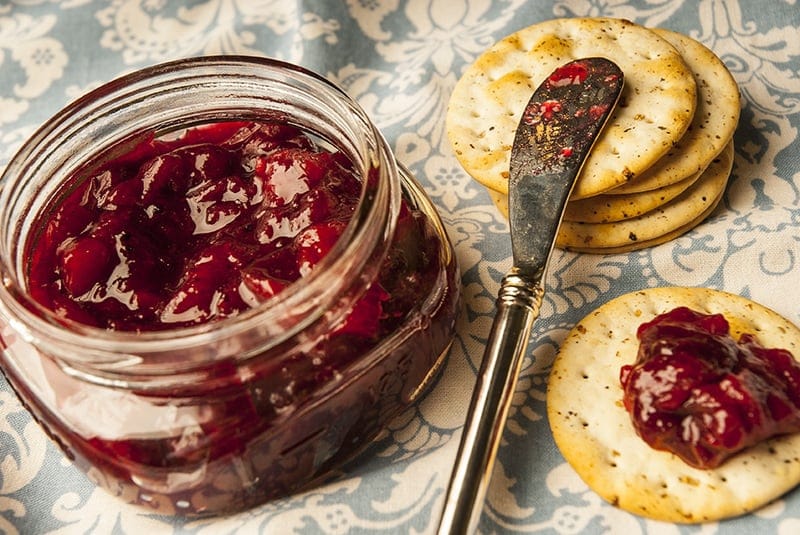
Is there anything more comforting than a jar of homemade jam or jelly? It's a taste of summer sunshine on a cold winter morning, a sweet reminder of the abundance of the harvest. From strawberry jam to apple jelly, the possibilities are endless.
Easy Apple Jelly
Ingredients:
- 4 pounds tart apples, quartered (no need to peel or core)
- 6 cups water
- 4 cups sugar
- 1 box (1.75 ounces) powdered pectin
Instructions:
- In a large pot, combine the apples and water. Bring to a boil, then reduce heat and simmer for 20-30 minutes, or until the apples are soft.
- Strain the apple mixture through a jelly bag or several layers of cheesecloth. Do not squeeze or press the apples, as this will make the jelly cloudy.
- Measure 4 cups of apple juice into a large pot.
- Add the sugar and pectin. Bring to a rolling boil that cannot be stirred down, stirring constantly.
- Boil hard for 1 minute, stirring constantly.
- Remove from heat and skim off any foam.
- Ladle the jelly into sterilized jars, leaving 1/4 inch headspace.
- Process in a boiling water bath canner for 10 minutes (adjusting for altitude if necessary).
Home canning can seem daunting at first, but with proper instructions and attention to detail, it's a safe and rewarding way to preserve your harvest.
A Taste of Home
Preserving the flavors of autumn is a way to bring the warmth and sunshine of summer into the colder months. It's a simple act of self-sufficiency that connects us to the land and provides us with delicious, homemade sustenance. From the satisfying pop of a jar sealing to the comforting aroma of simmering jam, the process of preserving is a joy in itself.
What are your favorite ways to preserve the autumn harvest? Share your tips and recipes in the comments below! And be sure to check out our other articles on organic gardening and sustainable home living for more inspiration.
