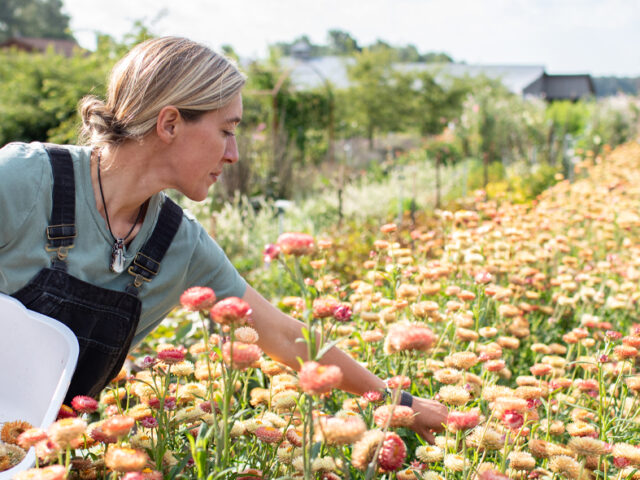
Embrace Autumn's Bounty: 5 Simple Seed Saving Secrets for a Flourishing Spring Garden
The air is crisp, carrying the scent of woodsmoke and fallen leaves. Sunlight, tinged with gold, paints the garden in hues of amber and russet. Towering sunflowers, their heavy heads laden with seeds, nod in the gentle breeze. Pumpkins, plump and orange, rest on the vine, a promise of pies and cheerful jack-o'-lanterns. Autumn is a time of abundance, a final burst of glory before winter's quiet slumber. But did you know this season also holds the key to a vibrant and bountiful spring garden? This year, instead of buying all new seeds, why not embrace the joys of homegrown self-sufficiency and save your own? You'll save money, connect with nature, and cultivate stronger, healthier plants, perfectly adapted to your farmhouse life environment. Let's dive into 5 simple seed saving secrets to get you started!
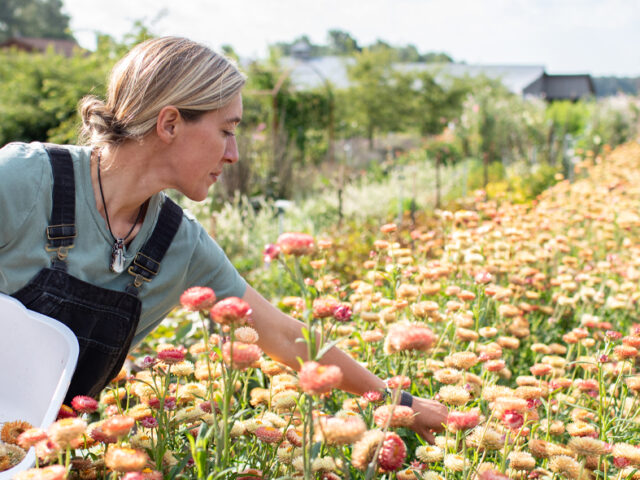
1. Saving Seeds from Tomatoes: A Taste of Summer Next Spring
The "Why": Tomato seeds are incredibly easy to save, and homegrown tomatoes often taste better than anything you can buy in the store. Plus, by saving seeds from your best-performing plants, you're essentially breeding a variety perfectly suited to your garden's microclimate.
Step-by-Step Instructions:
- Choose ripe, healthy tomatoes from your best plants. Avoid any tomatoes showing signs of disease.
- Squeeze the pulp and seeds into a small jar. Add a little water (about half as much as the pulp) to ensure proper fermentation.
- Let the mixture ferment for 3-4 days, stirring once or twice a day. You’ll notice a white mold forming on top – don't worry, that’s a good sign! This process removes a germination-inhibiting gel around the seed.
- Once the seeds have settled to the bottom and the mold is present, add more water to the jar and gently swirl the contents. The viable seeds will sink, while the pulp and non-viable seeds will float. Pour off the top layer.
- Repeat this process until only clean seeds remain.
- Spread the seeds on a coffee filter or paper towel to dry completely. This may take a week or two.
- Store the dry seeds in an airtight container in a cool, dark, and dry place.
My Anecdote: The first year I tried saving tomato seeds, I didn't let them ferment long enough. I ended up with a very poor germination rate the following spring. Lesson learned: patience is key!
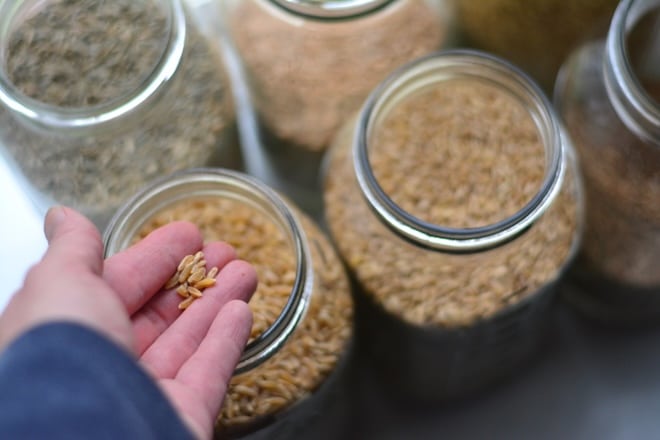
2. Harvesting Bean Seeds: From Pod to Future Bounty
The "Why": Bean seeds are another excellent choice for beginner seed saving. They're relatively large and easy to handle, and saving seeds from your favorite bean varieties ensures you'll have them again next year. This backyard project is also a great way to preserve heirloom varieties.
Step-by-Step Instructions:
- Allow some of your bean pods to dry completely on the plant. The pods should be brown, brittle, and the beans inside should rattle when shaken.
- Harvest the dried pods and shell the beans.
- Spread the beans on a screen or tray to dry further for a week or two in a well-ventilated area.
- Store the dried beans in an airtight container in a cool, dark, and dry place.
My Anecdote: I once accidentally harvested my bean seeds before they were fully dry. They ended up getting moldy during storage, and I lost the entire batch! Now, I always double-check that they're completely dry before storing.

3. Collecting Pepper Seeds: Spice Up Your Spring
The "Why": Saving pepper seeds allows you to propagate your favorite varieties, from sweet bell peppers to fiery hot chilies. By selecting seeds from peppers that ripen early and produce well, you can improve your overall seasonal harvest over time.
Step-by-Step Instructions:
- Allow peppers to ripen fully on the plant. For bell peppers, wait until they turn their final color (red, yellow, orange, etc.). For hot peppers, allow them to ripen until they are fully colored and slightly wrinkled.
- Cut the pepper open and carefully scrape out the seeds.
- Spread the seeds on a coffee filter or paper towel to dry completely in a well-ventilated area.
- Store the dry seeds in an airtight container in a cool, dark, and dry place.
My Anecdote: I once tried to save seeds from a hybrid pepper, thinking I'd get the same plant next year. Unfortunately, the resulting plants were very different from the parent plant. That taught me the importance of saving seeds from open-pollinated or heirloom varieties if you want to maintain consistent traits.
4. Saving Lettuce Seeds: Leafy Greens for Days
The "Why": Lettuces are cool weather crops that bolt and produce seeds in warm conditions. This makes seed saving an excellent choice if you are in warmer climates, and a great way to have a continuous harvest of fresh salads. Saving organic gardening seeds is a sustainable way to ensure your cozy living is always filled with fresh, homegrown greens.
Step-by-Step Instructions:
- Allow your lettuce plants to bolt, meaning they send up a tall flower stalk.
- Let the flowers dry on the plant and turn into seed heads.
- Once the seed heads are dry and fluffy, gently shake them over a container to collect the seeds. The seeds are small and black.
- Winnow the seeds to remove any chaff or debris. You can do this by gently blowing on the seeds, allowing the lighter chaff to blow away.
- Store the clean seeds in an airtight container in a cool, dark, and dry place.
My Anecdote: I remember one year I missed the opportunity to save my lettuce seeds because I was too quick to pull the bolting plants. Now, I always let a few plants go to seed to ensure I have a supply for the following spring.
5. Preserving Squash and Pumpkin Seeds: A Fall Tradition
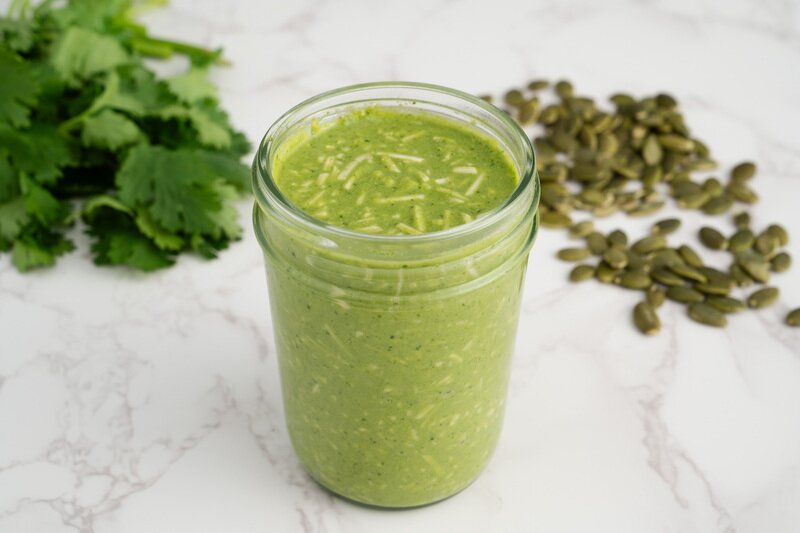
The "Why": Saving squash and pumpkin seeds allows you to continue growing your favorite varieties, from Butternut squash to Jack-o'-lantern pumpkins. Plus, these seeds are a delicious and nutritious snack when roasted!
Step-by-Step Instructions:
- Scoop out the seeds from your harvested squash or pumpkins.
- Remove any pulp or stringy material from the seeds.
- Rinse the seeds thoroughly with water.
- Spread the seeds on a clean towel or screen to dry completely.
- Store the dry seeds in an airtight container in a cool, dark, and dry place.
My Anecdote: One year, I forgot to label my pumpkin seeds and ended up planting a mystery mix the following spring. It was fun to see what grew, but I definitely learned the importance of labeling my seeds!
Troubleshooting Tips for Seed Saving
- Mold: If your seeds develop mold during drying, discard them. This usually indicates that they weren't dried thoroughly enough.
- Pests: To prevent pests from infesting your stored seeds, consider freezing them for a few days before storing them long-term.
- Improper Storage: Storing seeds in a warm, humid environment will significantly reduce their viability. Always store seeds in a cool, dark, and dry place.
- Low Germination: If you experience low germination rates, try scarifying the seeds (lightly scratching the seed coat) or soaking them in water for a few hours before planting.
- Cross-Pollination: Be aware of cross-pollination, especially with squash and pumpkins. If you want to save seeds from a specific variety, make sure it's isolated from other varieties of the same species.
Storage and Planting
Proper storage is essential for ensuring the viability of your saved seeds. Store them in airtight containers, such as glass jars or seed packets, in a cool, dark, and dry place. A basement or refrigerator is ideal. Label each container with the plant name and the date of harvest. In late winter or early spring, you can start your seeds indoors to get a head start on the growing season. Check out our article on starting seeds indoors for more detailed instructions.

Embrace the Joy of Self-Sufficiency
Saving seeds is more than just a practical way to save money; it's a connection to the earth, a celebration of the seasonal harvest, and a way to nurture your sustainable home. This autumn, take a moment to appreciate the abundance of your garden and try saving at least one type of seed. You'll be amazed at the satisfaction of planting seeds you saved yourself and watching them grow into a flourishing garden next spring. Now, we would love to hear from you! What are your favorite seed-saving tips? Share your experiences in the comments below! And be sure to check out our other article: "From Seed to Sprout: Starting Seeds Indoors for a Head Start" for more helpful tips!