Embrace Autumn's Bounty: 5 Foolproof Ways to Preserve Your Late-Season Harvest & Cozy Up Your Home
The air is crisp, the leaves are ablaze with color, and a subtle chill whispers of the winter to come. There's a certain magic to autumn, a feeling of both letting go and gathering in. As the growing season winds down, our gardens often surprise us with a final burst of abundance. Tomatoes ripen in a late-season surge, peppers blush with color, and hearty squashes plump up, ready to be harvested. But what happens when the first frost threatens to steal all our hard work? Don't fret, fellow homesteaders! This is the perfect time to embrace the spirit of preservation and bring the warmth and flavors of autumn into your home.
In this post, we'll explore five foolproof ways to capture the essence of your late-season garden, ensuring that your homegrown goodness lasts well into the colder months, and adding those cozy touches that make a house a home. From freezing your veggies to crafting fragrant potpourri, these simple techniques will help you savor the season and create a sustainable home filled with the joys of autumn. Let's get started before that first hard frost!
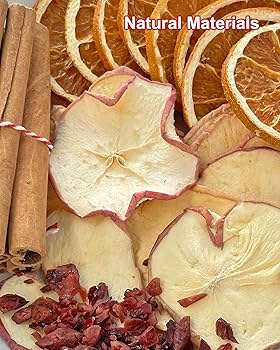
Harvest Hoarding Heroes: 5 Ways to Preserve Autumn's Bounty
1. Freezing Your Veggies: Lock in the Freshness
Freezing is a fantastic way to preserve the flavor and nutrients of many late-season vegetables. Tomatoes, peppers, and squash are all excellent candidates for the freezer. But don’t just toss them in a bag! Proper preparation is key to preventing freezer burn and maintaining quality.
Essential Tools:
- Blanching pot and basket (or large pot with a slotted spoon)
- Ice bath (large bowl filled with ice water)
- Baking sheets
- Freezer-safe bags or containers
- Sharpie for labeling
Step-by-Step Guide:
- Prepare the vegetables: Wash and cut your vegetables into desired sizes (e.g., diced tomatoes, sliced peppers, cubed squash).
- Blanching is essential: Blanching stops enzyme actions that can cause loss of flavor, color and texture. To blanch, plunge vegetables into boiling water for a specific time (tomatoes: 1 minute, peppers: 2 minutes, squash: 3 minutes).
- Shock in ice water: Immediately transfer the blanched vegetables to the ice bath to stop the cooking process.
- Drain and dry: Drain the vegetables thoroughly and pat them dry.
- Flash freeze: Spread the vegetables in a single layer on baking sheets and freeze for a few hours. This prevents clumping.
- Pack and label: Transfer the frozen vegetables to freezer-safe bags or containers, removing as much air as possible. Label with the date and contents.
Troubleshooting Tip: If your frozen vegetables are mushy when thawed, it could be due to insufficient blanching or improper storage. Make sure to follow blanching times closely and use airtight containers. I remember one year, I skipped the blanching step with my green beans, thinking it wasn't that important. The result? Limp, tasteless beans that were only fit for the compost (which, thankfully, was happy!). Lesson learned.
2. Drying Herbs: Aromatic Treasures for Winter
Imagine the delightful aroma of homegrown herbs filling your kitchen on a cold winter day! Drying herbs is a simple way to preserve their flavor and fragrance, providing you with a pantry full of aromatic treasures. Drying herbs is the perfect way to utilize your seasonal harvest!
Essential Tools:
- Fresh herbs (rosemary, thyme, oregano, sage, etc.)
- String or twine
- Paper bags (optional)
- Oven or dehydrator (optional)
Step-by-Step Guide (Air Drying):
- Harvest and prepare: Harvest herbs in the morning after the dew has dried. Rinse gently and pat dry.
- Bundle: Gather small bunches of herbs and tie them together with string.
- Hang to dry: Hang the bundles upside down in a cool, dark, well-ventilated place. You can place a paper bag around the bundles to protect them from dust and light.
- Dry until brittle: The drying process can take several weeks. The herbs are ready when the leaves are brittle and crumble easily.
- Store: Store the dried herbs in airtight containers in a cool, dark place.
Step-by-Step Guide (Oven Drying):
- Preheat your oven to the lowest setting (ideally below 170°F or 77°C).
- Spread the herbs in a single layer on a baking sheet lined with parchment paper.
- Place the baking sheet in the oven and leave the door slightly ajar to allow moisture to escape.
- Check the herbs frequently, turning them as needed. They should dry in 2-4 hours.
Step-by-Step Guide (Dehydrator):
- Follow the manufacturer's instructions for your dehydrator.
- Spread the herbs in a single layer on the dehydrator trays.
- Dehydrate at the lowest setting until the herbs are dry and brittle.
Bonus Tip: Create a charming herb-drying display by hanging your bundles from a rustic ladder or a repurposed coat rack.
3. Making Fruit Leather: Sweet Treats from the Orchard (or Garden)
Fruit leather, also known as fruit roll-ups, is a healthy and delicious way to preserve the sweetness of late-season fruits like apples, pears, and berries. It's a naturally sweet treat that kids and adults alike will love.
Essential Tools:
- Ripe fruit (apples, pears, berries)
- Blender or food processor
- Baking sheet
- Parchment paper or silicone baking mat
- Knife or pizza cutter
Step-by-Step Guide:
- Prepare the fruit: Wash, core, and chop the fruit. Remove any seeds or stems.
- Blend: Blend the fruit into a smooth puree. You can add a touch of honey or lemon juice for extra flavor, but it's usually sweet enough on its own.
- Spread: Line a baking sheet with parchment paper or a silicone baking mat. Spread the fruit puree evenly over the surface, about 1/8 inch thick.
- Dry: Dry the fruit leather in a dehydrator at 135°F (57°C) for 6-8 hours, or in an oven at the lowest setting (170°F or 77°C) for 4-6 hours. The fruit leather is ready when it's no longer sticky to the touch.
- Cut and roll: Once cooled, cut the fruit leather into strips and roll them up. Store in an airtight container.
Troubleshooting Tip: If your fruit leather is sticking to the tray, lightly grease it with coconut oil before pouring. If the fruit leather is not drying evenly, rotate the baking sheet or dehydrator trays periodically.
4. Infusing Oils and Vinegars: Flavorful Foundations for Cooking
Infused oils and vinegars are a wonderful way to capture the flavors of your garden and create unique culinary creations. Imagine drizzling rosemary-infused olive oil over roasted vegetables or using basil-infused vinegar in a vibrant salad dressing. The possibilities are endless!
Essential Tools:
- High-quality olive oil or vinegar
- Fresh herbs (rosemary, thyme, basil, oregano) or spices (garlic, chili peppers)
- Clean glass jars or bottles
- Funnel
Step-by-Step Guide:
- Prepare the herbs and spices: Wash and dry the herbs and spices. For garlic and chili peppers, you can lightly bruise them to release their flavors.
- Sterilize the jars: Sterilize the glass jars or bottles by boiling them in water for 10 minutes.
- Combine ingredients: Place the herbs and spices in the sterilized jars. Pour the oil or vinegar over the herbs and spices, ensuring they are completely submerged.
- Seal and infuse: Seal the jars tightly and store them in a cool, dark place for at least two weeks.
- Strain (optional): After two weeks, you can strain the oil or vinegar to remove the herbs and spices, or leave them in for continued flavor.
Creative Flavor Combinations:
- Rosemary and garlic infused olive oil
- Basil and lemon infused vinegar
- Chili pepper infused olive oil
- Thyme and oregano infused vinegar
Storage Tips: Store infused oils and vinegars in a cool, dark place. Use infused oils within a few months, as they can become rancid over time. Infused vinegars will last longer.
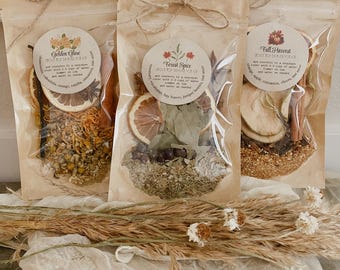
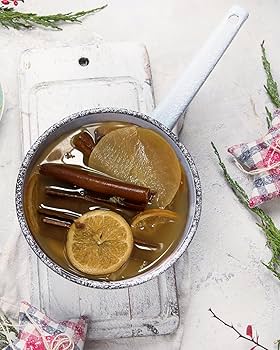
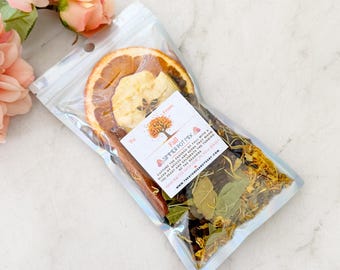
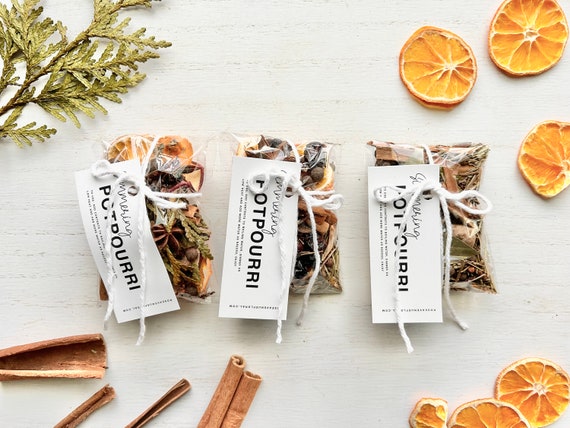
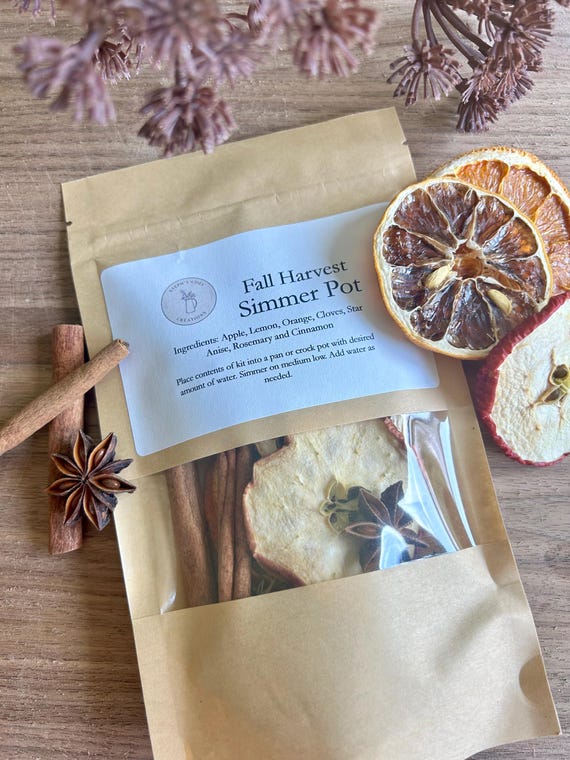
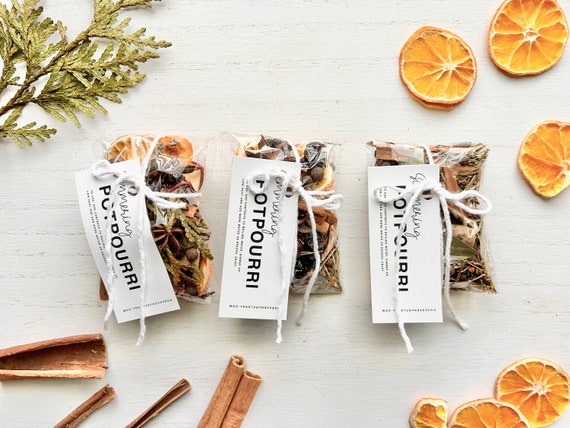
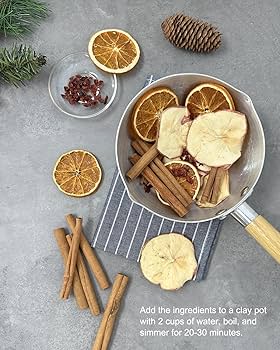
5. Crafting Autumn Potpourri: Scents of the Season
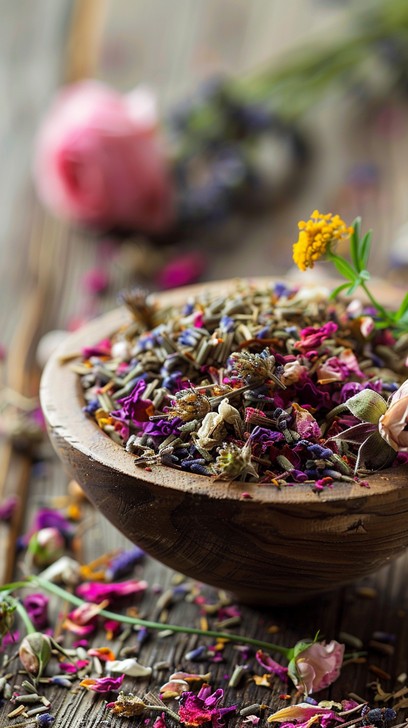
Bring the cozy scents of autumn indoors with a homemade potpourri. This simple craft project is a delightful way to use dried flowers, spices, and essential oils to create a warm and inviting atmosphere. Plus, it makes a thoughtful homemade gift!
Essential Tools:
- Dried flowers (roses, lavender, marigolds)
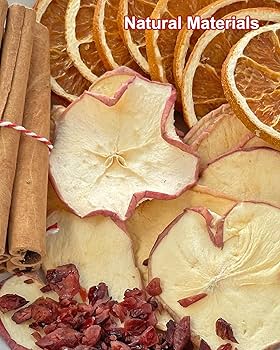
- Dried spices (cinnamon sticks, cloves, star anise)
- Dried orange peel or apple slices
- Essential oils (cinnamon, clove, orange, vanilla)
- Decorative bowl or jar
Step-by-Step Guide:
- Gather your ingredients: Collect dried flowers, spices, and orange peel. You can dry your own flowers or purchase them from a craft store.
- Combine: In a decorative bowl or jar, combine the dried flowers, spices, and orange peel.
- Add essential oils: Add a few drops of your favorite autumn-themed essential oils to the mixture.
- Mix and display: Gently mix the ingredients and display your potpourri in a prominent location in your home.
Scents of the Season:
- Cinnamon: Warm, spicy, and comforting.
- Cloves: Pungent, aromatic, and reminiscent of baking.
- Orange Peel: Bright, citrusy, and uplifting.
Actionable Autumnal Alchemy: Step-by-Step Tips
See sections above for the Actionable Tips within each recipe.
Cozy Closing: Embracing the Season of Abundance
As the days grow shorter and the nights grow longer, let's embrace the spirit of autumn and celebrate the bounty of our late-season gardens. Whether you're freezing tomatoes, drying herbs, making fruit leather, infusing oils, or crafting potpourri, these simple acts of preservation connect us to nature and bring a sense of abundance and cozy living into our homes. Every small effort contributes to a more sustainable home and a deeper appreciation for the rhythms of the seasons. We hope that these are useful backyard projects for you.
Don't forget the importance of composting! As you clean up your late-season garden, remember that all those spent plants and vegetable scraps are valuable resources for creating nutrient-rich compost for next year's garden. It's a perfect way to close the loop and practice organic gardening. Check out our article on "Composting 101: Turn Garden Waste into Gardener's Gold" for more tips!
And remember, preparing for winter doesn't just mean preserving food. It also means preparing your garden for the cold months ahead. Check out this article, "Preparing Your Garden for Winter"
Share your favorite autumn preserving tip or a photo of your cozy home setup using #BetterHomesAndHarvestsAutumn! What are you going to preserve first?
For more seasonal inspiration and helpful tips, sign up for the Better Homes and Harvests newsletter and receive our free "Late Season Harvest Guide"!

Meta Description: Embrace the fall harvest! Learn 5 easy ways to preserve your late-season garden bounty: freezing veggies, drying herbs, fruit leather, infused oils, & potpourri. #BetterHomesAndHarvestsAutumn
