Embrace Autumn Abundance: 5 Simple Steps to Preserve Your Garden's Bounty (and Cozy Up Your Home)
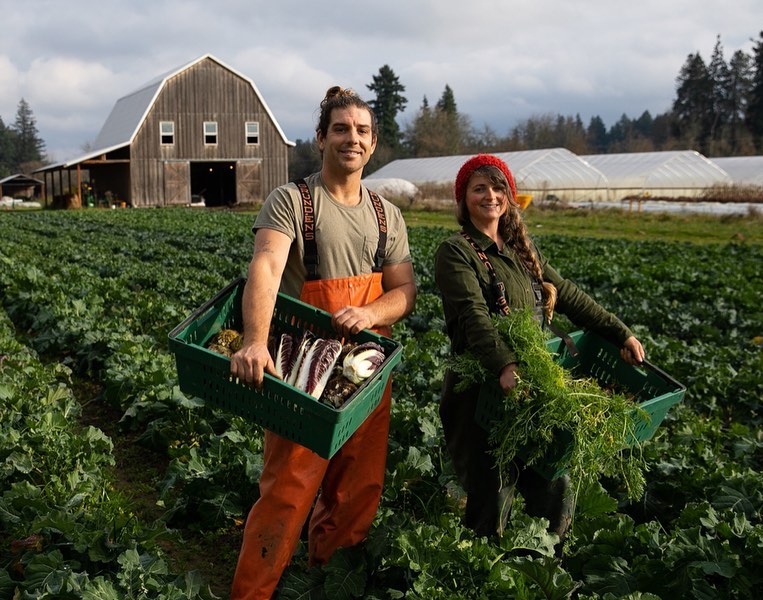
The air is crisp, carrying the scent of woodsmoke and fallen leaves. Crimson and gold hues paint the landscape as the last of the summer's warmth gives way to the cool embrace of autumn. There's a unique satisfaction in gathering the final harvest, knowing that your hands have nurtured these gifts from tiny seeds to ripe abundance. But what to do with all those tomatoes, peppers, and herbs before the first frost arrives?
As the days grow shorter, let's make the most of autumn's gifts! This post will guide you through five simple, practical steps to preserve your garden’s bounty, prepare your homestead for winter, and infuse your home with cozy autumn charm. What are you most excited to harvest this season?

Step 1: The Art of Tomato Sauce: From Garden to Jar
One of the most rewarding ways to preserve the flavors of summer is by making your own tomato sauce. Nothing beats the taste of homemade sauce simmered with fresh herbs from your garden! This is also a fantastic way to use up a large tomato harvest before the frost hits.
Here's a simple recipe to get you started:
- Ingredients:
- 5 lbs ripe tomatoes, cored
- 1 large onion, chopped
- 4 cloves garlic, minced
- 1/4 cup olive oil
- 1 tbsp dried oregano
- 1 tsp dried basil
- 1/2 tsp salt
- 1/4 tsp black pepper
- 1 tbsp sugar (optional, to balance acidity)
- Instructions:
- Roughly chop the tomatoes and place them in a large pot.
- Add the onion, garlic, olive oil, oregano, basil, salt, and pepper.
- Bring the mixture to a simmer over medium heat.
- Reduce heat to low and simmer for 2-3 hours, stirring occasionally, until the sauce has thickened to your desired consistency.
- Use an immersion blender to smooth the sauce (optional).
- Taste and adjust seasonings as needed. Add sugar if the sauce is too acidic.
- Ladle the hot sauce into sterilized jars, leaving 1/2 inch headspace.
- Process in a boiling water bath for 35 minutes (for pints) or 40 minutes (for quarts).
Actionable Tip: Don't have enough tomatoes for a big batch? Freeze them whole! Simply wash, dry, and place them in freezer bags. You can thaw them later to make sauce or add to soups and stews. This tip is a great time saver during the busy harvest season.

Step 2: Composting for a Thriving Spring: Preparing Your Garden Beds
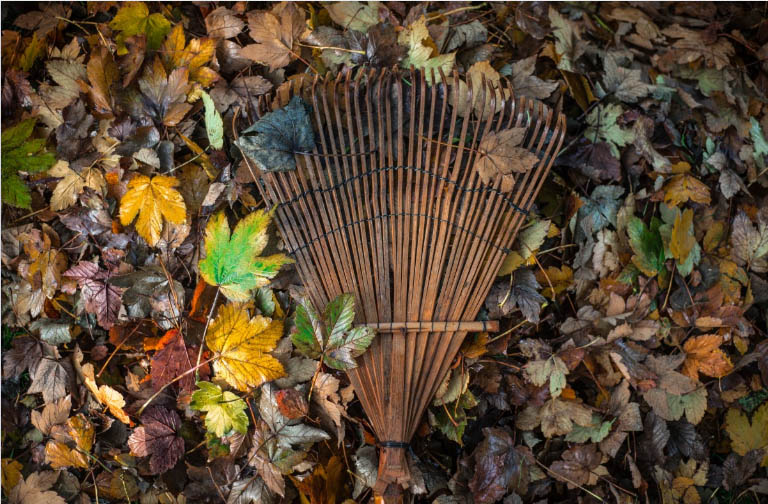
Autumn is the perfect time to prepare your garden beds for a flourishing spring. Composting is key to enriching your soil and reducing waste. Gather fallen leaves, spent plants, and kitchen scraps to create a nutrient-rich compost pile.
Here's how to get started with composting:
- Choose a location: Select a spot in your garden that is easily accessible and receives partial shade.
- Build a compost bin (optional): You can use a simple pile, a store-bought bin, or build your own using wood or wire mesh.
- Layer your materials: Alternate layers of "green" materials (nitrogen-rich, like grass clippings and kitchen scraps) with "brown" materials (carbon-rich, like leaves and shredded paper). A good ratio is 2 parts brown to 1 part green.
- Water regularly: Keep the compost pile moist, but not soggy.
- Turn the pile: Turn the compost pile every week or two to aerate it and speed up decomposition.
- Wait patiently: It can take several months for compost to fully decompose. You'll know it's ready when it's dark, crumbly, and smells earthy.
Actionable Tip: Speed up the composting process by chopping up larger materials into smaller pieces. This increases the surface area for microbes to break down the organic matter more quickly.

Step 3: Creating Cozy Comfort: Natural Autumn Decorating Ideas
Bring the beauty of the outdoors inside with natural autumn decorations. Embrace the warm colors and textures of the season to create a cozy and inviting home.
Here are a few simple ideas:
- Gather natural elements: Collect pinecones, acorns, colorful leaves, and twigs from your yard.
- Create a centerpiece: Arrange pumpkins, gourds, and corn stalks on your dining table or mantel.
- Make a wreath: Use grapevine wreaths as a base and attach dried flowers, berries, and leaves.
- Display seasonal produce: Fill baskets or bowls with apples, pears, and squash.
- Add warm textiles: Drape cozy blankets and pillows in warm colors like red, orange, and brown.
- Light candles: Use beeswax or soy candles with autumn-inspired scents like apple cider or pumpkin spice.
Actionable Tip: For a longer-lasting display, dry your autumn leaves by pressing them between the pages of a heavy book for a week or two. Once dried, you can use them in various crafts or decorations.

Step 4: Seed Saving for Future Harvests: Ensuring Your Garden's Legacy
Don't let your favorite plants disappear! Autumn is the perfect time to save seeds for next year's garden. Saving seeds is a sustainable way to ensure that you have a supply of your favorite varieties and allows you to adapt your plants to your local climate over time.
Here's how to save seeds from common garden plants:
- Tomatoes: Allow tomatoes to fully ripen on the vine. Squeeze the seeds and pulp into a jar. Add a little water and let the mixture ferment for a few days, stirring occasionally. This will remove the gelatinous coating from the seeds. Rinse the seeds thoroughly and spread them out on a paper towel to dry.
- Peppers: Allow peppers to fully ripen on the plant. Remove the seeds and spread them out on a paper towel to dry.
- Beans: Allow bean pods to dry completely on the plant. Shell the beans and store them in an airtight container.
- Herbs: Allow herb flowers to dry on the plant. Collect the seed heads and crush them to release the seeds.
Actionable Tip: Always label your seeds with the plant name and the date they were harvested. Store seeds in a cool, dark, and dry place to ensure their viability.

Step 5: Prepping Your Chickens and Coop for Winter: Ensuring Warmth and Health
If you raise chickens, now is the time to prepare them and their coop for the colder months ahead. Ensuring their warmth and health is crucial for their well-being and egg production.
Here are a few essential tasks:
- Insulate the coop: Add extra insulation to the walls and roof of the coop to help retain heat. Straw bales or old blankets can be used for insulation.
- Ventilation: Ensure proper ventilation to prevent moisture build-up, which can lead to respiratory problems.
- Deep litter method: Use the deep litter method by adding layers of bedding (like straw or wood shavings) to the coop floor. This will provide insulation and break down into compost over time.
- Protect from drafts: Seal any cracks or openings in the coop to prevent drafts.
- Provide supplemental heat (if needed): If you live in a very cold climate, you may need to provide a safe heat source for your chickens.
- Ensure access to fresh water: Provide a heated waterer to prevent the water from freezing.
- Provide extra feed: Chickens need more energy in the winter to stay warm, so provide them with extra feed.
Actionable Tip: Observe your chickens closely for signs of frostbite, such as pale combs and wattles. Apply petroleum jelly to these areas to protect them from the cold.

As the final leaves fall and the first frosts arrive, take pride in knowing that you've made the most of autumn's abundance. By preserving your harvest, preparing your garden, and creating a cozy home, you're embracing the beauty and rhythm of seasonal living. Remember, winter is a time for rest and reflection, knowing that your efforts now will lead to a thriving garden and a nourished soul in the spring.
Now, we want to hear from you! What are your favorite autumn harvest tips? Share them in the comments below!
For more seasonal inspiration, check out our post on Winter Gardening Tips and Preserving Vegetables for Winter.


