Embark on a Homesteading Adventure: Build a DIY Rainwater Harvesting System for Garden Irrigation!
Are you dreaming of a more self-sufficient and sustainable lifestyle? Do you long to nurture your garden with nature's own bounty while reducing your reliance on municipal water sources? Then it's time to embark on a homesteading adventure and build your own DIY rainwater harvesting system! This simple yet effective project is a game-changer for beginner to intermediate homesteaders looking to embrace water conservation, enhance food production, and take a significant step towards self-reliance. Get ready to roll up your sleeves and discover the joys of DIY homestead projects!
This guide will walk you through building a straightforward rainwater harvesting system perfect for garden irrigation. It's achievable for those with basic DIY skills, limited budgets, and a passion for sustainable living. We’ll break down each step, offering tips, tricks, and cautionary notes to ensure your success. Let's dive in!
Why Harvest Rainwater? The Benefits for Your Homestead
Before we start building, let's understand why rainwater harvesting is a valuable addition to any homestead. This project offers several benefits:
- Water Conservation: Reduce your reliance on municipal water, especially during dry seasons.
- Cost Savings: Lower your water bill and free up resources for other homesteading endeavors.
- Plant Health: Rainwater is naturally soft and free from chemicals like chlorine, making it ideal for plant growth.
- Environmental Impact: Minimize your environmental footprint by utilizing a readily available natural resource.
- Self-Sufficiency: Gain greater control over your water supply, increasing your homestead's resilience.
Incorporating DIY homestead projects like rainwater harvesting allows you to embrace sustainable homesteading projects and become more self-sufficient.
Project Overview: A Simple Rainwater Harvesting System
This project focuses on a basic system that collects rainwater from your roof and stores it in a container for garden irrigation. Here's a general overview:
- Collection: Rainwater flows from your roof into your gutters.
- Filtration: A screen or filter prevents leaves and debris from entering the system.
- Storage: Rainwater is collected in a storage container (e.g., a food-grade barrel).
- Distribution: Water is drawn from the container for garden irrigation using a watering can or a simple gravity-fed system.
Step-by-Step Guide: Building Your Rainwater Harvesting System
Now, let's get our hands dirty and build your rainwater harvesting system.
Materials You'll Need:
- Food-grade barrel or container (50-250 gallons): Choose a size that suits your needs and available space. Check local listings or food processing plants.
- Gutter downspout extension: To divert water to your barrel.
- Downspout diverter: This diverts rainwater into the barrel and prevents overflow.
- Screen or filter: To keep out leaves and debris.
- Spigot or tap: For easy water access.
- Drill with appropriate drill bits: For making holes in the barrel.
- Hole saw (optional): For creating larger, cleaner holes.
- PVC pipe and fittings (optional): For extending the downspout or creating an overflow system.
- Sealant (silicone or plumbers tape): To prevent leaks.
- Bricks or concrete blocks: To elevate the barrel.
Step 1: Prepare Your Barrel
- Clean the barrel thoroughly: Use soap and water to remove any residue. Rinse well. This is crucial, especially if the barrel was previously used for food storage.
- Drill an overflow hole: Drill a hole near the top of the barrel for overflow. Attach a PVC pipe fitting and pipe to direct excess water away from your foundation.
- Install the spigot: Drill a hole near the bottom of the barrel for the spigot. Apply sealant and screw the spigot into place.
Step 2: Set Up Your Collection Point
- Choose a downspout: Select a downspout that's easily accessible and close to your garden.
- Install the downspout diverter: Cut the downspout and install the diverter according to the manufacturer's instructions. This will redirect rainwater into your barrel.
- Position the barrel: Place the barrel under the diverter. Use bricks or concrete blocks to elevate the barrel for better water pressure.
Step 3: Connect the System
- Connect the diverter to the barrel: Use a section of PVC pipe or a flexible hose to connect the diverter to the inlet hole on the top of the barrel.
- Install the filter: Place a screen or filter in the inlet hole to prevent debris from entering the barrel.
Step 4: Test and Refine
- Wait for rain! Observe your system during a rain shower to ensure it's functioning correctly.
- Check for leaks: Inspect all connections and apply sealant if necessary.
- Adjust the system: Make any necessary adjustments to improve efficiency or prevent overflow.
Tips and Tricks:
- Elevate the barrel: This provides better water pressure for irrigation.
- Use a dark-colored barrel: This prevents algae growth.
- Clean your gutters regularly: This prevents clogs and ensures efficient water collection.
- Consider a first-flush diverter: This diverts the initial dirty water away from the barrel.
- Add mosquito netting to the overflow pipe: Prevents mosquitoes from breeding in the barrel.
My Homesteading Journey: Lessons Learned
When I first embarked on this project, I underestimated the importance of thoroughly cleaning the barrel. My first batch of rainwater had a slight, unpleasant odor! After a deep cleaning and adding a charcoal filter, the problem was solved. Don't skip this crucial step!
Another challenge was finding the right downspout diverter. I initially purchased a cheap plastic one that cracked after a few months. Investing in a higher-quality metal diverter proved to be a worthwhile upgrade.
These experiences taught me the value of patience, persistence, and attention to detail – essential qualities for any homesteader embracing DIY homestead projects.
Adapting the Project to Your Needs
This basic system can be adapted to suit your specific needs and resources.
- Larger Storage: Use multiple barrels or a larger tank for increased water storage.
- Automated Irrigation: Connect a pump and drip irrigation system for automated watering.
- Greywater System: Explore integrating a greywater system for even greater water conservation.
- Building Raised Garden Beds with Compost Integration
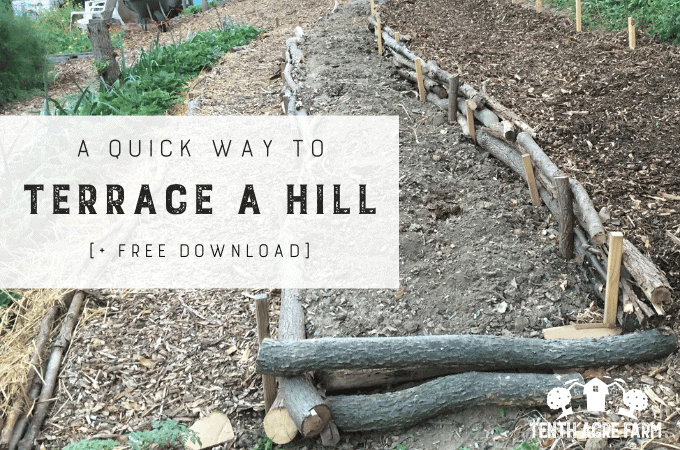
- Terracing a Hill
- Making tallow products

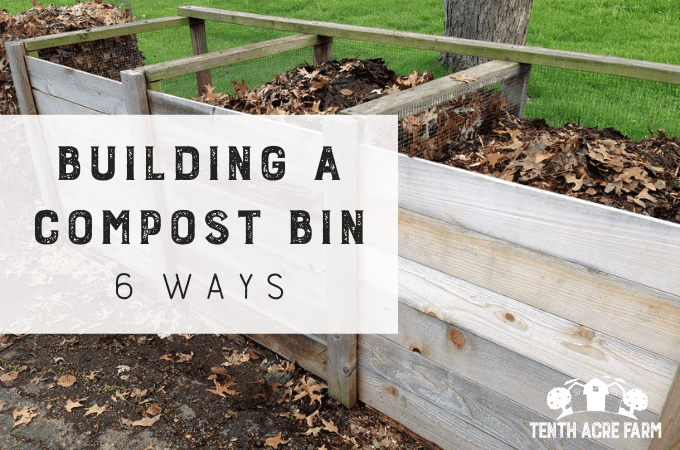
- Building A Compost Bin
Share Your DIY Success!
Building a rainwater harvesting system is a rewarding and empowering experience. By taking control of your water supply, you're not only saving money and conserving resources, but you're also taking a significant step towards self-sufficiency and resilience.
Now it’s your turn! What are your experiences with DIY homesteading projects? Share your successes, challenges, and tips in the comments below. Let's create a community of resourceful and resilient homesteaders!
Embrace the Homesteading Lifestyle
Homesteading is a journey, not a destination. Each DIY project, each small step towards self-sufficiency, brings you closer to a more rewarding and fulfilling life. So, embrace the adventure, get your hands dirty, and discover the joy of creating a sustainable and resilient homestead. Start with a simple project like a rainwater harvesting system and watch your homestead flourish!