
Early Spring Magic: Starting Heirloom Vegetables Indoors
There's a certain magic in the air as winter begins to loosen its grip. The days grow longer, the sun feels warmer, and a yearning for fresh, vibrant life awakens within us. For the avid gardener, this means one thing: it's time to start dreaming of the bounty to come and, more importantly, to start sowing the seeds of that dream indoors. There's an unparalleled satisfaction in nurturing a tiny seed into a thriving plant, knowing that you've played a vital role in bringing delicious, homegrown goodness to your table. This year, we're focusing on heirloom vegetables – varieties passed down through generations, prized for their unique flavors and captivating beauty. We'll be guiding you through the process of starting heirloom tomatoes ('Cherokee Purple'), peppers ('California Wonder'), and eggplants ('Black Beauty') indoors, ensuring a head start on a flourishing spring harvest. Get ready to experience the early spring magic of self-sufficiency!
Step 1: Gathering Your Supplies
Before you begin, it's essential to have all your supplies within easy reach. This will streamline the process and ensure a smooth and enjoyable seed starting experience. Here’s what you’ll need:
- Peat-free seed starting mix: Opt for a coir and vermiculite-based mix. This provides excellent drainage and aeration, crucial for healthy seedling development. Peat is not a sustainable resource, so peat-free is better for the environment.
- Upcycled egg cartons and biodegradable peat pots: Egg cartons are perfect for starting multiple seeds of the same variety, while peat pots are ideal for individual plants and can be directly transplanted into the garden.
- 'Cherokee Purple' tomato seeds, 'California Wonder' pepper seeds, and 'Black Beauty' eggplant seeds: Choose high-quality seeds from a reputable source for the best germination rates.
- T5 fluorescent grow lights or LED grow lights: Adequate lighting is crucial for strong, healthy seedlings.
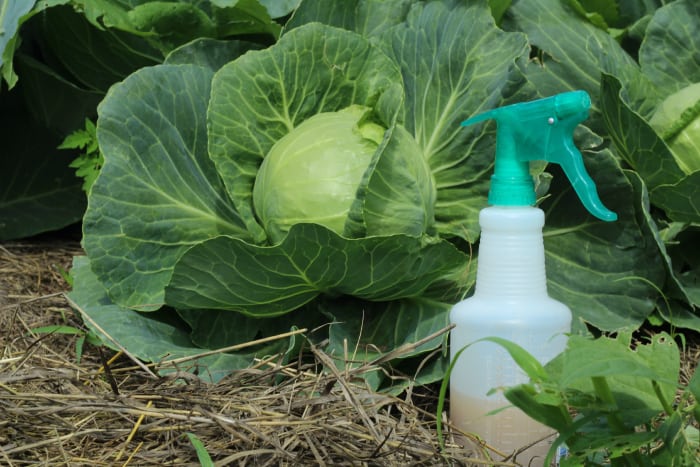
- Spray bottle: For gently misting the soil.
- Watering can with a gentle rose head: For watering seedlings without disturbing the soil.
- Chamomile tea (cooled): A natural fungicide that helps prevent damping off.
- Diluted seaweed emulsion: A gentle fertilizer to nourish young seedlings.
Step 2: Setting Up Your Grow Lights
Sufficient light is paramount to successful indoor seed starting. Without it, seedlings become leggy and weak, struggling to thrive. Grow lights mimic the sun's rays, providing the necessary energy for photosynthesis.
T5 Fluorescent Grow Lights vs. LED Grow Lights:
- T5 Fluorescent Grow Lights: These are a cost-effective option for seed starting. They provide a broad spectrum of light and are relatively energy-efficient. However, they do generate heat and need to be replaced periodically.
- LED Grow Lights: LEDs are more energy-efficient and have a longer lifespan than T5 fluorescents. They also produce less heat, which can be beneficial in warmer environments. While the initial investment is higher, the long-term savings can be significant.
Setting Up Your Lights:
Position your grow lights 2-4 inches above the seed starting trays. This proximity ensures that the seedlings receive adequate light without being scorched. Use a timer to provide 14-16 hours of light daily. This extended photoperiod encourages strong and rapid growth.
Step 3: Sowing Your Seeds
Now comes the exciting part: planting your seeds!

- Fill your chosen containers (egg cartons and peat pots) with peat-free seed starting mix. Gently compress the soil, leaving about half an inch of space at the top.
- Sow your seeds. For tomatoes, peppers, and eggplants, plant the seeds approximately ¼ inch deep. You can plant 2-3 seeds per cell in the egg carton, thinning to the strongest seedling later. In peat pots, plant 1-2 seeds.
- Gently mist the soil with water from a spray bottle after sowing. This ensures good contact between the seeds and the soil.
- Label your containers with the variety name and date of sowing. This will help you keep track of your seedlings.
Step 4: Providing Consistent Moisture
Maintaining consistent moisture is critical for successful germination. The soil should be consistently moist, but not waterlogged.
- Use a spray bottle to gently mist the soil daily. Avoid overwatering, which can lead to fungal diseases.
- Check soil moisture by feeling the surface. It should feel moist to the touch. If it feels dry, mist with water. If it feels soggy, allow the soil to dry out slightly before watering again.
Step 5: Preventing Damping Off
Damping off is a fungal disease that can quickly wipe out young seedlings. It's characterized by a white, fuzzy growth near the base of the stem, causing the seedlings to wilt and collapse.
- Use a clean, sterile seed starting mix. This helps prevent the introduction of fungal spores.
- Provide good air circulation. A small fan can help improve airflow around the seedlings.
- Water with cooled chamomile tea. Chamomile tea has natural antifungal properties that can help prevent damping off. Simply brew a cup of chamomile tea, allow it to cool completely, and use it to water your seedlings.
Step 6: Hardening Off Your Seedlings
Before transplanting your seedlings outdoors, it's essential to harden them off. This process gradually acclimates the seedlings to outdoor conditions, reducing transplant shock.

Follow this 7-day hardening off schedule:
- Day 1: Place seedlings outdoors in a shady, sheltered location for 1 hour.
- Day 2: Increase the outdoor exposure to 2 hours.
- Day 3: Increase the outdoor exposure to 3 hours.
- Day 4: Move seedlings to a slightly sunnier location for 3 hours.
- Day 5: Increase the outdoor exposure to 4 hours.
- Day 6: Move seedlings to a location with morning sun for 5 hours.
- Day 7: Expose seedlings to full sun for 6 hours.
- Bring seedlings indoors each night.
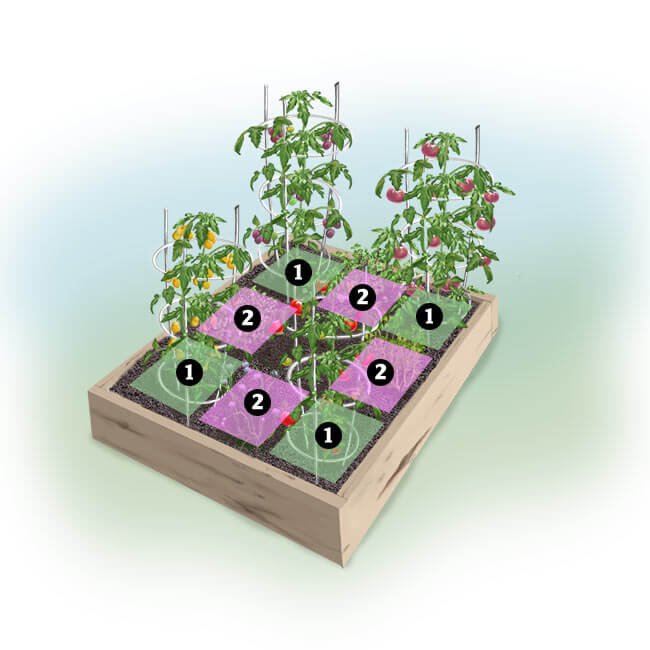
Step 7: Transplanting and Fertilizing
Once the danger of frost has passed and your seedlings are hardened off, it's time to transplant them into their final growing location.
- Choose a sunny location with well-drained soil.
- Dig a hole slightly larger than the root ball of the seedling.
- Gently remove the seedling from its container. If using peat pots, you can plant the entire pot directly into the ground.
- Place the seedling in the hole and backfill with soil.
- Water thoroughly after transplanting.
- Fertilize seedlings with diluted seaweed emulsion according to package instructions.
Starting heirloom vegetables indoors is a rewarding and fulfilling experience. From the simple act of sowing a seed to the joy of harvesting your own homegrown produce, the process connects you to the earth and provides a sense of self-sufficiency. Embrace the magic of early spring and embark on your seed starting journey today. We encourage you to share your own seed starting experiences and tips in the comments section below! Happy gardening!