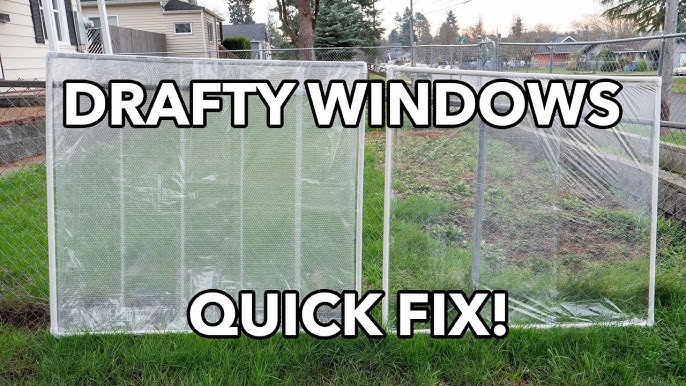
DIY Window Insulation with Upcycled Materials: Saving Money and Staying Cozy This Winter
I remember winters growing up in my grandmother's farmhouse. The wind howled, snow piled high, and despite the roaring woodstove, a chill always seemed to seep in through the old windows. We’d huddle under blankets, dreaming of warmer days. That experience instilled in me a deep desire to create a home that's not just a shelter, but a haven – warm, comfortable, and respectful of the resources we have. Today, I'm excited to share a simple, yet incredibly effective DIY project that will not only save you money on heating bills but also make your homestead a much cozier place this winter: DIY window insulation using upcycled materials.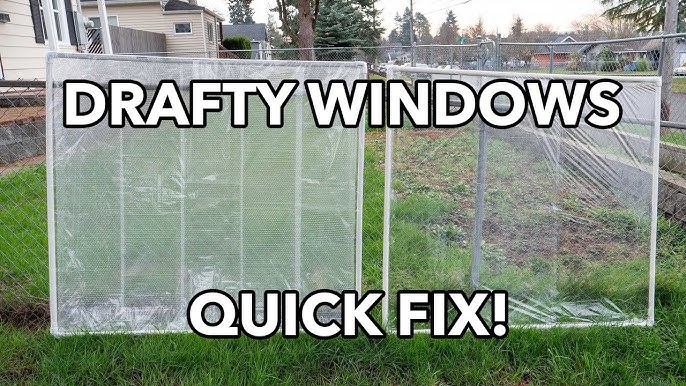
Why Window Insulation Matters for Homesteaders
Beyond the obvious benefit of lower heating bills, efficient window insulation offers so much more to the homesteading lifestyle. It reduces our reliance on fossil fuels, contributing to a smaller carbon footprint. It increases the comfort of our homes, making them more enjoyable spaces to live and work. And perhaps most importantly, it fosters a deeper connection to our homes and the resources we use. By upcycling materials, we’re not just saving money; we’re reducing waste and embodying the homesteading ethos of resourcefulness. It's about making do with what we have and creating a more sustainable way of life.
Step-by-Step Guide to DIY Upcycled Window Insulation
Here’s how to insulate your windows using readily available and upcycled materials. This method is particularly effective for older homes with drafty windows, but it can be adapted for various window types.
1. Gather Your Materials:
- Clear Plastic Sheeting: Old shower curtains, clear plastic tablecloths, or even heavy-duty plastic bags (carefully taped together) work well. Cost: Free to $5 (depending on what you have on hand)
- Upcycled Insulation Material: Old blankets, quilts, towels, bubble wrap, or even cardboard can be used for insulation. Cost: Free (from your existing stash!)
- Double-Sided Tape: Essential for securing the plastic sheeting to the window frame. Cost: $5-$10
- Scissors or Utility Knife: For cutting the plastic and insulation material.
- Measuring Tape: To accurately measure your windows.
- Optional: Hair Dryer: To shrink the plastic for a tighter fit (only if using thin plastic sheeting).
2. Measure Your Windows:
Carefully measure the inside of your window frame. You'll need these measurements to cut your plastic sheeting and insulation material to the correct size. Add a couple of extra inches to each side to ensure a good seal.
3. Cut the Plastic Sheeting:
Cut the plastic sheeting according to your measurements, adding those extra inches on each side.
4. Attach Double-Sided Tape:
Apply double-sided tape around the inside perimeter of your window frame. Make sure the surface is clean and dry for optimal adhesion.
5. Apply the Plastic Sheeting:
Carefully attach the plastic sheeting to the double-sided tape, pressing firmly to create a good seal. Smooth out any wrinkles or air pockets.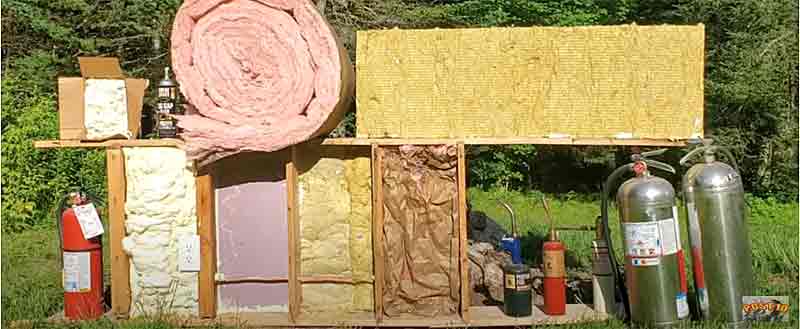
6. (Optional) Shrink the Plastic (if applicable):
If you're using thin plastic sheeting, use a hair dryer on low heat to gently shrink the plastic. This will create a tighter, more transparent seal. Be careful not to overheat the plastic, as it could melt.
7. Cut the Insulation Material:
Cut your chosen insulation material (blanket, quilt, bubble wrap, etc.) to the same size as the plastic sheeting.
8. Secure the Insulation Material:
You have a couple of options here. You can either:
- Option A (For thicker materials like blankets/quilts): Carefully tuck the insulation material between the plastic sheeting and the window. The plastic sheeting should hold it in place. You might need to use additional tape along the edges to secure it.
- Option B (For thinner materials like bubble wrap/cardboard): Attach the insulation material directly to the window glass before applying the plastic sheeting. Use small pieces of tape to hold it in place. Then, proceed with steps 4-6.
9. Inspect and Seal:
Carefully inspect the edges of your insulated window. If you notice any gaps or air leaks, seal them with more tape. A good seal is crucial for preventing drafts and maximizing insulation.
Homesteading Wisdom: Adapting the Technique
- Old Windows: Older homes often have unique window shapes and sizes. Don't be afraid to adapt this technique to fit your specific windows. You might need to create custom-cut plastic sheeting or insulation material.
- Sourcing Materials: Look for free or low-cost materials at thrift stores, garage sales, or even online marketplaces. Ask friends and neighbors if they have any old blankets or plastic sheeting they're willing to donate. Consider checking with local businesses that may have excess packaging materials like bubble wrap they are willing to give away.
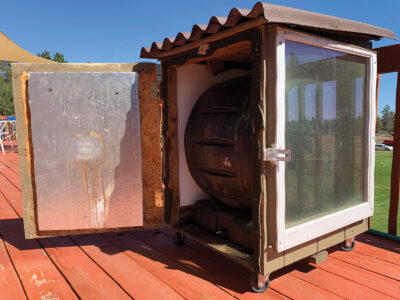
- Single-Pane Windows: This technique is particularly effective for single-pane windows, which are notorious for heat loss.
- Considerations for Ventilation: Remember that sealing your windows completely can reduce ventilation. Make sure you have adequate ventilation in your home to prevent moisture buildup. Consider insulating some windows and leaving others uninsulated for airflow.
- Airtightness is Key: The most important factor in effective window insulation is creating an airtight seal. Take your time and pay attention to detail when applying the plastic sheeting and sealing the edges.
- Layering is Your Friend: Don't be afraid to layer different types of upcycled insulation. For example, a layer of cardboard covered with an old blanket can provide excellent insulation.
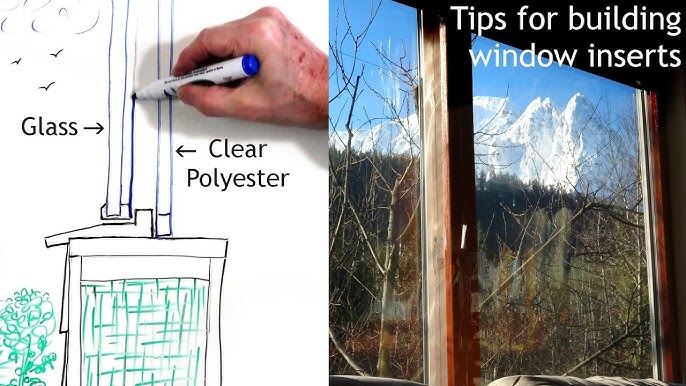
- Don't forget the Basement: Ensure your basement windows are insulated as well using similiar techniques to stop drafts that will travel up.
Beyond the Basics: Additional Tips for a Cozy Homestead
DIY window insulation is just one piece of the puzzle when it comes to creating a warm and energy-efficient homestead. Here are a few other tips to consider:
- Weatherstripping: Replace worn or damaged weatherstripping around doors and windows to eliminate drafts.
- Caulking: Seal any cracks or gaps in your home's exterior walls with caulk.
- Curtains and Drapes: Heavy curtains or drapes can provide an extra layer of insulation.
- Rugs and Carpets: Cover bare floors with rugs or carpets to add warmth.
Get Started Today!
DIY window insulation with upcycled materials is a simple, affordable, and effective way to improve the energy efficiency of your homestead and create a more comfortable living space this winter. So, gather your materials, grab your scissors, and get started!
Now, I want to hear from you! What are your favorite window insulation tips? Have you tried this DIY project? Share your experiences and photos in the comments below. Let's learn from each other and create warmer, more sustainable homes together.
For more tips on winterizing your homestead and embracing sustainable living, check out these related articles on Better Homes and Harvests:
- Winterizing Your Chicken Coop: Keeping Your Flock Happy and Healthy(Note: Replace with a real URL)
- Upcycling Ideas for the Homestead: Turning Trash into Treasure(Note: Replace with a real URL)
Don't forget to share this post with your friends and family on social media! Let's spread the word about the benefits of DIY window insulation and inspire others to create warmer, more sustainable homes.