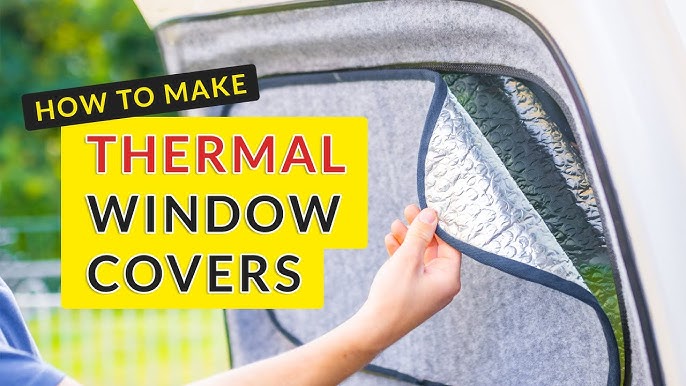
DIY Window Insulation: Slash Winter Heating Bills on Your Homestead
Are you tired of watching your hard-earned money fly out the window – literally? Do you dread the arrival of those sky-high heating bills each winter, or feel a constant chill despite cranking up the thermostat? You’re not alone. Many homesteaders struggle with energy loss through poorly insulated windows. But fear not! There's a simple, affordable, and effective solution: DIY insulated window covers.
These covers can dramatically reduce energy loss, improving your home's comfort year-round, whether it's keeping the heat in during the winter or keeping it out during the summer. This project is beginner-friendly and will guide you through a step-by-step process to create your own insulated window covers and take a significant step towards energy independence.

Image: Wide angle shot of a charming, snow-covered homestead house, clearly showing windows.
Understanding Your Windows and Their Energy Loss
Before diving into the DIY, it's helpful to understand how windows contribute to energy loss. There are several culprits:
- Conduction: Heat (or cold) transfers directly through the glass itself.
- Convection: Air currents circulate near the window, carrying heat away (or bringing in cold air).
- Radiation: Solar radiation heats up objects inside your home in the summer, while in the winter, heat radiates from warm objects to the cold window.
- Air Leakage: Drafts sneak in through cracks and gaps around the window frame.
Windows are rated with an R-value (resistance to heat flow) and a U-factor (the rate of heat transfer). The higher the R-value, the better insulated the window. Most older windows have very low R-values, leading to significant energy loss.
Not sure if your windows are the problem? Try this simple test: on a cold day, light a candle and slowly move it around the edges of your window frame. If the flame flickers or dances, you've got a draft!
Even before investing in expensive window replacements, focusing on insulation with DIY covers can provide immediate and noticeable results, saving you money and improving your comfort.
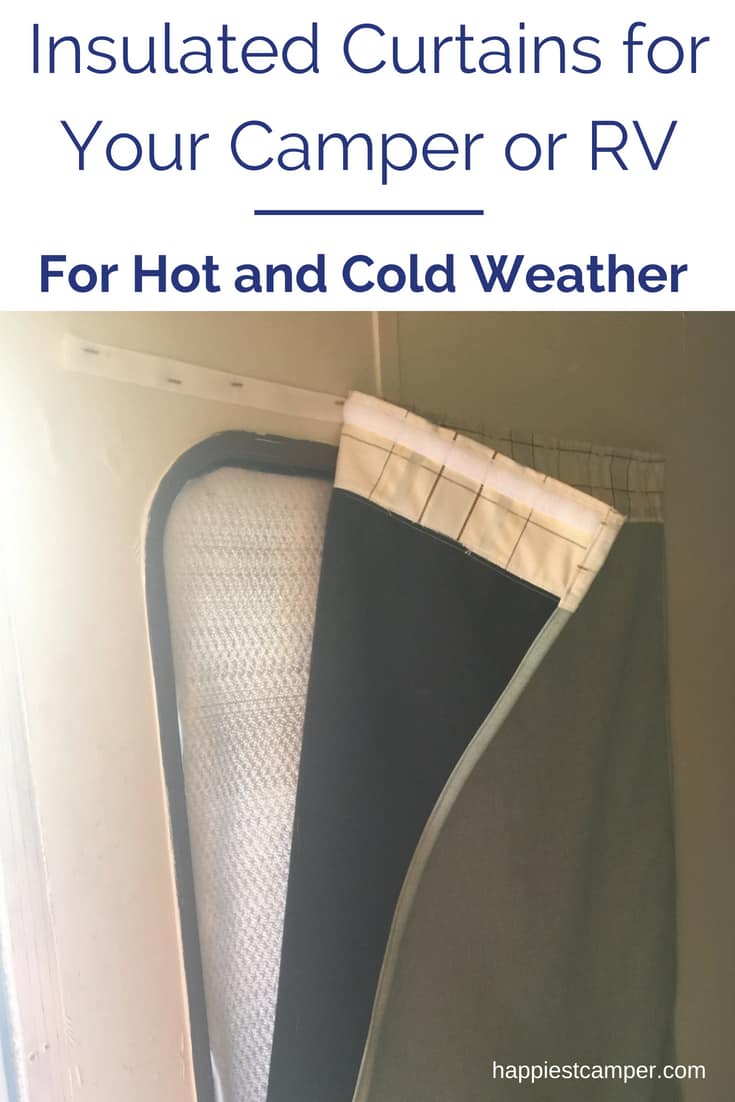
Image: Close-up of a hand holding a lit candle near a window frame, showing the flame flickering in response to a draft.
Gathering Your Materials – Budget-Friendly Options
One of the best things about this project is that it can be done on a shoestring budget! Here’s what you'll need:
- Reflectix Insulation: This reflective bubble wrap insulation is the key to blocking radiant heat transfer.
- Fabric: Choose a fabric that complements your home décor. Fleece, denim, canvas, or even repurposed blankets work well.
- Batting (Optional): For extra insulation, add a layer of batting between the Reflectix and the fabric. Old blankets or quilts can be cut up and used.
- Scissors or Utility Knife: For cutting the Reflectix and fabric.
- Measuring Tape: Essential for accurate measurements.
- Straight Edge: A ruler or level will help you make straight cuts.
- Marker: For marking measurements on the materials.
- Sewing Machine (Optional): A sewing machine will give your window covers a more polished look, but you can also use staples or glue.
- Velcro Strips or Magnets: For attaching the covers to the window frame.
Cost Breakdown (Approximate):
- Reflectix (24" x 25ft): $30 - $40
- Fabric (2 yards): $10 - $30 (depending on the type of fabric)
- Batting (Optional): $0 - $20 (depending on whether you repurpose or buy new)
- Velcro Strips or Magnets: $5 - $10
Total (New Materials): $45 - $100+
Repurposed Materials: If you repurpose fabric and batting, you could easily complete this project for under $40! Check thrift stores, online marketplaces, or even your own closets for materials.
Safety Considerations: Always wear eye protection when cutting Reflectix, as small pieces can fly off.
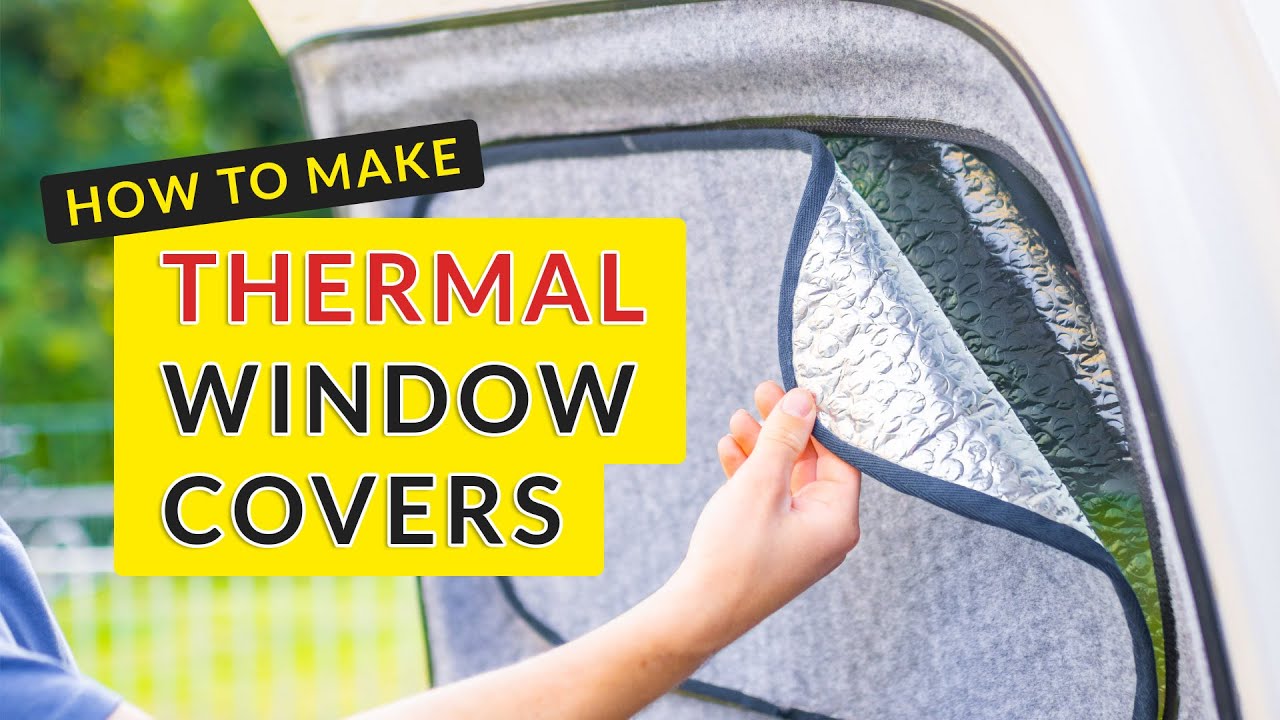
Image: A table or workspace showing all the materials needed for the project, neatly organized (Reflectix, fabric, measuring tape, scissors, etc.).
Step-by-Step Guide: Measuring and Cutting
Accuracy is key to a snug fit, which is crucial for effective insulation. Follow these steps carefully:
- Measure the Window Opening: Measure the inside dimensions of the window opening where you want to install the cover. Measure both the width and the height.
- Add Seam Allowance (If Sewing): If you plan to sew the fabric onto the Reflectix, add 1-2 inches to each dimension for seam allowance. If stapling, add 1 inch for folding over the edges.
- Cut the Reflectix: Using a sharp utility knife and a straight edge, cut the Reflectix to the measured dimensions.
- Cut the Fabric: Cut the fabric to the measured dimensions (including seam allowance, if applicable).
- Cut the Batting (If Using): Cut the batting to the same dimensions as the Reflectix.
Pro Tip: Double-check your measurements before cutting! It’s better to cut too large than too small. You can always trim extra material.
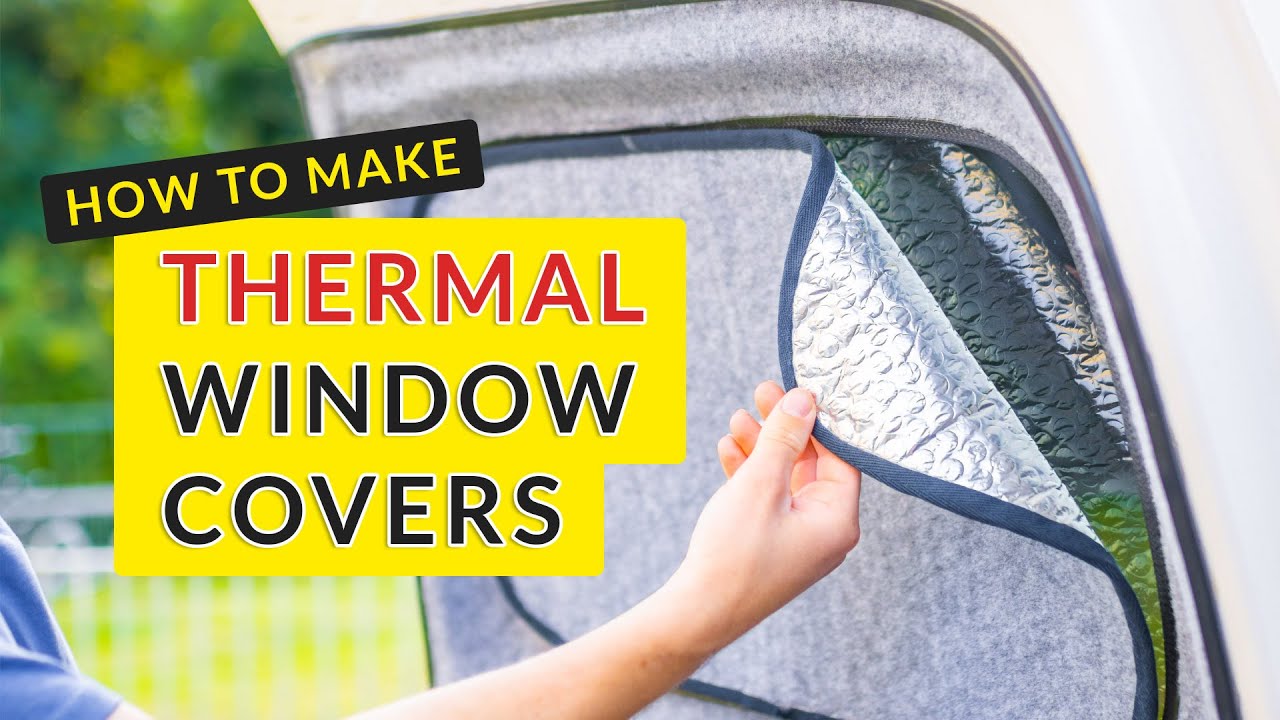
Image: Close-up of hands using a measuring tape to measure the inside dimensions of a window opening.
Assembling the Insulated Window Cover
Now, it's time to put everything together. Here are two methods: sewing and stapling.
Sewing (For a Finished Look):
- Place the fabric right sides together and sew around three sides, leaving one side open.
- Turn the fabric right side out.
- Insert the batting (if using) and then the Reflectix into the fabric pocket.
- Fold the open side of the fabric inward and sew it closed, creating a finished edge.
Stapling (A Quick and Easy Option):
- Lay the fabric face down on a flat surface.
- Place the Reflectix on top of the fabric, centered.
- Fold the edges of the fabric over the Reflectix and staple them in place, creating a border around the Reflectix.
- If using batting, place it between the fabric and the Reflectix before stapling.
Installation and Attachment Methods
Choose an attachment method that works best for your windows.
- Velcro Strips: Cut Velcro strips into small pieces. Attach one side of the Velcro to the window frame and the other side to the back of the insulated cover. This allows for easy removal and reinstallation.
- Magnets: If you have metal window frames, use strong magnets to attach the cover. Glue the magnets to the back of the insulated cover.
- Tension Rods: For certain window types, you can create a pocket at the top of the cover and insert a tension rod, just like a curtain.
Ensure a secure and airtight seal by pressing the covers firmly against the window frame.
Living with Your Insulated Window Covers: Tips and Maintenance
To maximize the benefits of your DIY insulated window covers:
- Install them at night: This is when the most heat is lost through windows.
- Remove them on sunny days: Let the sun's rays warm your home.
- Clean them regularly: Wipe down the fabric with a damp cloth.
- Store them properly: When not in use, store the covers in a dry place to prevent mold or mildew.
Troubleshooting:
- Covers Falling Down: Use stronger Velcro strips or magnets.
- Condensation Forming: Ensure a tight seal to prevent warm, moist air from reaching the cold window surface. If condensation persists, consider adding a moisture barrier.
Personalize your covers by using different fabrics, adding decorative elements, or even painting the Reflectix.
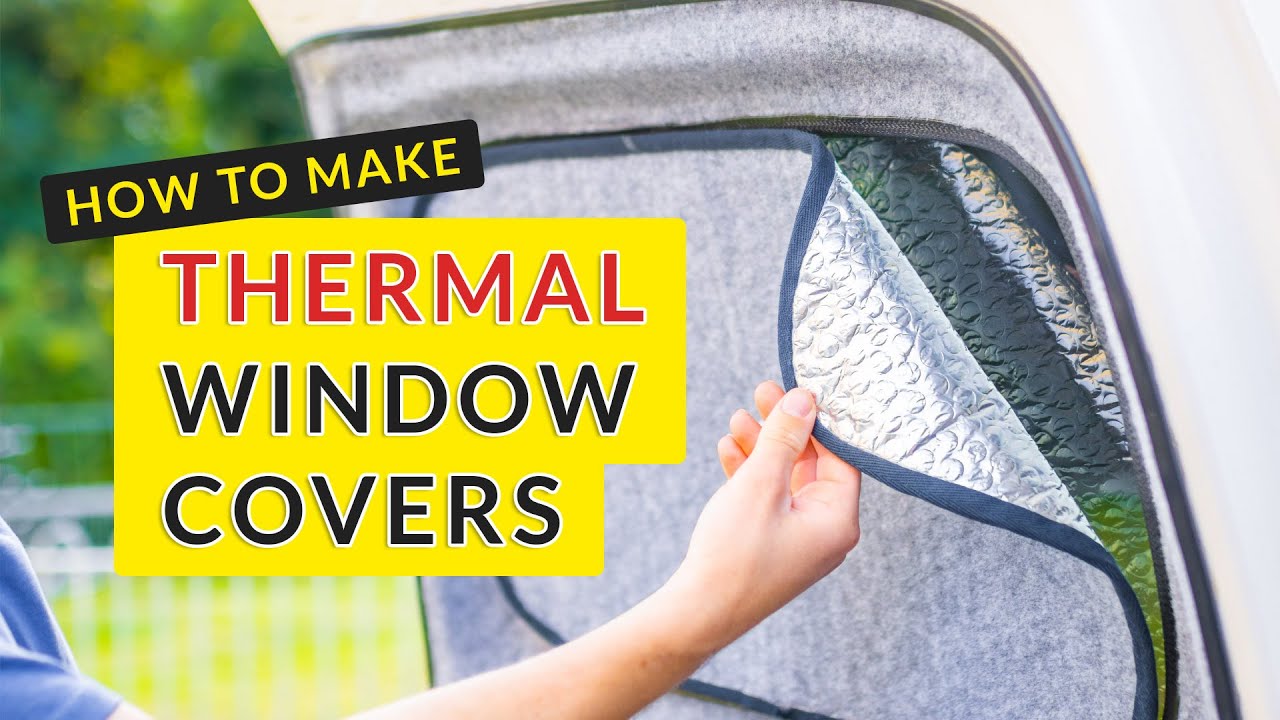
Image: Interior shot of a room with the DIY insulated window covers installed, showcasing the aesthetic appeal of different fabric choices.
A Warmer Home, A Greener Lifestyle, and a Lighter Wallet
Building your own DIY insulated window covers is a rewarding project that will bring you a warmer home, a greener lifestyle, and a lighter wallet. By understanding how windows lose energy and taking simple steps to insulate them, you can significantly reduce your heating bills and improve your comfort. So, grab your materials, get creative, and start saving money today! What are you waiting for?
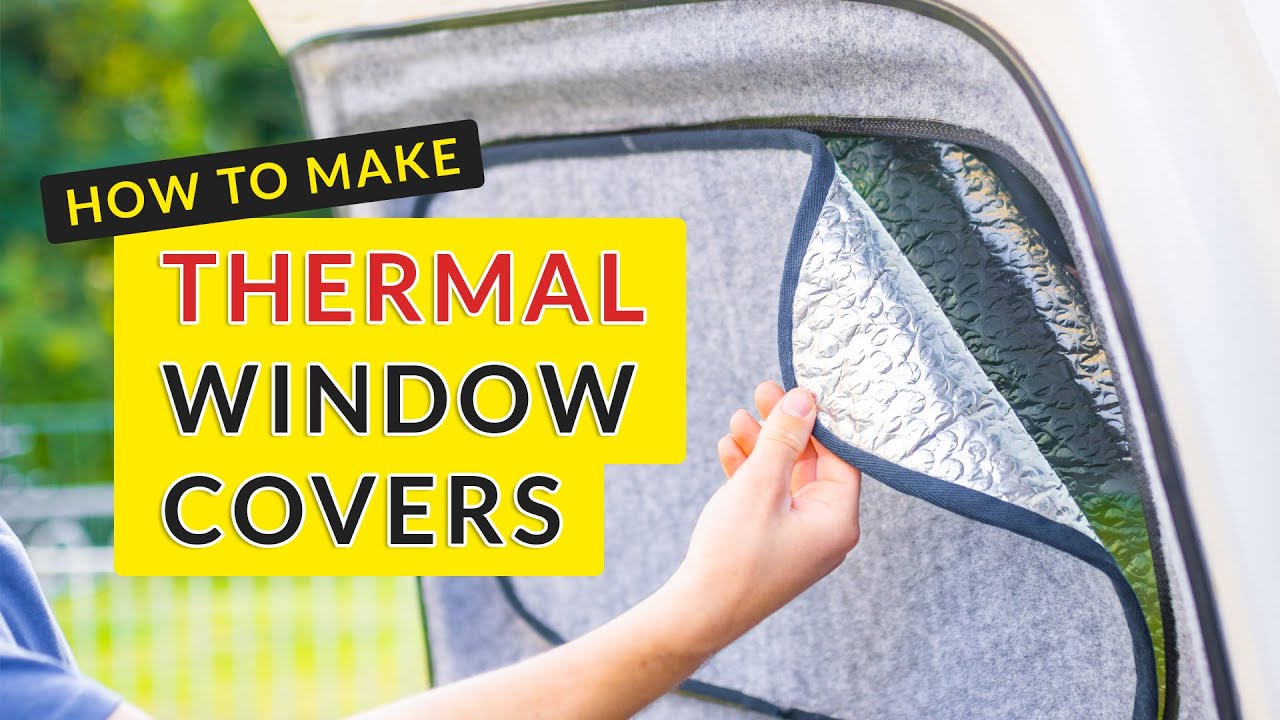
Image: A family smiling and looking content inside their cozy homestead home during winter.