DIY Window Insulation: Cut Winter Heating Costs on Your Homestead
That first chilly night of autumn always brings a mixed bag of feelings. The excitement of pumpkin spice everything, the beauty of changing leaves...and the sudden realization that your heating bill is about to skyrocket. If you're a homesteader, you're likely already thinking about resourcefulness, and that includes tackling energy leaks in your home. Older homes, and even some newer ones, often suffer from inefficient windows that let precious heat escape, leading to discomfort and higher energy bills.
Luckily, you don't need to replace all your windows to make a significant difference. A simple, cost-effective DIY project can dramatically improve your window insulation, making your homestead cozier and lighter on your wallet. We're moving beyond basic plastic sheeting here; we're talking about creating a long-lasting, effective solution. Get ready to learn how to craft your own reflective window insulation panels, and say hello to a warmer home, lower heating bills, increased comfort, and reduced condensation.

Understanding Your Window Insulation Needs
Before diving into the DIY, it's important to understand how heat escapes through windows. It's not just about air leaks! There are three primary ways heat is lost:
- Conduction: Heat directly transfers through the window material itself (glass, frame).
- Convection: Warm air circulates near the window, cools down, and creates a draft.
- Radiation: Heat radiates outwards through the window, especially on cold nights.
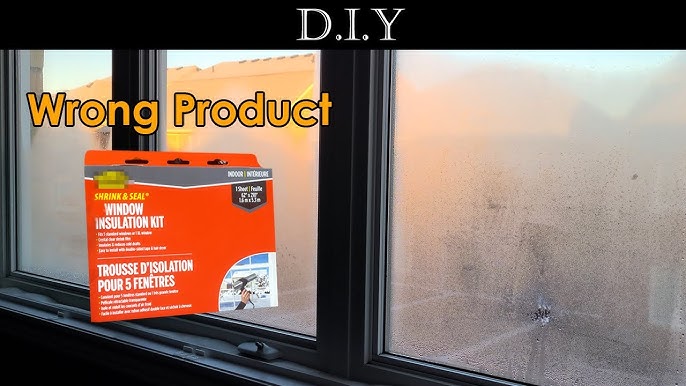
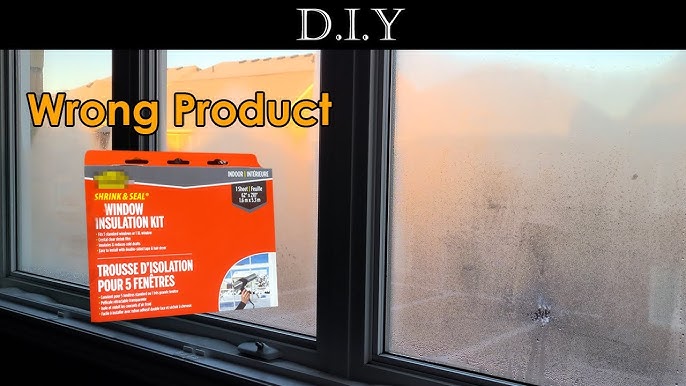
Signs of inadequate window insulation are easy to spot: drafts near windows, condensation or ice formation on the inside of the glass, and cold glass surfaces. Run your hand near your windows on a cold day; if you feel a noticeable temperature difference, your windows are losing heat.
When choosing an insulation method, consider your window type (single-pane windows will benefit the most), your local climate (harsh winters demand more robust insulation), your budget, and, of course, your aesthetic preferences.
Crucially, address any air leaks before you add insulation. Sealing gaps around the window frame with caulk or weather stripping prevents drafts and significantly improves the effectiveness of any insulation method. Think of it this way: sealing stops air from moving in and out, while insulation slows down the transfer of heat.

Project: DIY Reflective Window Insulation Panels
This project focuses on creating reflective window insulation panels that are effective, relatively inexpensive, and can be easily customized. The reflective surface helps bounce radiant heat back into the room, while the insulation board prevents heat transfer through conduction.
Materials List:
- Rigid Foam Board Insulation (Foil-Faced Polyisocyanurate): This is the core of your insulation. Aim for at least 1-inch thick for good insulation value. You can find this at most home improvement stores. Approximate Cost: $15-30 per sheet (depending on size and thickness)
- Reflective Tape (Foil Tape): This tape seals the edges and provides an extra layer of reflection. Look for tape specifically designed for sealing insulation. Approximate Cost: $10-15 per roll
- Measuring Tape: Essential for accurate measurements.
- Utility Knife or Box Cutter: For cutting the foam board. Make sure you have a sharp blade for clean cuts.
- Straight Edge or Ruler: A long metal ruler or straight edge will help you make straight cuts.
- Caulk or Weather Stripping (Optional): For sealing the edges of the panel to the window frame for an even tighter fit. Approximate Cost: $5-10
Tools Required:
- Measuring Tape
- Utility Knife or Box Cutter
- Straight Edge or Ruler
- Safety Glasses
- Work Gloves
Step-by-Step Instructions:
Measure the inside of your window frame precisely. Measure the width and height of the opening where the insulation panel will sit. Measure from the inside edges of the window frame. Accuracy is key! It's better to be slightly smaller than too big. Write down your measurements. Tip: Measure at several points along the width and height to account for any variations in the frame.
Cut the foam board to the measured size using a utility knife and straight edge. Place the foam board on a protected surface (like a piece of scrap wood or cardboard) to avoid damaging your work area. Use the straight edge as a guide and score the foam board several times with the utility knife until you cut all the way through. Safety First: Always use a sharp blade and wear safety glasses and work gloves. Cut away from your body.

Seal all edges of the foam board with reflective tape, creating a tight seal to prevent drafts and moisture. Apply the reflective tape to all four edges of the cut foam board. Overlap the tape slightly on both sides of the board to ensure a complete seal. Press firmly to create a good bond. Important: This seal prevents drafts and keeps moisture from getting into the foam board.
(Optional) Add caulk or weather stripping around the edges of the panel for an even tighter fit. If you want an extra-tight seal, apply a thin bead of caulk or attach weather stripping to the edges of the panel before inserting it into the window frame.
Insert the insulated panel into the window frame. Gently slide the finished panel into the window opening. It should fit snugly.
Troubleshooting Tips:
- Panel is too big: Carefully trim the edges of the foam board with the utility knife until it fits.
- Panel is too small: Add weather stripping around the edges to fill the gaps.
- Condensation issues: Ensure the panel is tightly sealed to prevent moisture from getting behind it. If condensation persists, consider adding a dehumidifier to the room.
Enhancing Performance & Addressing Aesthetics
While the basic reflective window insulation panel is effective, there are ways to enhance its performance and make it more visually appealing.
- Increase Insulation: For even better insulation, use thicker foam board or add a second layer of reflective tape.
- Cover with Fabric: For a more decorative look, cover the foam board with fabric or decorative paper. Simply cut the fabric slightly larger than the panel, wrap it around the edges, and secure it with glue or staples to the back of the board. Choose a fabric that complements your home décor.
- Paint the Foam Board: You can paint the foam board with acrylic paint. Be sure to use a paint that is compatible with foam insulation.
During the summer months, store the panels in a dry place, such as a closet or attic.
Consider alternative DIY methods such as using bubble wrap insulation. Secure bubble wrap to the window with water or tape. It’s a simple and cheap alternative.

Long-Term Benefits and Homestead Savings
Investing in window insulation provides numerous long-term benefits for your homestead, both financially and environmentally.
- Reduced Heating Bills: Window insulation significantly reduces heat loss, leading to lower heating bills and lower energy consumption. Depending on your climate and the size of your windows, you could save hundreds of dollars each year. Estimate: A typical homeowner can save 10-20% on their heating bill with proper window insulation.
- Reduced Carbon Footprint: By reducing your energy consumption, you're also reducing your carbon footprint and decreasing your reliance on fossil fuels.
- Improved Indoor Air Quality: Proper window insulation can help prevent mold and mildew growth by reducing condensation, which improves indoor air quality.
- Increased Self-Sufficiency: By reducing your reliance on external energy sources, you're contributing to a more resilient and self-sufficient homestead.

Invest in a Warmer, More Sustainable Homestead
Window insulation is a simple yet powerful way for homesteaders to reduce costs, increase self-sufficiency, and create a more comfortable and sustainable living environment. The DIY project we covered is easy, affordable, and can be customized to fit your specific needs and aesthetic preferences. So, take action today and embrace a warmer, more sustainable homestead!
What are your favorite window insulation tips? Share them with the community in the comments below! Let’s make our homesteads warmer, more efficient and cheaper to heat! #BetterHomesHarvestDIY