DIY Seed Starting Station: Nurture Your Garden Dreams Indoors
The anticipation of the growing season is building! While winter still clings on, we can bring the garden indoors by starting seeds. Imagine the vibrant greens of future harvests sprouting right on your kitchen counter. There's nothing quite like the feeling of coaxing a tiny seed into a vibrant seedling, knowing it will soon provide fresh vegetables, fragrant herbs, or beautiful flowers for your home and table.
Starting seeds indoors offers a wealth of benefits. You can get a head start on the growing season, ensuring an earlier harvest. You have complete control over the varieties you grow, choosing heirloom favorites or experimenting with something new. Plus, it’s significantly more cost-effective than buying transplants from a nursery. In this post, I'll show you how to build a simple and effective seed starting station, no matter your budget or space. Let's bring the cozy charm of farmhouse life indoors and nurture our garden dreams together!

Section 1: Planning Your Seed Starting Station
Successful seed starting begins with careful planning. It's about more than just scattering seeds into soil – it's about creating an environment where those seeds can thrive.
Assessing Your Space: The first step is to determine where your seed starting station will be located. Consider the amount of natural light available. A south-facing window is ideal, but even an east or west-facing window can work. If natural light is limited, don’t worry! Supplemental lighting, which we’ll discuss later, can make a huge difference. I once tried to start seeds with only a north-facing window, and the results were… well, leggy and disappointing. Learn from my mistake!
Determining What to Grow: Think about your last frost date and your climate. What plants thrive in your area? What does your family enjoy eating? Starting seeds indoors gives you control over what varieties you grow, so choose wisely! A little research into seasonal harvest times in your area can save you time and frustration.

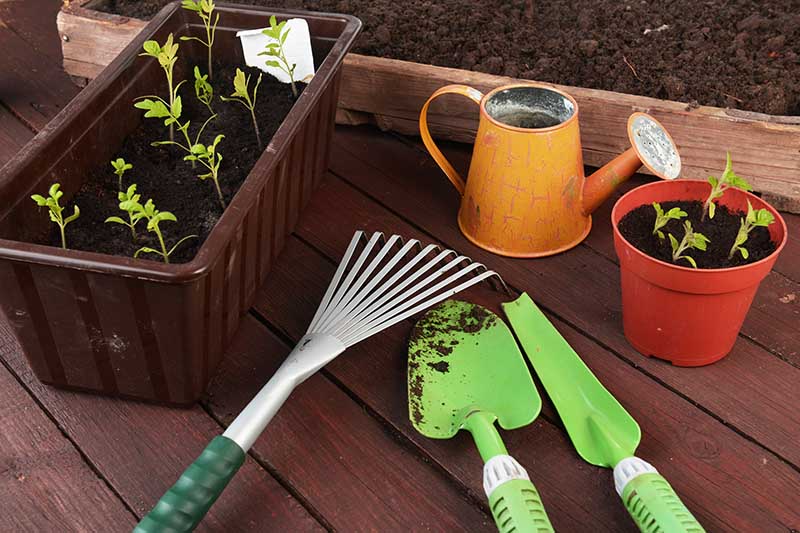
Making a List and Gathering Materials: Resist the urge to buy everything at once! Make a list of what you need – containers, seed starting mix, seeds, lighting (if needed), and watering supplies. Avoid unnecessary purchases by using what you already have or repurposing materials.
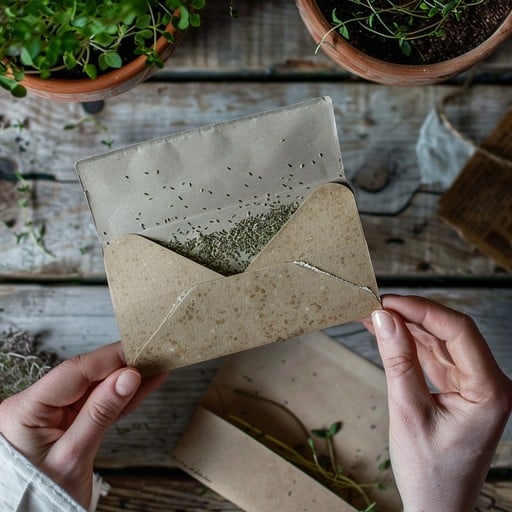
Importance of Seed Selection: Choose high-quality seeds from a reputable source. Decide whether you want to grow organic seeds, conventional seeds, or heirloom varieties. Heirloom seeds are open-pollinated, meaning you can save the seeds and grow them again year after year, preserving unique and flavorful varieties.
Key Takeaway: Careful planning upfront ensures success and avoids overwhelm. Take the time to assess your space, determine what you want to grow, and gather your materials before you start sowing seeds.
Section 2: Building the Foundation: Choosing Your Seed Starting Containers & Mix
The containers and mix you use are the foundation for healthy seedlings. Choosing the right options can make all the difference.
Container Options: The possibilities are endless! You can use recycled containers like yogurt cups, egg cartons (cardboard only!), or plastic takeout containers. Seed starting trays with individual cells are also a great option. Peat pots and biodegradable pots are convenient for transplanting, but they can dry out quickly. I often recycle plastic nursery pots from previous years. Just make sure to clean them thoroughly before reusing them! Consider upcycling household items for a cost-effective and eco-friendly choice.
Seed Starting Mix: This is crucial! Don't use garden soil – it's too heavy and can contain pests and diseases. A good seed starting mix should be sterile, well-draining, and lightweight. You can buy pre-made seed starting mix, or you can make your own.
- DIY Seed Starting Mix Recipe:
- 1 part peat moss (or coco coir as an alternative)
- 1 part vermiculite
- 1 part perlite
Mix the ingredients thoroughly and moisten before filling your containers.
- DIY Seed Starting Mix Recipe:
Preparing Containers: Ensure your containers have drainage holes. This is essential to prevent waterlogging, which can lead to root rot. Clean used containers with soap and water to remove any lingering pathogens.
Key Takeaway: Using the right containers and seed starting mix is critical for healthy seedling development. Provide good drainage and a sterile, well-draining mix to give your seedlings the best start.
Section 3: Illuminating Success: Lighting Options for Your Seedlings
Adequate lighting is essential for preventing leggy, weak seedlings. Without enough light, seedlings will stretch towards the light source, resulting in thin, fragile stems.
Natural Light: While a sunny windowsill is a good start, it's often not enough, especially during the shorter days of winter. The ideal location is a south-facing window, but even that may require supplemental lighting.
Supplemental Lighting: This is where the magic happens! Supplemental lighting provides the consistent, intense light that seedlings need to thrive.
- Types of Grow Lights:
- Fluorescent Shop Lights: These are a budget-friendly option and provide a good amount of light. Use cool white or full-spectrum bulbs.
- LED Grow Lights: These are more energy-efficient and provide a full spectrum of light, which is ideal for plant growth. They can be more expensive upfront, but they save money in the long run.
- Types of Grow Lights:
Distance from Lights: Position the lights a few inches above the seedlings. As the seedlings grow, adjust the height of the lights to maintain that distance. I use adjustable chains to easily raise and lower my lights.
Timer: Use a timer to provide consistent light exposure. Seedlings typically need 14-16 hours of light per day.

Key Takeaway: Adequate lighting is essential for preventing leggy seedlings and promoting healthy growth. Invest in supplemental lighting if you don't have enough natural light.
Section 4: Temperature, Humidity, and Watering
Maintaining the right temperature, humidity, and moisture levels is key to successful seed starting.
Ideal Temperature: Seeds germinate best in warm temperatures. Aim for a soil temperature of 70-75°F (21-24°C). Heat mats can be used to provide consistent warmth, especially in cooler climates.
Maintaining Humidity: Seeds need moisture to germinate. Cover seed trays with a clear dome or plastic wrap to create a humid environment. Once the seeds have germinated, remove the cover gradually to acclimate the seedlings to lower humidity levels.
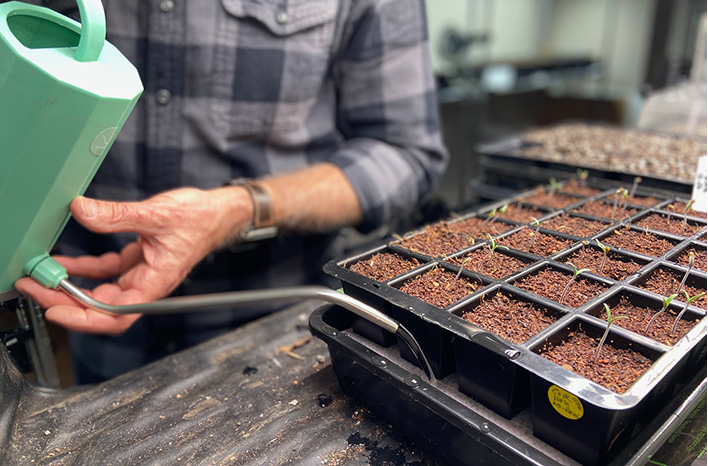
Watering Techniques: Water gently to avoid disturbing the seedlings.
- Bottom Watering: This is a great way to water seedlings without wetting the foliage, which can help prevent disease. Place the seed trays in a shallow tray of water and allow the soil to absorb the water from the bottom.
- Top Watering: Use a watering can with a gentle rose or a spray bottle to water the seedlings from the top.
Avoiding Overwatering: Overwatering can lead to damping-off disease, a fungal infection that can kill seedlings. Allow the soil to dry out slightly between waterings.

Key Takeaway: Maintaining the right temperature, humidity, and moisture levels ensures successful germination and healthy seedling growth.
Section 5: Hardening Off: Preparing Seedlings for the Great Outdoors
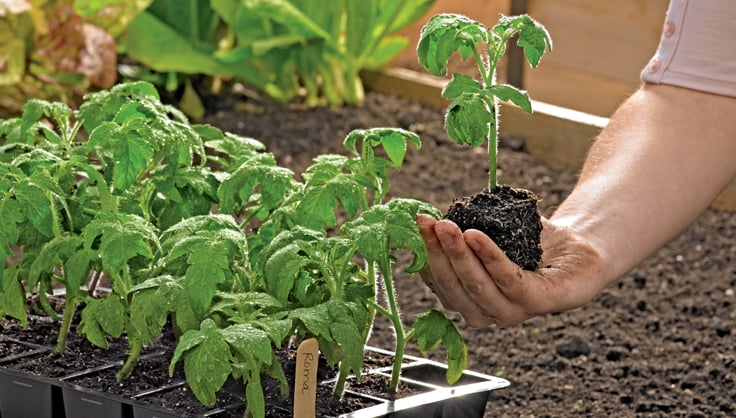
Hardening off is the process of gradually acclimating seedlings to outdoor conditions before transplanting them into the garden. This helps them adjust to the sun, wind, and temperature fluctuations.
What is Hardening Off? Seedlings grown indoors are accustomed to a sheltered environment. Suddenly transplanting them outdoors can shock them and even kill them. Hardening off gradually toughens them up.
The Hardening Off Process:
- Day 1-2: Place the seedlings in a sheltered spot outdoors for 1-2 hours.
- Day 3-4: Increase the time outdoors to 3-4 hours.
- Day 5-6: Expose the seedlings to more sunlight and wind for 4-6 hours.
- Day 7-10: Leave the seedlings outdoors overnight, if temperatures permit.
Signs of Stress: Watch for signs of stress, such as wilting, leaf burn, or stunted growth. If you notice any of these signs, bring the seedlings back indoors and gradually re-introduce them to outdoor conditions.
Choosing the Right Day to Transplant: Transplant the seedlings on a cloudy day or in the late afternoon to avoid shocking them. Water them well after transplanting.
Key Takeaway: Hardening off is crucial for ensuring seedlings survive the transition to the garden.
![seedlings on tray outdoor sheltered patio]
By following these simple steps, you can create a thriving seed starting station in your home and nurture your garden dreams indoors. Remember, the process is just as rewarding as the harvest, so embrace the joy of watching your tiny seeds grow into vibrant plants. Starting seeds indoors provides an early harvest and allows more control over the varieties. This helps promote sustainability at home, while reducing trips to the local market.
So, what are your favorite varieties to start from seed? Share your tips and tricks in the comments below! And don't forget to share photos of your seed starting station with us on social media using #BetterHomesAndHarvestsSeedStarting! Now is a great time to plan for Spring and get your seeds and supplies in order. Happy growing!