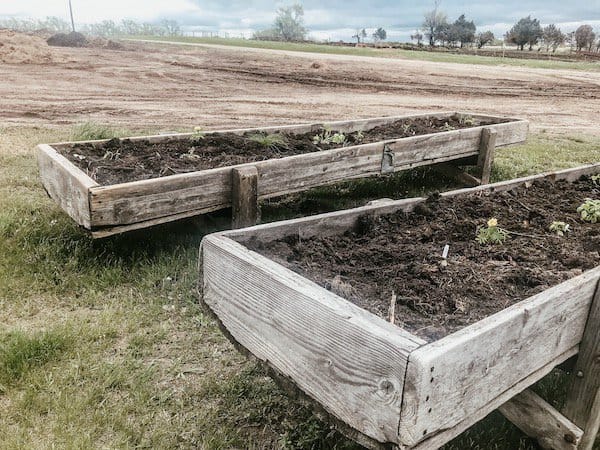
DIY Reclaimed Garden Bed: Build a Rustic Raised Bed for Your Homestead
For years, I struggled with rocky, clay-filled soil in my homestead garden. Every spring was a battle, amending the ground, pulling weeds, and facing disappointingly meager harvests. Then, I discovered the magic of raised garden beds. My first one was a simple frame made from reclaimed pallet wood, and the difference it made was astounding. The soil was richer, the weeds were fewer, and my vegetable yield exploded. That little pallet garden bed sparked a journey of self-sufficiency and a deep appreciation for the beauty and practicality of reclaimed materials. Today, I’m excited to share how you can build your own DIY raised garden bed using readily available and affordable reclaimed resources, bringing you one step closer to a thriving homesteading garden. This project is beginner-friendly, low-cost, and incredibly rewarding!
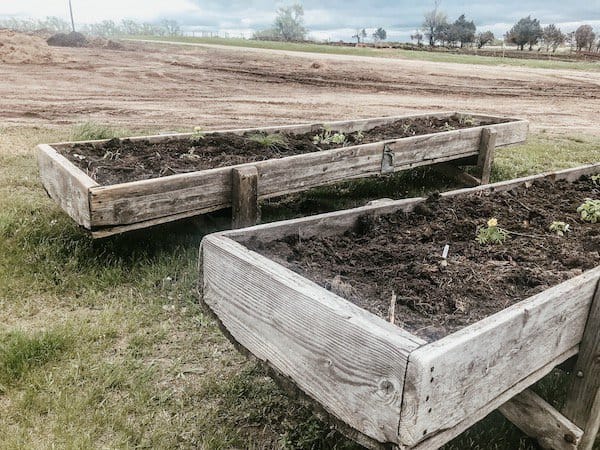
Why Choose Reclaimed Materials for Your Raised Garden Bed?
There are so many compelling reasons to opt for reclaimed materials for your raised garden bed project. First and foremost, it's incredibly budget-friendly. Building a garden bed from new lumber can be surprisingly expensive. Reclaimed materials, often sourced for free or at a minimal cost, significantly reduce your expenses. Secondly, using reclaimed wood garden materials is an environmentally responsible choice. It gives a second life to materials that would otherwise end up in a landfill, reducing waste and conserving resources. Finally, reclaimed wood often adds a unique rustic charm to your garden, creating a visually appealing and personalized space.
Materials & Tools: Your Shopping (and Scavenging!) List
Here's a detailed list of what you'll need to build your own DIY raised garden bed:
Materials:
- Reclaimed Wood: Pallets, old fence posts, salvaged lumber – anything goes! Aim for enough material to create a frame of your desired size. A good starting size is 4ft x 8ft x 1ft high.
- Estimated Cost (Reclaimed): FREE - $20 (for nails, screws, etc.)
- Estimated Cost (New Lumber): $50 - $100+
- Landscape Fabric (Optional): To line the inside of the bed and prevent soil from washing out.
- Estimated Cost: $10 - $20
- Soil: A mixture of topsoil, compost, and aged manure for optimal plant growth. Calculate the amount needed based on the dimensions of your bed.
- Estimated Cost: $20 - $50 (depending on quantity and quality)
- Fasteners: Screws or nails to assemble the frame. Choose exterior-grade fasteners for durability.
- Estimated Cost: $5 - $10
Tools:
- Saw: For cutting the wood to the desired lengths. A circular saw or hand saw will work.
- Drill/Screwdriver: To drive screws into the wood.
- Hammer: If using nails instead of screws.
- Measuring Tape: For accurate measurements.
- Level: To ensure the bed is level.
- Gloves: To protect your hands.
- Safety Glasses: To protect your eyes.
- Staple Gun (Optional): For attaching landscape fabric.
Note: Always prioritize safety when using power tools. Wear appropriate safety gear and follow the manufacturer's instructions.
Step-by-Step Instructions: Building Your Reclaimed Garden Bed
Follow these simple steps to construct your own DIY raised garden bed using reclaimed materials:
Step 1: Gather and Prepare Your Materials.
Collect your reclaimed wood. If using pallets, carefully disassemble them, removing any nails or staples. Inspect all wood for rot or decay. Sand down any rough edges to prevent splinters.
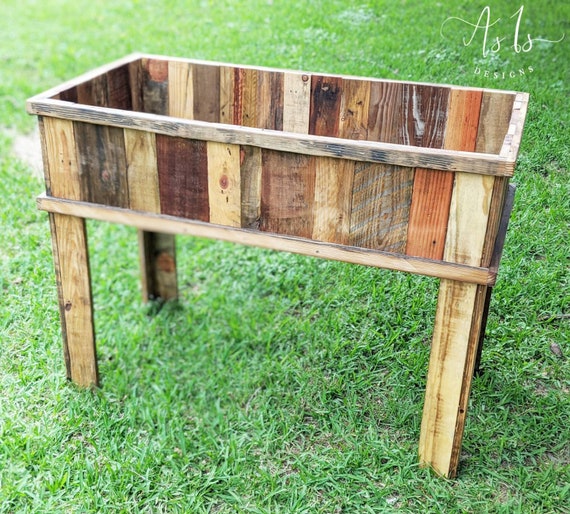
Step 2: Cut the Wood to Size.
Decide on the dimensions of your raised bed. Cut the wood pieces to the appropriate lengths to create the sides, ends, and any support posts you may need. For a 4ft x 8ft bed, you'll need two 8ft pieces and two 4ft pieces for the sides, plus additional pieces for corner supports if desired.
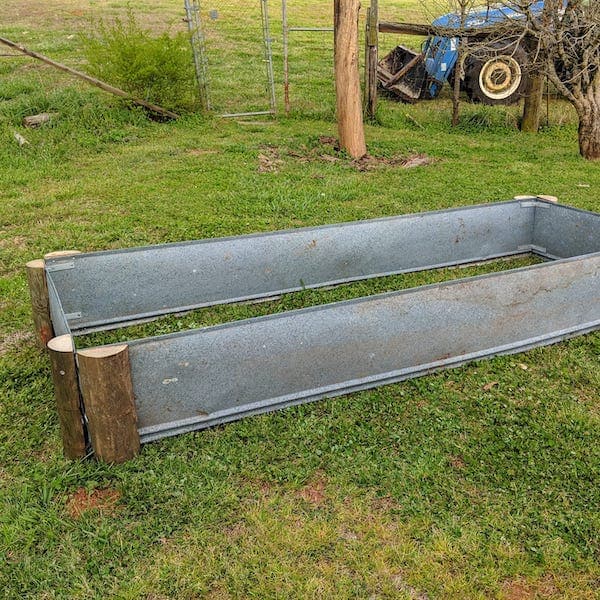
Step 3: Assemble the Frame.
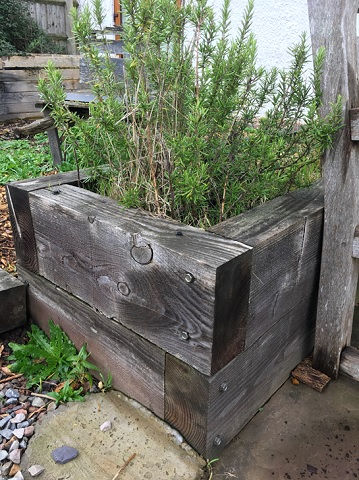
Using screws or nails, attach the sides and ends of the bed to form a rectangular frame. Ensure the corners are square and the frame is sturdy. If using support posts, attach them to the inside corners of the frame for added stability.
Step 4: Line the Bed (Optional).
If desired, line the inside of the bed with landscape fabric. This will help prevent soil from washing out and keep weeds from growing up through the bottom. Use a staple gun or tacks to secure the fabric to the inside of the frame.
Step 5: Choose a Location and Position the Bed.
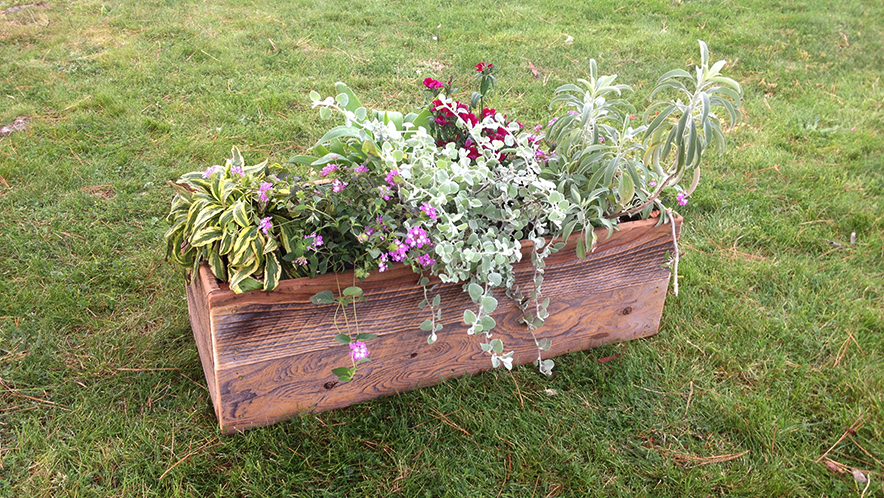
Select a sunny location for your raised bed that receives at least 6-8 hours of sunlight per day. Place the bed in its desired location and use a level to ensure it is sitting evenly.
Step 6: Fill the Bed with Soil.
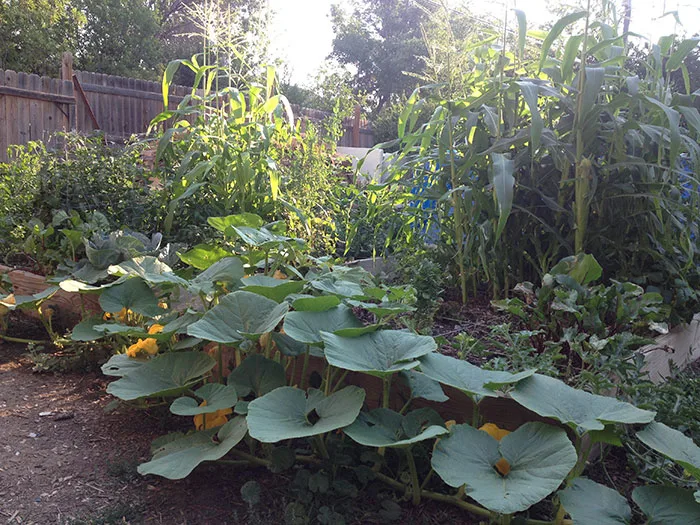
Fill the bed with a mixture of topsoil, compost, and aged manure. This will provide your plants with the nutrients they need to thrive.
Step 7: Plant Your Garden!
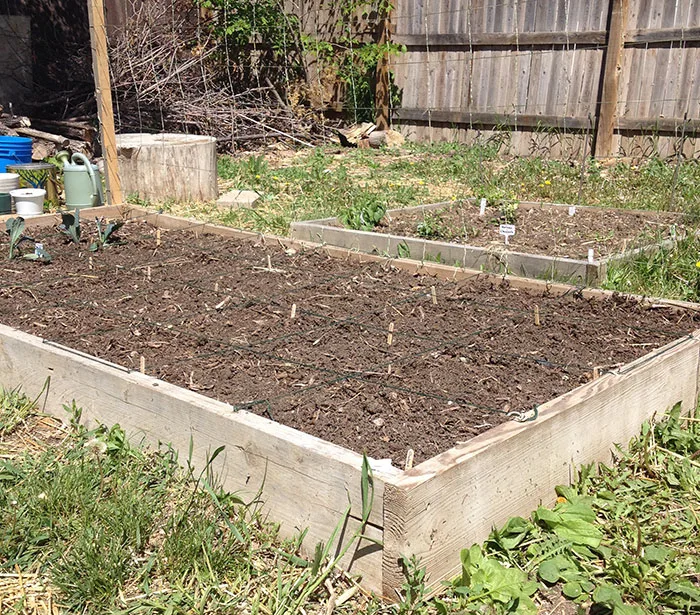
Now comes the fun part! Plant your favorite vegetables, herbs, or flowers in your newly built raised garden bed. Water them regularly and watch them grow!
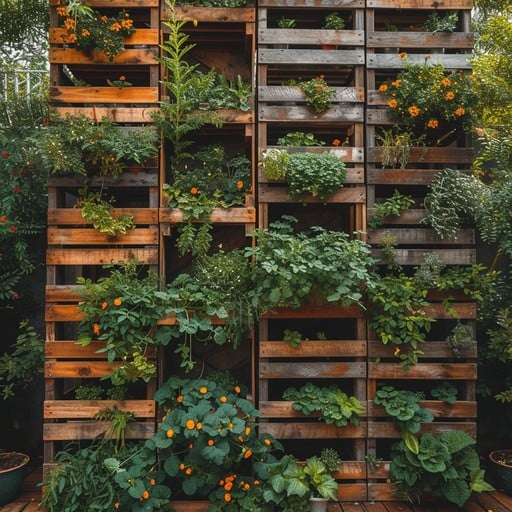
Troubleshooting Tips for Your DIY Raised Garden Bed
- Wobbly Bed: If your bed feels unstable, add more support posts or reinforce the corners with metal brackets.
- Rotting Wood: To prolong the life of your reclaimed wood, consider applying a non-toxic wood sealant or liner to the inside of the bed. Cedar and redwood are naturally rot-resistant choices.
- Weeds: Even with landscape fabric, weeds can still find their way into your raised bed. Regularly weed the bed by hand to keep your plants healthy.
- Poor Drainage: If your soil is not draining well, add more compost or perlite to improve drainage.
Customization Ideas: Make It Your Own!
- Add a Trellis: Attach a trellis to one side of the bed for climbing plants like tomatoes, cucumbers, or beans.
- Companion Planting: Incorporate companion planting strategies to attract beneficial insects and deter pests. Plant basil near tomatoes, for example.
- Multiple Beds: Build multiple raised beds of different sizes and shapes to create a diverse and visually appealing garden space.
Benefits & Sustainability: A Winning Combination
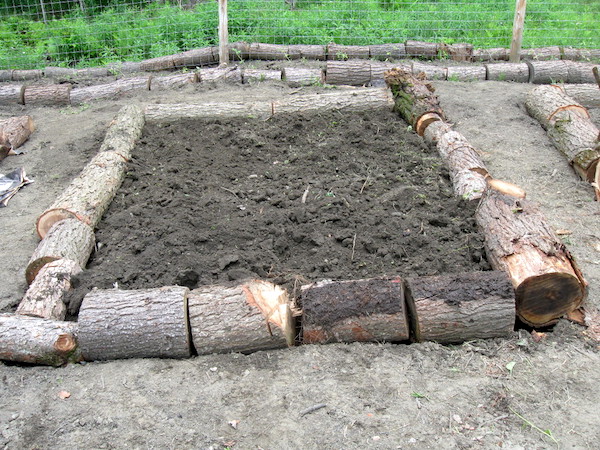
Raised garden beds offer numerous benefits for homesteaders. They improve soil quality, reduce weeding, extend the growing season, and make gardening more accessible for people with mobility issues. Using reclaimed materials takes these benefits a step further by promoting sustainability and reducing waste. By building your own reclaimed wood garden bed, you're not only creating a thriving garden but also contributing to a healthier planet.
Conclusion & Call to Action
Building a DIY raised garden bed from reclaimed materials is a simple, affordable, and rewarding project that can significantly enhance your homestead's food security and sustainability. From sourcing your materials to planting your first seeds, each step brings you closer to a bountiful harvest and a deeper connection with the land. Now, it's your turn! Share your own raised garden bed projects, ask questions, or offer tips in the comments section below. We can't wait to see what you create!
Don't forget to share this blog post on social media to inspire others to build their own homesteading garden! For more practical and inspiring homesteading tips, subscribe to the Better Homes and Harvests newsletter today!