DIY Rainwater Harvesting: Water Your Garden for Free!
Did you know that the average garden hose uses 9 gallons of water per minute? In these increasingly dry times, finding sustainable watering solutions is not just a good idea, it's a necessity. That's where rainwater harvesting comes in! This simple practice can significantly reduce your water bill, conserve a precious resource, and provide your garden with the best possible water – naturally soft and free of chemicals.
This blog post will guide you through building your own DIY rainwater harvesting system for garden irrigation. This project is designed to be affordable and easy to implement, even for beginners. By capturing rainwater from your roof, you'll create your own eco-friendly water source, saving money and helping the environment. Before you start, though, be sure to check your local regulations regarding rainwater harvesting, as some areas may have specific requirements.

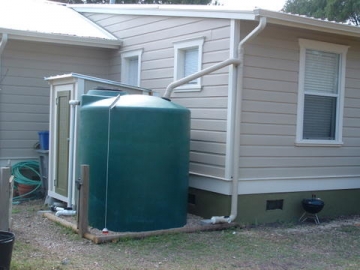
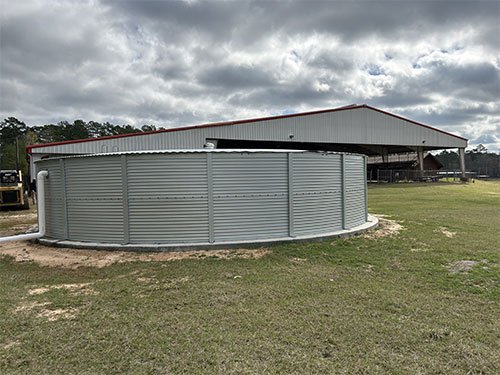
A complete, functioning rainwater harvesting system, ready to provide free water for the garden.
Section 1: Planning Your Rainwater Harvesting System
Proper planning is essential for an effective and legal DIY rainwater harvesting system. Assess your needs, calculate runoff potential, and choose the right location before you start building.
Assessing Your Needs:
Before you even think about barrels and diverters, take a good look at your garden. How much water do your plants typically need? Consider the size of your garden, the types of plants you're growing, and your local rainfall patterns. Succulents, for example, require far less water than thirsty tomato plants. If you live in an area with frequent rainfall, a single rain barrel might suffice. In drier climates, you'll likely need a larger storage capacity.
Calculating Roof Runoff:
Your roof is the collection point for your rainwater harvesting system. Understanding how much water your roof can capture is crucial for sizing your tank. A simple formula can help you estimate this:
Gallons Collected = Roof Area (square feet) x Rainfall (inches) x 0.623
The 0.623 factor accounts for runoff efficiency, as some water will be lost to evaporation and other factors.
For example, a 1,000 square foot roof in an area that receives 1 inch of rain will yield approximately 623 gallons of water! Keep in mind this is just an estimate, and actual results may vary.
Choosing the Right Location:
Selecting the right location for your rain barrel is crucial. Consider the following factors:
- Proximity to Garden: The closer the barrel is to your garden, the easier it will be to water.
- Sunlight Exposure: Too much direct sunlight can promote algae growth inside the barrel. Choose a location with partial shade.
- Accessibility: You'll need easy access to the barrel for maintenance and to draw water.
- Level Surface: A level surface is essential to prevent the barrel from tipping over when full. Use paving stones or a prepared base to create a stable platform.
Legal Considerations:
It's crucial to check your local regulations before installing a DIY rainwater harvesting system. Some areas may have restrictions on rainwater harvesting, including permit requirements or limitations on tank size. Contact your local municipality or water authority to ensure you comply with all regulations. It’s always better to be safe than sorry!
Material Sourcing:
When sourcing materials, remember there are options for both brand-new and repurposed materials. For tank safety, using food-grade plastics is best to avoid harmful leeching.
Section 2: Gathering Your Supplies & Tools
Choosing the right materials and tools is crucial for a smooth and successful build of your DIY rainwater harvesting system. Prioritize food-safe and durable options, and ensure you have all the necessary tools before you begin.
Tank Options:
- Food-Grade Plastic Barrels: These are a popular and affordable option. Look for used barrels that previously contained food products to avoid contamination. A standard 55-gallon barrel is a good starting point.
- IBC Totes (Intermediate Bulk Containers): These larger containers (typically 275 or 330 gallons) offer greater storage capacity but require more space. Again, prioritize food-grade totes that have been properly cleaned.
- Cost-Effectiveness: When deciding on the size and type of your water tank, it is important to weigh the initial investment, space needed and how much water you'll actually require. It might be more cost-effective to buy two 55-gallon barrels that fit your area than one expensive IBC tote.
Downspout Diverter:
A downspout diverter is essential for directing rainwater from your gutter into the barrel.
- Simple Screen: A basic screen placed inside the downspout can prevent large debris from entering the barrel.
- First-Flush Diverters: These divert the first flush of rainwater (which contains the most contaminants) away from the barrel, improving water quality. While more expensive, it ensures higher-quality water and less maintenance for your tank.
Fittings and Connections:
- Bulkhead Fittings: These provide a watertight seal when connecting pipes to the barrel.
- Hose Adapters: Allow you to connect your garden hose to the barrel for easy watering.
- Overflow Pipe: An essential element to redirect excess water safely away from the foundation of your house.
- Make sure to use the right sealant, such as plumber's tape or silicone caulk, to ensure all connections are watertight.
Hose and Irrigation:
- Garden Hose: A standard garden hose is the simplest way to draw water from the barrel.
- Soaker Hose: A soaker hose can be connected to the barrel for slow, deep watering of plants.
- Drip Irrigation: A drip irrigation system can be adapted to work with your rain barrel, providing targeted watering to individual plants.
Tools:
- Drill with various drill bits
- Hole saw (for creating holes for fittings)
- Wrench
- Measuring tape
- Level
- Safety glasses
- Gloves
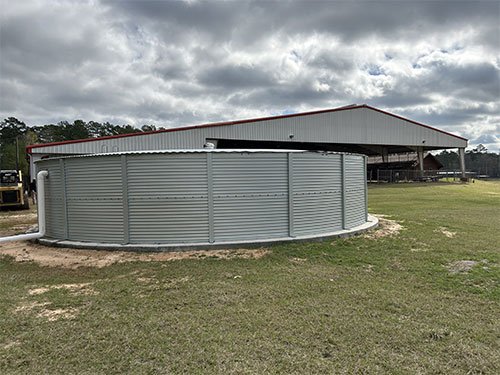
These are some of the most important materials needed to build your DIY rainwater harvesting system.
Section 3: Step-by-Step Construction Guide
Follow these step-by-step instructions carefully to build a functional and efficient DIY rainwater harvesting system. Pay attention to detail and ensure all connections are secure.
Step 1: Preparing the Tank:
- If using a used barrel, thoroughly clean the inside with soap and water. Rinse thoroughly to remove any residue.
- Using the hole saw, drill holes in the barrel for the spigot, overflow pipe, and downspout connection. The size of the holes will depend on the size of your fittings.
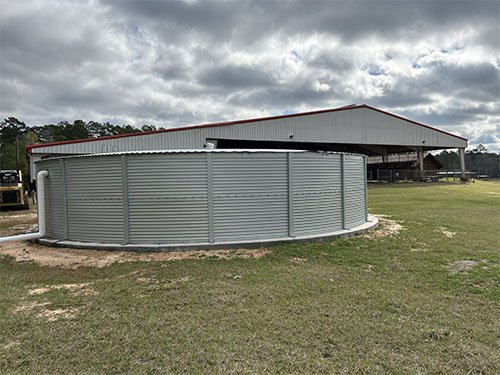
It is important to carefully prepare and clean the tank you use for your rainwater harvesting system.
Step 2: Installing the Downspout Diverter:
- Cut a section of your existing downspout and install the downspout diverter according to the manufacturer's instructions.
- Connect the diverter to the inlet hole on the top of the rain barrel using a flexible hose.
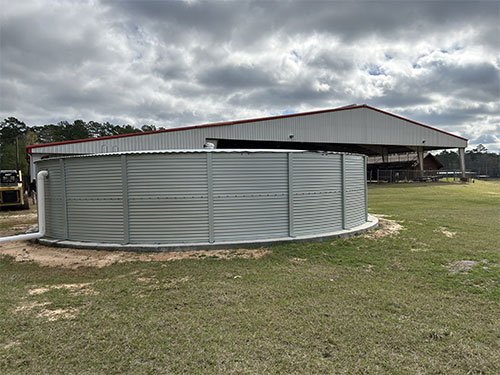
Properly installing the downspout is essential to collecting the rainwater.
Step 3: Installing the Spigot and Overflow:
- Insert the spigot into the drilled hole near the bottom of the barrel and secure it with a bulkhead fitting and sealant.
- Install the overflow pipe in a similar manner, positioning it near the top of the barrel. Direct the overflow pipe away from your house's foundation.
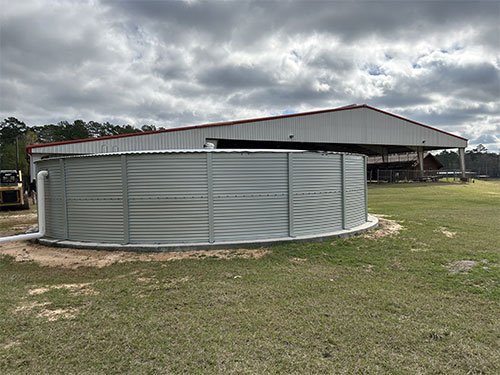
Making sure you can easily access the water is crucial to the usefulness of the harvesting system.
Step 4: Adding a Screen or Filter:
- Place a screen or filter over the inlet hole on the top of the barrel to prevent debris and mosquitoes from entering. You can use a piece of mesh screen or purchase a pre-made filter.
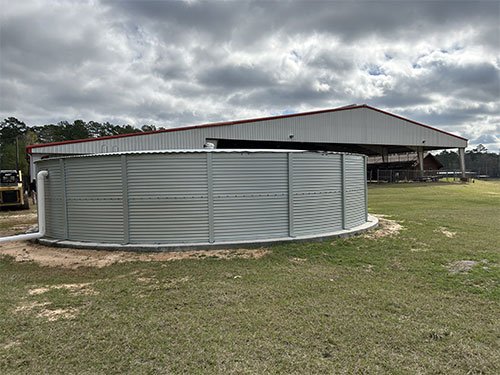
Using a filter will keep your water clear and debris-free.
Step 5: Connecting to Irrigation:
- Attach your garden hose to the spigot.
- Alternatively, connect a soaker hose or drip irrigation system to the spigot for more efficient watering.
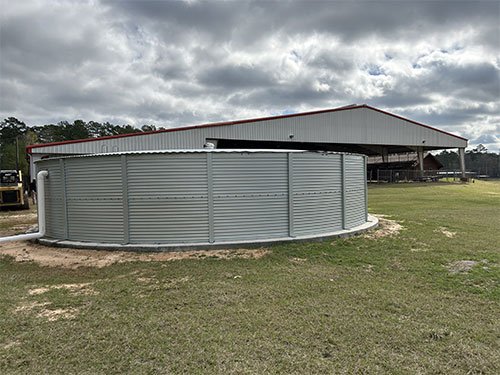
It is key to make sure you can easily access the water you've harvested.
Troubleshooting Tips:
- Leaks: Use plumber's tape or silicone caulk to seal any leaks.
- Slow Water Flow: Ensure the spigot is fully open and the hose is not kinked.
- Algae Growth: Add a small amount of chlorine bleach to the barrel to kill algae. Alternatively, paint the barrel a dark color to block sunlight.
Section 4: Maintaining Your Rainwater Harvesting System
Regular maintenance is essential for keeping your DIY rainwater harvesting system functioning properly and ensuring the water is safe for your garden.
Regular Cleaning:
- Clean the tank and filter regularly (at least twice a year) to prevent debris buildup and algae growth. Empty the tank and scrub the inside with a brush and soapy water.
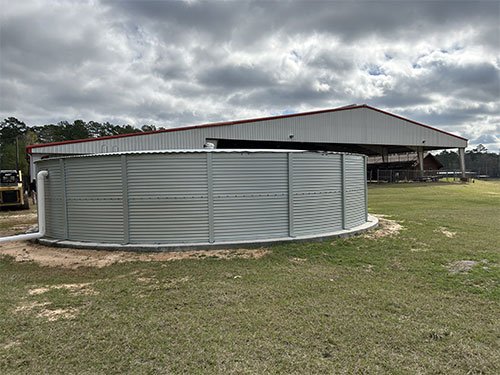
Keeping the debris away from the system helps prevent build-up and clogging.
Winterizing:
- In cold climates, winterize the system to prevent freezing and damage. Disconnect the downspout diverter and empty the barrel completely. Store the barrel upside down to prevent water from accumulating inside.
Protecting your system through the winter helps with the longevity of your materials.
Water Quality Testing:
- Occasional water quality testing is recommended, especially if using the water for edible plants. You can purchase a water testing kit or send a sample to a lab.
Pest Control:
- To prevent mosquitoes from breeding in the barrel, use a mosquito dunk (containing Bacillus thuringiensis israelensis) or add a few drops of vegetable oil to the water surface.
Address Concerns:
- If the water becomes discolored or smells bad, empty the tank and clean it thoroughly. The water may have been contaminated, and it's best to start fresh.
Section 5: Reap the Rewards of Rainwater Harvesting
Building your own DIY rainwater harvesting system is a rewarding project that offers numerous benefits. You'll save money on your water bill, conserve a precious resource, and provide your garden with naturally soft, chemical-free water. Plus, you'll gain a sense of accomplishment knowing you're contributing to a more sustainable future.
I remember the first summer after I installed my rain barrel. The garden thrived, even during a particularly dry spell. Not only did my water bill go down, but I also felt a sense of pride knowing I was using a resource that would have otherwise gone to waste. And let me tell you, my tomatoes have never tasted better!
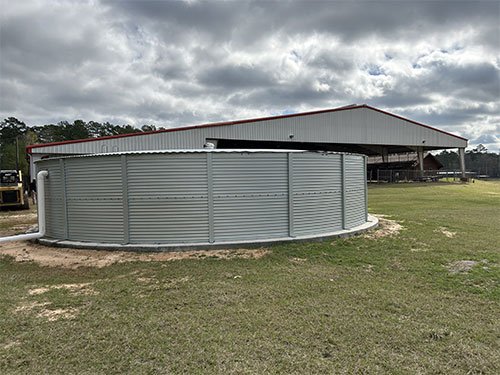
This image shows the benefit of using collected water for your gardens.
Ready to take the plunge and build your own DIY rainwater harvesting system?
Call to Action:
Share your rainwater harvesting experience in the comments below!