DIY Gray Water System for Beginners: Simple Washing Machine Irrigation
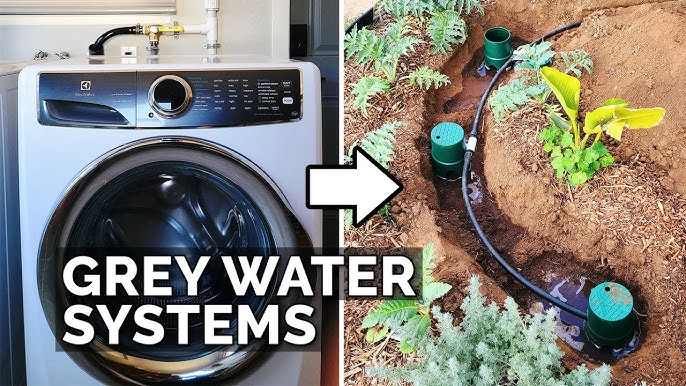
Are you tired of watching your hard-earned water bill climb higher each month? Or maybe you’re worried about the impact of water scarcity on our planet? We get it. As a young family just starting our homesteading journey, we felt the same way. Remember that summer when we spent a fortune just to keep the garden alive and watched the local creek shrink to almost nothing? That was a wake-up call. That's when we decided to explore gray water systems. And you know what? It's been a game-changer! It's easier than you think, cheaper than you expect, and incredibly rewarding. Imagine watering your garden with water you already used – it's not only eco-friendly but also a great way to save money and embrace self-sufficiency! Ready to dive in? Let’s transform your washing machine water into garden gold!
The 'Why': Understanding the Magic of Gray Water
Gray water is gently used water from your household, excluding toilet water (that's "black water"). Sources include showers, sinks, and, most commonly for DIY systems, washing machines. Why use it? The benefits are numerous:
- Environmental Impact: Reduces the demand on freshwater resources, lessening the strain on local water supplies and ecosystems.
- Financial Savings: Lowers your water bill by reducing the amount of municipal water you need for irrigation.
- Soil Health: Gray water contains small amounts of nutrients that can benefit your plants (though you'll still need to fertilize!).
- Self-Reliance: Provides a sense of independence and control over your resources.
- Reduced Wastewater: Less water going into the sewage system or septic tank, reducing the load on these systems.
The 'How': Building Your Simple Washing Machine Gray Water System
This system is designed to be straightforward and affordable, perfect for beginner homesteaders. We'll be diverting the water from your washing machine to your garden using a simple setup.
Step 1: Gather Your Materials
Here’s what you’ll need. Approximate costs are included to give you an idea:
- Diverter Valve: This is the heart of the system. A 2-way or 3-way valve that allows you to switch between sending the water to the sewer/septic or to your garden. ($15-30 at your local hardware store or online - Example Diverter Valve)
- Hoses: You'll need enough flexible hose (garden hose or similar) to connect your washing machine to the diverter valve and then from the valve to your garden. Measure the distance carefully! ($20-40, depending on length)
- Hose Clamps: To secure the hoses to the washing machine drain, diverter valve and output hose. ($5-10 for a pack)
- Inline Filter (Optional but Recommended): A simple filter to catch lint and debris before the water reaches your garden. This prevents clogging. ($10-20 - Example Inline Filter)
- Mulch: To create a mulch basin around your plants, helping to distribute the water evenly and prevent runoff. (Cost varies depending on the type and amount)
- Biodegradable, Low-Phosphorus Laundry Soap: Crucial for the health of your plants and soil. ($10-15)
- PVC pipe (optional, depends on drain type) If your existing drain connection is not a hose thread fitting.
Budget-Conscious Tip: Check local hardware stores for reclaimed or discounted hoses and fittings.
Step 2: Locate Your Washing Machine Drain
Identify where your washing machine drains. This is usually a standpipe (a vertical pipe sticking out of the floor or wall).
Step 3: Install the Diverter Valve
This is the most important step:
- Turn off the water supply to your washing machine. Safety first!
- Disconnect the washing machine drain hose from the standpipe.
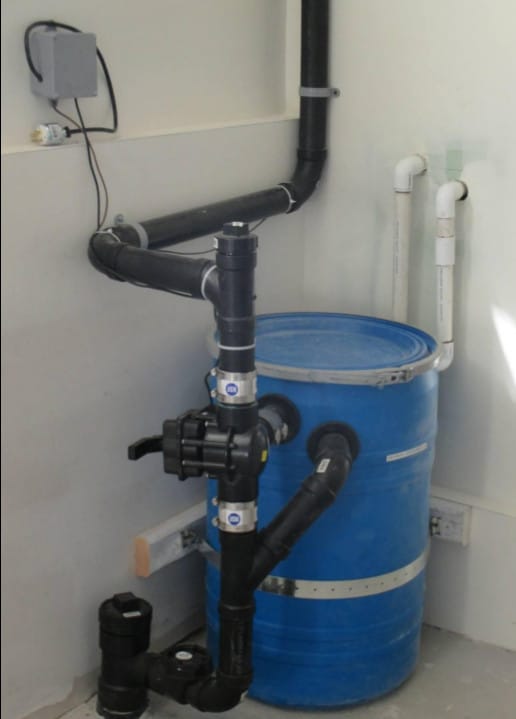
- Connect the diverter valve: You may need to use adapters or short pieces of PVC pipe to properly connect the washing machine drain hose to one inlet of the diverter valve, and a new drain hose to the other diverter valve port. This will be your "sewer/septic" line.
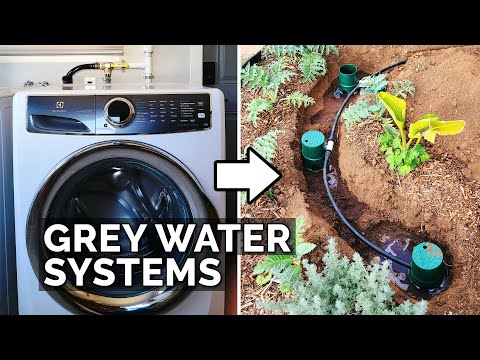
- Connect the Garden Hose: Attach a garden hose to the outlet of the diverter valve. This hose will carry the gray water to your garden. Secure all connections with hose clamps.
Step 4: Install the Inline Filter (Optional but Recommended)
Connect the inline filter to the garden hose after the diverter valve. Make sure to install it in the correct direction, as indicated on the filter housing.
Step 5: Route the Hose to Your Garden
Run the garden hose from the diverter valve (and inline filter, if you're using one) to your garden. Ensure the hose is securely positioned to avoid tripping hazards.
Step 6: Create Mulch Basins
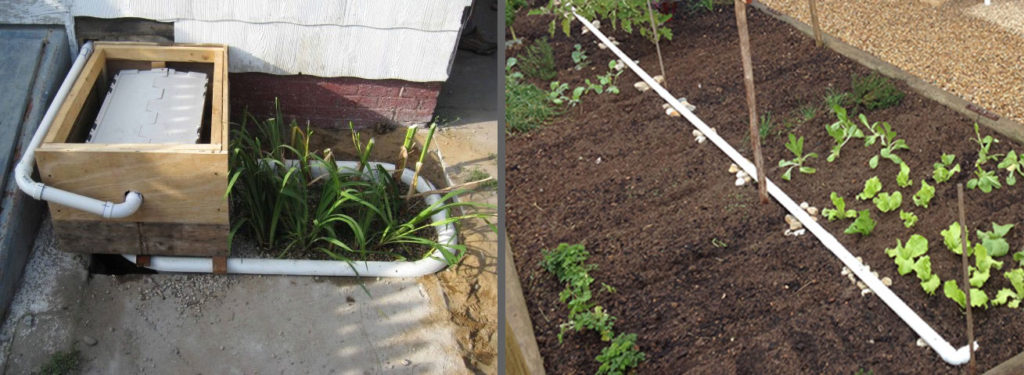
Around the plants you intend to irrigate with gray water, create shallow basins filled with mulch. This will help the water soak into the soil and prevent runoff.
Step 7: Test Your System
- Set the diverter valve to the "sewer/septic" position.
- Run a load of laundry to ensure there are no leaks in your plumbing connections.
- Set the diverter valve to the "garden" position.
- Observe the water flow in your garden. Make sure it's distributing evenly and soaking into the mulch basins.
Safety Precautions:
- Always turn off the water supply before disconnecting any plumbing.
- Wear gloves and eye protection when working with plumbing components.
- Ensure all connections are secure to prevent leaks.
- Use biodegradable, low-phosphorus laundry soap to protect your plants and soil.
Step 8: Considerations for system safety
- NEVER allow graywater to pool on the surface. It should infiltrate into the soil.
- NEVER spray graywater into the air, as this creates the opportunity to inhale it.
- Keep graywater at least 10’ from any surface water, and 50’ from any well
The 'What If': Troubleshooting and Tips
- Clogging: If your inline filter clogs frequently, consider using a finer mesh filter or pre-filtering the water with a nylon stocking over the end of the drain hose inside the washing machine.
- Leaks: Check all connections regularly for leaks. Tighten hose clamps as needed. If you find a persistent leak, replace the fitting or hose.
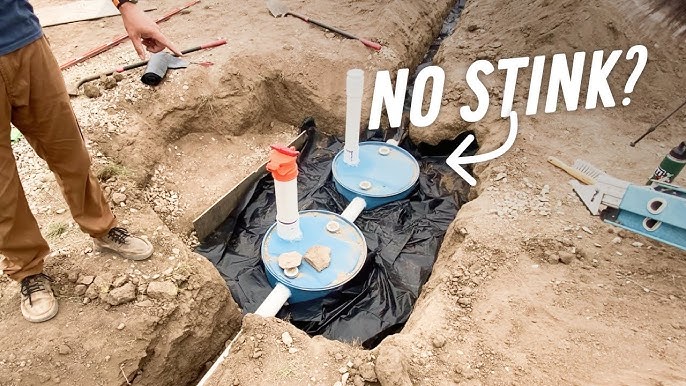
- Odor: If you notice an unpleasant odor, it could be due to stagnant water in the hose. Flush the system with clean water after each use or add a small amount of vinegar to the wash cycle.
- Plant Health: Monitor your plants for signs of nutrient deficiency or toxicity. Adjust your soap usage accordingly. Some plants are more sensitive to gray water than others. Avoid using gray water on edible plants whose edible parts contact the soil.
- Legal restrictions: Check with your local municipality to determine any code requirements for gray water usage.
Tips for Success:
- Use a laundry soap specifically designed for gray water systems. These soaps are low in sodium, boron, and other chemicals that can harm plants.
- Rotate the plants you irrigate with gray water. This will prevent the buildup of salts in the soil.
- Don't use gray water on root vegetables or leafy greens that are eaten raw.
- Mulch, mulch, mulch! Mulch helps to filter the gray water and prevent runoff.
- Periodically flush the system with clean water to prevent buildup.
- Consider using a small submersible pump. If your garden is uphill from your washing machine, you may need a small pump to move the gray water. (Example Submersible Pump)
Maintenance:
- Clean the inline filter regularly (at least once a month).
- Inspect hoses and connections for leaks or damage.
- Check the mulch basins and replenish as needed.
The 'Now What?': Taking the Next Step
Congratulations! You've just learned how to build a simple gray water system that can save you money, conserve water, and help you live more sustainably. It might seem daunting at first, but trust us, it's a rewarding project that anyone can tackle. Remember when we first tried, and the hose popped off in the middle of a wash cycle, creating a mini-flood in the laundry room? We learned from our mistakes, and so can you!
Now it's your turn to put this knowledge into action. Start by gathering your materials and planning your system. Don't be afraid to ask questions and experiment. Share your experiences in the comments below – we’d love to hear your stories and learn from your successes (and challenges!).
Ready for more water-wise projects? Check out our article on rainwater harvesting for even greater water conservation! Happy homesteading!
