DIY Composting Toilet: Build Your Own Sustainable Throne
Are you tired of watching your precious well water swirl down the drain with every flush? Did you know that conventional toilets can use up to 30% of a household's water? For homesteaders striving for self-sufficiency, that's a resource drain that can be significantly reduced. Enter the composting toilet – a sustainable, water-conserving, and often overlooked piece of the homesteading puzzle.
Composting toilets are a brilliant alternative to traditional toilets. They conserve water, recycle nutrients back into the soil (when done correctly and safely!), reduce your reliance on municipal systems, and can even save you money on water bills. While the idea might seem a little daunting at first, building your own composting toilet is surprisingly achievable. Many people hesitate, envisioning smells and complicated maintenance, but with proper design and upkeep, a composting toilet can be odorless, hygienic, and incredibly simple.
This guide will walk you through building a basic, effective composting toilet that's perfect for homesteaders of varying skill levels. Remember to always check local codes and regulations before installing a composting toilet to ensure compliance. Ready to ditch the flush and embrace a more sustainable approach? Let's get started!

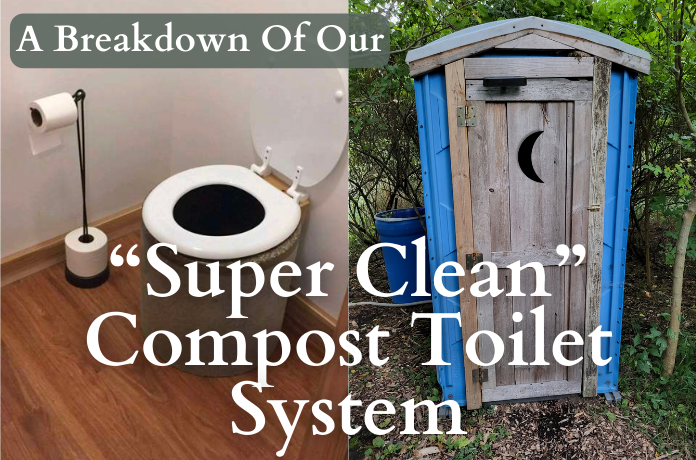
Image alt text: Interior of a well-maintained composting toilet in a homestead cabin, showing the toilet seat, ventilation pipe, and bulking agent container.
1. Understanding Composting Toilets (The "Why")
Before we dive into the construction, let's understand the science behind composting toilets. It's all about aerobic decomposition – the breakdown of organic matter by microorganisms in the presence of oxygen. Unlike traditional toilets that rely on water to carry waste away, composting toilets use a bulking agent (like sawdust or wood shavings) to absorb moisture, provide carbon for the microbes, and create air pockets for oxygen flow.
There are various types of composting toilets, from self-contained units to central systems with large composting chambers. We'll focus on a simple, low-tech design that's easy to build yourself. This typically involves a container (like a 5-gallon bucket) with a toilet seat and lid, a bulking agent, and a ventilation system.
Let’s address the elephant in the room: the potential for smell, maintenance hassles, and hygiene concerns. A properly functioning composting toilet should not smell. Odors arise from anaerobic decomposition, which happens when there's not enough oxygen. The key is to maintain a good carbon-to-nitrogen balance (C:N ratio), ensure adequate ventilation, and regularly add bulking agent. Hygiene is maintained through proper handwashing practices and the use of personal protective equipment (gloves) when handling the compost.
Speaking of the end product, it’s important to understand its limitations. Properly composted human waste can be a valuable soil amendment, but for safety reasons, it should only be used on ornamental plants or trees. Never use it on food crops, and always allow for a long curing period (at least a year) to ensure complete pathogen destruction.

Image alt text: Diagram illustrating the composting process, showing the breakdown of organic matter by microbes, carbon and nitrogen inputs, and the creation of humus.
2. Materials and Tools (The "What")
Here’s what you’ll need to build your own composting toilet:
- Container: A 5-gallon bucket with a lid is the simplest and most affordable option (approx. $5-$10). You can also use a larger container like a modified IBC tote or build a wooden box (cost will vary depending on materials).
- Toilet Seat and Lid: A standard toilet seat and lid will provide comfort and prevent odors (approx. $15-$30). You can often find these at thrift stores or salvage yards for less.
- Bulking Agent: Sawdust, wood shavings, peat moss, or coconut coir. Sawdust is often free if you can source it from a local woodworker or lumber mill. Peat moss and coconut coir are available at garden centers (approx. $10-$20 per bag).
- Urine Diverter (Optional): A urine diverter separates urine from solids, reducing odor and liquid volume in the compost. You can purchase one online (approx. $20-$50) or DIY one from plastic bottles.
- Vent Pipe and Screen: A 2-inch or 3-inch PVC pipe (approx. $5-$10) and screen to prevent insects from entering.
- Hardware: Screws, nails, or bolts, depending on your container construction (approx. $5).
- Tools:
- Saw (hand saw or power saw for cutting wood if building a box)
- Drill and drill bits
- Screwdriver
- Measuring tape
- Safety glasses
- Gloves
Remember, homesteading is all about resourcefulness! Look for recycled or reclaimed materials whenever possible to reduce costs and minimize your environmental impact. Check your local classifieds, salvage yards, and construction sites for free or low-cost materials.

Image alt text: Exploded view diagram of a composting toilet, showing the container, toilet seat, lid, urine diverter, ventilation pipe, and bulking agent, with labels indicating each component.
3. Building the Composting Toilet (The "How")
Now for the fun part! Here's a step-by-step guide to building your composting toilet:
Step 1: Preparing the Container:
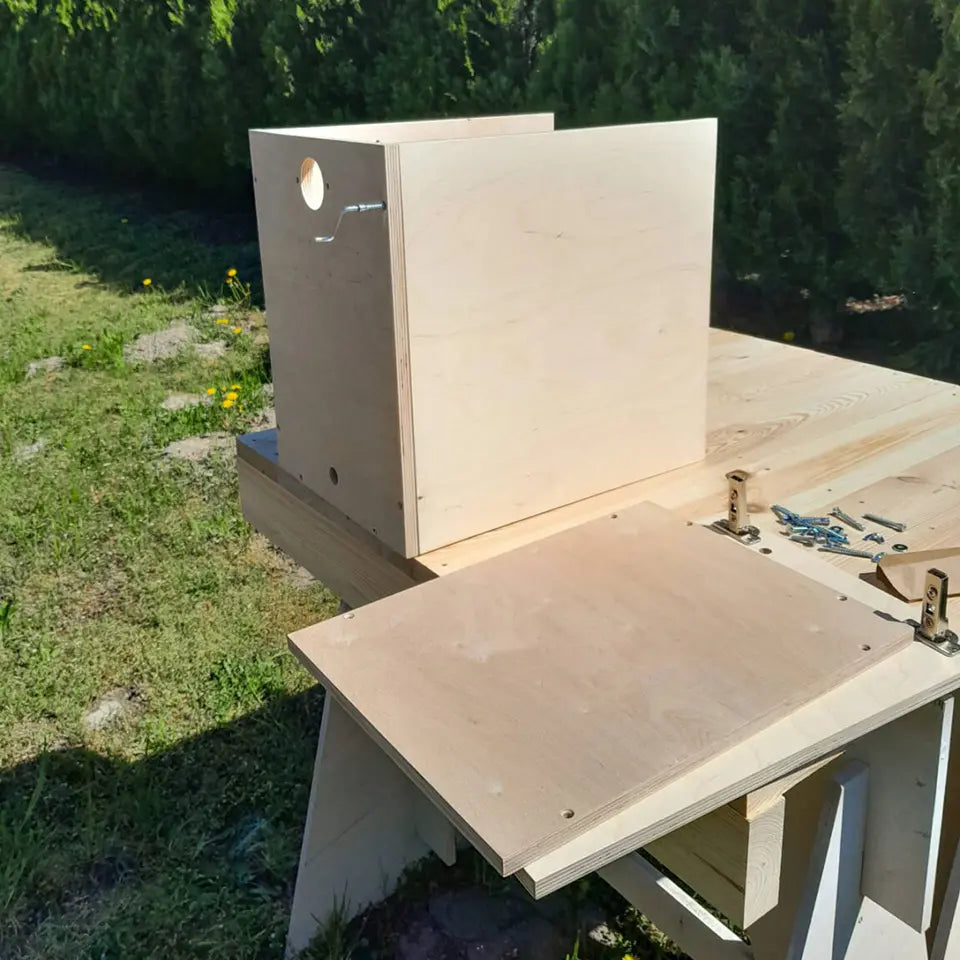
- Thoroughly clean and disinfect your chosen container. If using a bucket, ensure it's sturdy enough to support a person's weight. Consider reinforcing it with wood or metal if needed. If building a wooden box, cut the wood according to your desired dimensions (a good size is approximately 18 inches wide, 24 inches deep, and 18 inches high) and assemble the box using screws or nails. If using an IBC tote, research safe cutting practices and cut the top to the desired opening size.
![cleaning bucket preparing container]
Image alt text: Hands cleaning a 5-gallon bucket with soap and water, preparing it for use as the container of a composting toilet.Step 2: Installing the Toilet Seat:
- Position the toilet seat on top of the container and mark the screw holes. Drill pilot holes into the container (if using a plastic bucket) or the wooden box. Attach the toilet seat securely using screws.
![installing toilet seat compost toilet]
Image alt text: Close-up of a toilet seat being attached to a 5-gallon bucket, showing the screws being tightened with a screwdriver.Step 3: Adding the Urine Diverter (Optional):
- If using a urine diverter, follow the manufacturer's instructions for installation. Typically, this involves cutting a hole in the toilet seat or container and attaching the diverter using screws or adhesive. Ensure the diverter directs urine into a separate container (a jug or another bucket).
![urine diverter installed toilet close-up]
Image alt text: Close-up of a urine diverter installed in a composting toilet, showing the separate channels for urine and solid waste.Step 4: Installing Ventilation:
- Drill a hole in the side or back of the container for the vent pipe. The hole should be slightly smaller than the diameter of the pipe for a snug fit. Insert the vent pipe and seal it with caulk or silicone sealant to prevent odors from escaping. Attach a screen to the top of the vent pipe to prevent insects from entering.
![vent pipe attached compost toilet exterior]
Image alt text: Ventilation pipe attached to the exterior of a composting toilet, with a screen covering the top to prevent insects.Step 5: Assembling the Structure:
- Ensure all components are properly assembled and secured. The toilet seat should be firmly attached, the urine diverter (if used) should be correctly positioned, and the ventilation system should be airtight.
![completed composting toilet outdoors]
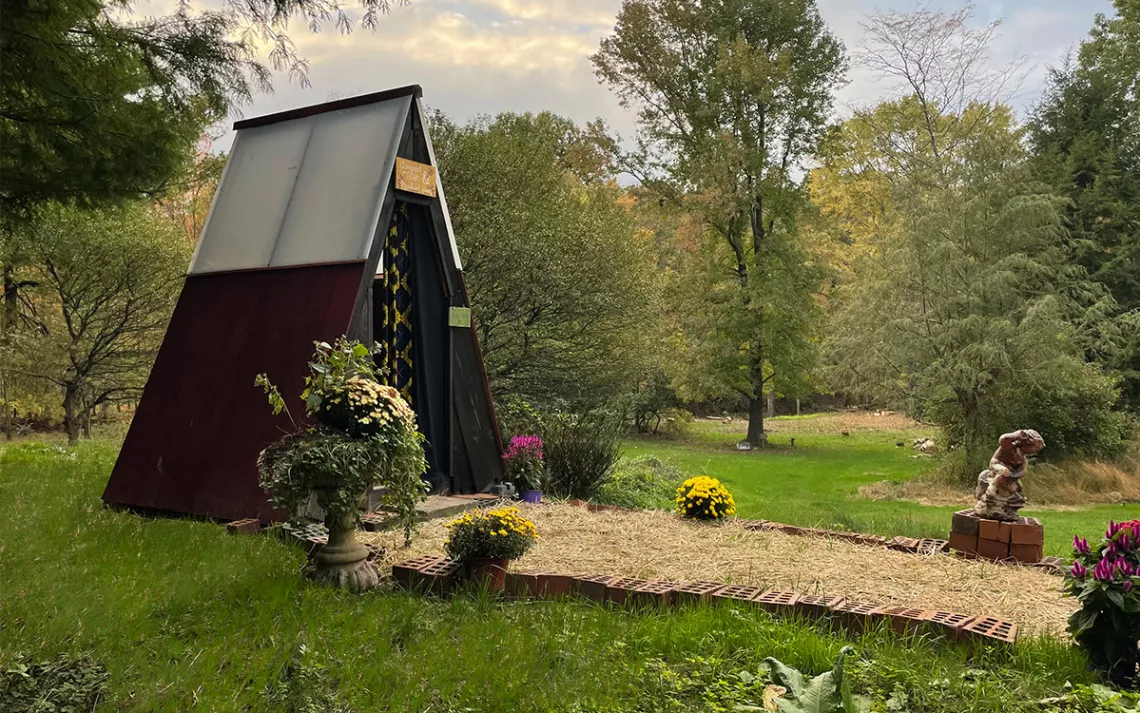
Image alt text: Completed DIY composting toilet sitting outdoors on a homestead, showing the bucket, toilet seat, lid, urine diverter, and ventilation pipe.
4. Operating and Maintaining Your Composting Toilet
Now that your composting toilet is built, here's how to use and maintain it:
Initial Setup:
- Add a base layer of bulking agent (about 4-6 inches) to the bottom of the container. This will help absorb moisture and prevent odors.
![initial layer sawdust compost toilet]
Image alt text: Close-up of sawdust being poured into the bottom of a composting toilet container, creating the initial base layer.Daily Use:
- After each use, add a scoop or two of bulking agent to cover the solid waste. This is crucial for maintaining a proper carbon-to-nitrogen balance and preventing odors. The ideal C:N ratio is around 25:1 to 30:1. Sawdust, wood shavings, peat moss, and coconut coir are all excellent choices.
![adding sawdust composting toilet after use]
Image alt text: Hand adding a scoop of sawdust to a composting toilet after use, covering the solid waste.Maintenance:
- Monitor the moisture levels in the compost. It should be damp but not soggy. If it's too wet, add more bulking agent. If it's too dry, add a small amount of water. You may need to stir or turn the compost pile occasionally to ensure even decomposition.
![stirring compost pile composting toilet]
Image alt text: Person stirring the compost pile inside a composting toilet with a small shovel or trowel.Emptying:
- The frequency of emptying will depend on the size of your container and the number of users. When the container is about two-thirds full, it's time to empty it. Wear gloves and a mask when handling the compost. Carefully remove the compost and transfer it to a secondary composting bin for further decomposition. Follow local guidelines for composting human waste.
![emptying compost bin into compost pile]
Image alt text: Person emptying the contents of a composting toilet bucket into a larger compost pile in a backyard compost system.Troubleshooting:
- Odor: Increase ventilation, add more bulking agent, and ensure the compost is not too wet.
- Slow Decomposition: Add more nitrogen-rich materials (like urine, if not using a diverter).
- Insects: Ensure the vent pipe has a screen and that the container is sealed tightly.
![compost toilet with fly screen]
Image alt text: Close-up of a composting toilet ventilation pipe showing a fine mesh screen installed to prevent flies and other insects from entering.
5. Legal Considerations and Best Practices
Before installing your composting toilet, it's essential to check local codes and regulations. Some areas may require permits or have specific guidelines for composting human waste. Contact your local health department or building inspector for more information.
Always follow best practices for safe compost handling and disposal. Wear gloves and a mask when handling the compost, and wash your hands thoroughly afterward. Never use the composted material on food crops. It should only be used for ornamental plants or trees.
![sign safe use compost]
Image alt text: Sign indicating that compost is for use on ornamental plants only, not for food crops.
Conclusion
Building a composting toilet is a simple yet impactful way to embrace sustainable living on your homestead. It conserves water, reduces your reliance on municipal systems, and provides a valuable soil amendment (for ornamental plants!). By following these steps and maintaining your composting toilet properly, you can enjoy the benefits of a more self-sufficient and environmentally friendly lifestyle. Don't be intimidated – give it a try!
![thriving garden compost soil]
Image alt text: A lush garden bed with thriving ornamental plants, fertilized with composted material.
Call to Action
Have you ever built a composting toilet? Share your experiences and tips in the comments below! We'd love to see photos of your DIY projects. And don't forget to subscribe to the Better Homes and Harvests newsletter for more homesteading tips and project ideas. What other DIY projects would you like to see covered on our website? Let us know!