DIY Cold Frame for Four-Season Gardening: Building a Backyard Extension with Reclaimed Materials
Imagine stepping outside on a crisp winter day and harvesting fresh, vibrant greens from your own backyard. It’s a dream many of us at Better Homes and Harvests share, and it's more achievable than you might think! With a little ingenuity and some reclaimed materials, you can build your own DIY cold frame for four-season gardening, extending your growing season and bringing the joy of homegrown food to your table year-round. This project not only saves you money but also connects you more deeply with the earth, fostering self-sufficiency and a satisfying sense of accomplishment. Let’s dive into building a simple yet effective cold frame that will transform your winter garden.
What is Four-Season Gardening, and Why a Cold Frame?
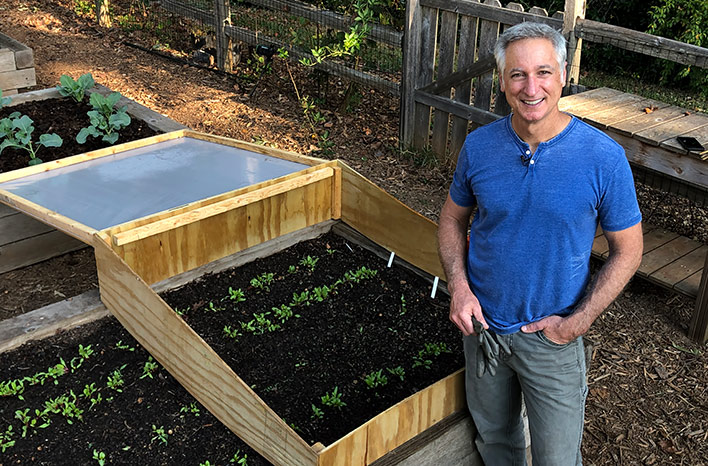
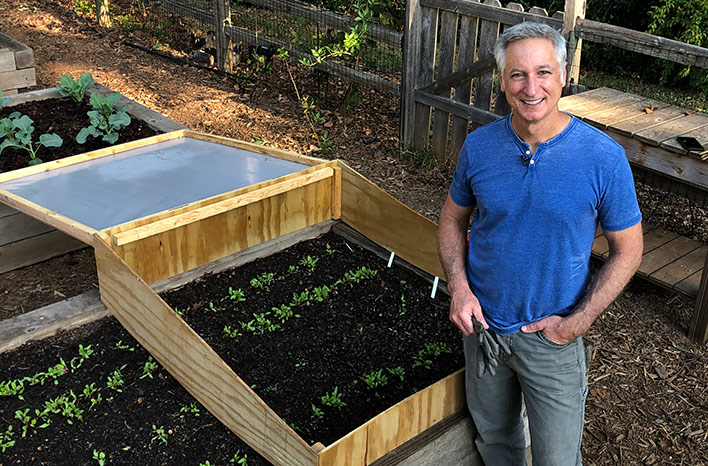
Four-season gardening is the practice of growing food year-round by using various techniques to protect plants from harsh weather. A cold frame is essentially a mini-greenhouse, offering a simple and cost-effective way to extend your growing season. It traps solar heat, providing a warmer environment for plants to thrive even when temperatures drop. Building a DIY cold frame allows you to enjoy fresh salads, herbs, and other vegetables throughout the winter months. It’s a great greenhouse alternative.
Planning Your DIY Cold Frame Project
Before you start gathering materials, it's essential to plan your cold frame. Consider these factors:
- Size: A good starting point is a cold frame that's approximately 4 feet wide, 6 feet long, and 1-2 feet high. This size is manageable to build and provides ample space for a variety of plants. Adjust the dimensions based on the space available in your backyard and the amount of winter garden ideas you have.
- Location: Choose a sunny spot in your yard that receives at least 6 hours of sunlight daily, especially during the winter months. A south-facing location is ideal. Consider the slope of your land; a slight slope can help with drainage.
- Materials: We’ll be focusing on reclaimed materials, so start scouting for old windows, used lumber, and other salvaged items. This approach is not only environmentally friendly but also significantly reduces the cost of the project.
- Design: A simple, slanted-lid design is most effective for maximizing sunlight exposure and shedding rain or snow.
Sourcing Reclaimed Materials: The Sustainable and Cost-Effective Approach
One of the most rewarding aspects of this project is using reclaimed materials! Not only does it save money, but it also gives discarded items a new lease on life. Here are some great places to find what you need:
- Local Salvage Yards: These are treasure troves for reclaimed lumber, windows, and doors. Prices are often very reasonable.
- Online Marketplaces: Websites like Craigslist and Facebook Marketplace often have listings for free or low-cost building materials. Search for terms like "used lumber," "old windows," or "free wood."
- Construction Sites: Talk to contractors about obtaining leftover or discarded materials. They may be willing to give them away rather than pay to dispose of them.
- Your Own Home: Repurpose old fencing, decking, or other wooden structures that are no longer in use.
Remember to thoroughly inspect any reclaimed materials for rot, insect damage, or lead paint (especially with older windows). Treat wood with a natural preservative if needed and take appropriate safety precautions when handling potentially hazardous materials.
Step-by-Step: Building Your DIY Cold Frame
Here's a detailed guide to building your DIY cold frame using reclaimed windows and lumber:
Step 1: Gather Your Materials
- Reclaimed lumber (for the frame)
- Reclaimed windows (for the lid)
- Screws or nails
- Hinges
- Handles or knobs (for the lid)
- Measuring tape
- Saw
- Drill
- Sandpaper
- Safety glasses
- Gloves
Step 2: Cut the Lumber
Cut the lumber to the desired dimensions for your cold frame. You’ll need:
- Two side pieces (e.g., 6 feet long)
- One front piece (e.g., 4 feet long, shorter than the back piece)
- One back piece (e.g., 4 feet long, taller than the front piece for a slanted roof)
- Corner braces (small pieces to reinforce the corners)
Step 3: Assemble the Frame
Assemble the frame by attaching the side, front, and back pieces together using screws or nails. Ensure the corners are square and secure. Use corner braces to add extra strength.
Step 4: Prepare the Window Lid
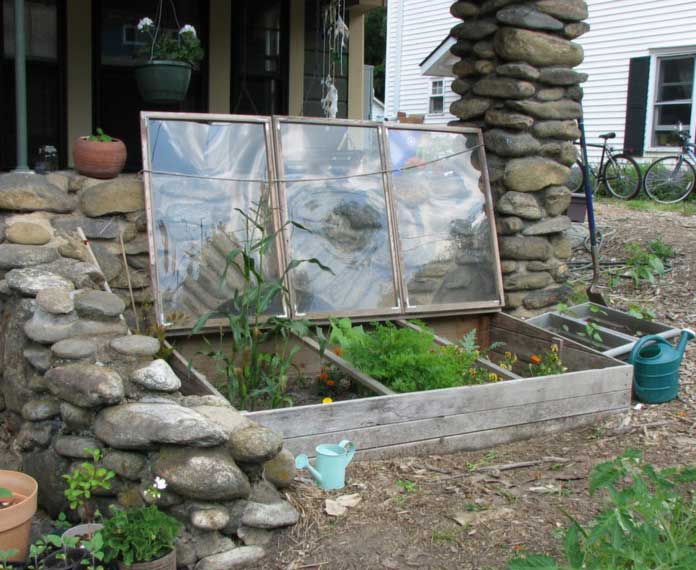
Clean the reclaimed window thoroughly. If needed, sand any rough edges or peeling paint. Decide how you want the window to open (hinged at the top or side).
Step 5: Attach the Hinges
Attach the hinges to the back of the frame and the bottom edge of the window. Make sure the hinges are aligned properly to allow the lid to open and close smoothly.
Step 6: Add Handles or Knobs
Attach handles or knobs to the front of the window lid for easy opening and closing.
Step 7: Sand and Finish
Sand any rough edges or splinters on the frame. You can paint or stain the wood to protect it from the elements, but be sure to use a non-toxic finish safe for gardening.
Step 8: Position Your Cold Frame
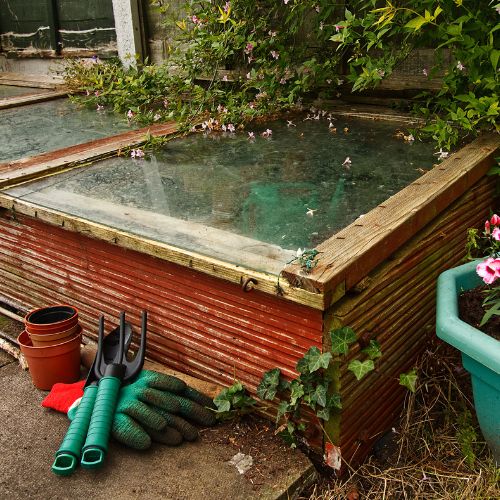
Place your completed cold frame in the chosen sunny location in your backyard. Ensure it's level and stable. You can add soil directly inside the cold frame or place potted plants inside.
Choosing Cold-Hardy Plants and Maintaining Your Cold Frame
Now that your cold frame is built, it's time to start planting! Here are some tips for success:
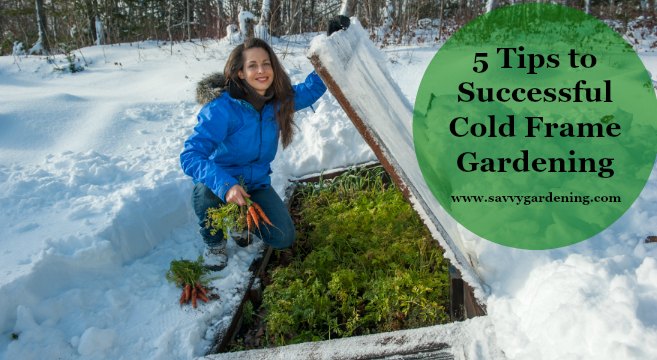
- Choose Cold-Hardy Vegetables: Opt for plants that can tolerate cold temperatures, such as kale, spinach, lettuce, arugula, chard, and certain herbs like parsley and cilantro.
- Ventilation: On sunny days, open the lid of the cold frame to prevent overheating. Monitor the temperature inside and adjust the ventilation accordingly.
- Watering: Water your plants regularly, but be careful not to overwater, as this can lead to fungal diseases.
- Insulation: On extremely cold nights, you can add extra insulation around the cold frame, such as straw bales or blankets.
The Joy of Winter Gardening: A Personal Reflection
I still remember the first winter I harvested a salad from my own cold frame. The feeling of biting into those crisp, fresh leaves in the middle of January was incredibly rewarding. It was a tangible demonstration of self-sufficiency and a powerful connection to the natural world. Building that DIY cold frame wasn't just a project; it was an investment in my well-being and a step towards a more sustainable lifestyle. The subtle act of extending growing season can be transformative.
Share Your Cold Frame Journey!
We hope this guide has inspired you to build your own DIY cold frame for four-season gardening! We can’t wait to see your creations! Share your own cold frame projects, tips for using reclaimed materials, or favorite winter gardening successes in the comments section below. Don't forget to share this blog post on social media with the hashtag #BHHColdFrames, and let's inspire others to embrace the joy of year-round gardening!