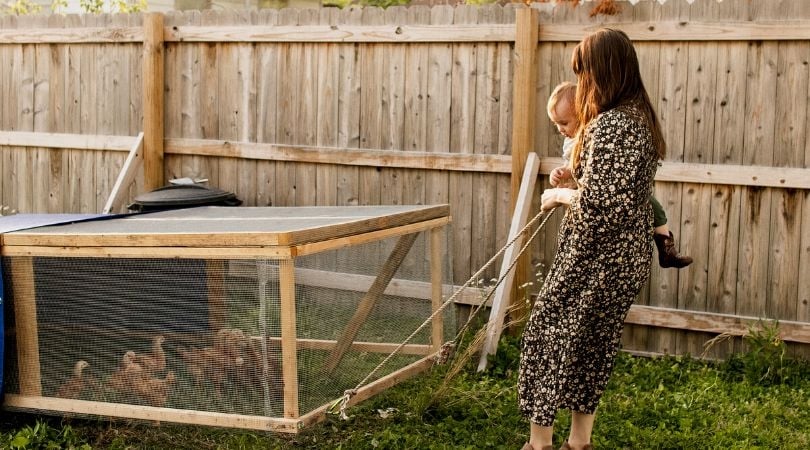
Ditch the Store-Bought, Embrace the Homestead: Building Your Own Upcycled Chicken Tractor!
Remember that year the squash bugs nearly wiped out my entire zucchini crop? I was pulling my hair out, resorting to all sorts of "natural" solutions that just weren’t cutting it. Then, inspiration struck: chickens! I knew their voracious appetites could be put to good use in the garden, but I also knew I couldn't just let them roam free – goodbye tomatoes! That’s when I decided I needed a chicken tractor. And not just any chicken tractor, but one built with my own two hands, from materials I already had lying around. Not only did it solve my pest problem, it gave my chickens healthier lives by allowing them to forage safely on fresh pasture every day, and significantly improved my compost production!
If you're looking to boost your homestead's self-sufficiency, improve your flock's health, and get some free pest control, then you're in the right place. Today, I’m sharing my experience and guiding you through building a simple, budget-friendly chicken tractor DIY using upcycled materials.
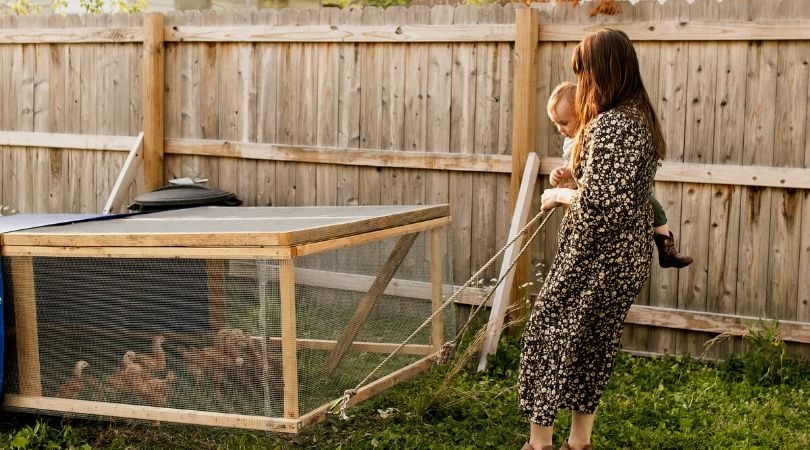
Why a Chicken Tractor? The Benefits Are Endless!
For those new to the concept, a chicken tractor (also known as a mobile chicken coop) is essentially a portable pen that allows you to move your chickens to different areas of your yard or garden. This simple device unlocks a world of benefits:
- Pest Control: Chickens are natural foragers, devouring insects, larvae, and weed seeds. Moving the tractor through your garden after harvest helps clear out pests and prepare the soil for the next planting. Think of it as organic, feathered pest control!
- Pasture Management: Giving your chickens access to fresh grass and bugs daily improves their health and well-being. They get a varied diet, more exercise, and less exposure to concentrated manure, reducing the risk of disease.
- Natural Fertilization: Chicken manure is a fantastic fertilizer. The chicken tractor allows you to distribute it evenly across your garden or pasture, enriching the soil as they go.
- Improved Compost: By adding scraps and garden waste inside the chicken tractor, you can supercharge your composting process. The chickens will turn and aerate the materials, while adding their valuable manure.
- Healthier Chickens: Access to fresh pasture and sunshine means healthier, happier chickens.
Gathering Your Upcycled Resources: Trash to Treasure
The beauty of this project is that it can be done on a shoestring budget, using materials you might already have or can source cheaply.
Here's a list of what you'll need (with estimated costs, assuming you're buying everything new – remember, the goal is upcycling!):
- Pallets: 2-3 standard pallets (Free - $15 each if buying new)
- Wood Scraps: For framing, supports, and roosts (Free - $20 depending on what you need)
- Chicken Wire or Hardware Cloth: For enclosing the sides and top. (Around $30 - $50 per roll, depending on size and gauge)
- Old Fencing or Mesh: Alternative to chicken wire, especially for the bottom to prevent digging. (Free - $20)
- Wheels: 2 wheels (old bicycle wheels, lawnmower wheels, etc.) for easy movement ($0 - $20)
- Hinges: For the door and any access panels. ($5 - $10)
- Latches/Clasps: To secure the door and panels. ($5 - $10)
- Screws/Nails/Staples: For assembling the structure. ($10 - $20)
- Paint or Wood Preservative (Optional): To protect the wood from the elements. ($15 - $30)
Tools You'll Need:
- Saw (hand saw or circular saw)
- Drill
- Screwdriver
- Staple gun
- Wire cutters
- Hammer
- Measuring tape
- Pencil
- Safety glasses
- Gloves
Total Estimated Cost (if buying everything new): $100 - $200 (but aiming for much less through upcycling!)
Estimated Build Time: 4-8 hours
Step-by-Step Guide: Building Your Mobile Chicken Oasis
Step 1: Prepare Your Materials
- Disassemble the pallets carefully, salvaging the wood planks. Wear gloves to protect your hands from splinters.
- Remove any nails or staples from the wood.
- Cut the wood planks to the desired lengths for the frame, walls, and roof of your chicken tractor. A simple rectangular design is easiest for beginners.
Step 2: Build the Frame
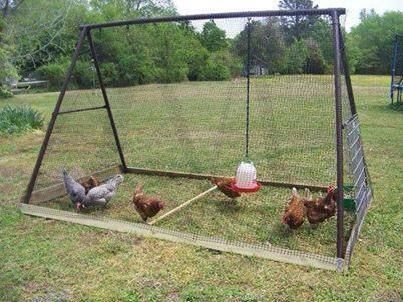
- Construct a rectangular frame using the pallet wood. This will be the base of your chicken tractor.
- Reinforce the corners with extra wood scraps for added stability.
- Make sure the frame is sturdy enough to withstand the weight of the chickens and the elements.
Step 3: Add the Wheels
- Attach the wheels to one end of the frame. This will allow you to easily move the chicken tractor around your yard.
- Use sturdy brackets or bolts to secure the wheels to the frame. Old bicycle wheels work great for this!
Step 4: Enclose the Sides and Top
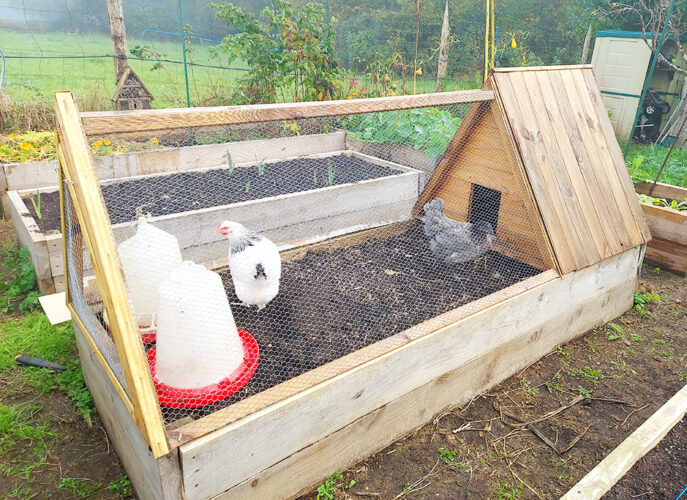
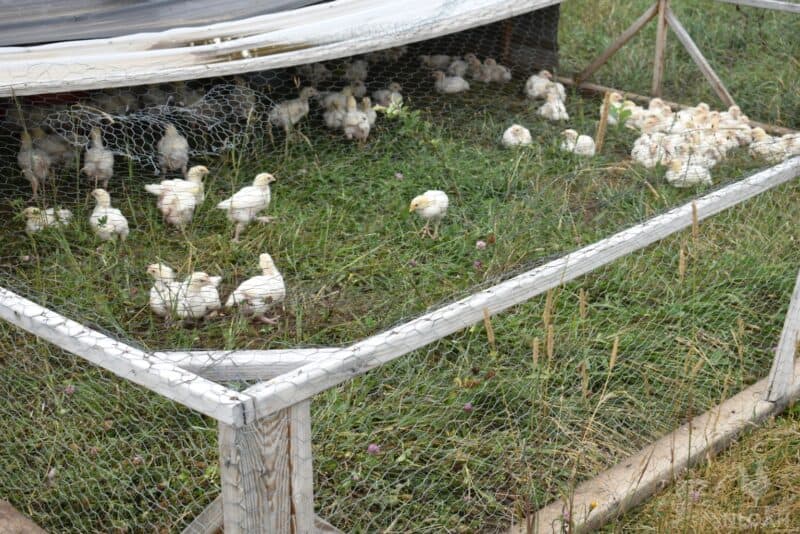
- Cover the sides and top of the frame with chicken wire or hardware cloth. This will keep your chickens safe from predators and prevent them from escaping.
- Use a staple gun to securely attach the wire mesh to the frame. Overlap the edges of the mesh for added strength.
Safety Tip: Wear safety glasses when using the staple gun to protect your eyes from flying staples.
Step 5: Create a Door
- Cut an opening for a door on one side of the chicken tractor.
- Build a simple door frame using wood scraps.
- Attach the door to the frame using hinges.
- Install a latch or clasp to secure the door.
Step 6: Add a Roosting Bar
- Provide your chickens with a place to roost at night by adding a roosting bar inside the chicken tractor.
- Use a sturdy branch or a piece of wood for the roosting bar.
- Secure the roosting bar to the frame at a comfortable height for your chickens.
Step 7: Bottom Considerations (Optional)
- For extra security and to prevent digging, consider adding a layer of old fencing or mesh to the bottom of the tractor.
- This is especially important if you have persistent diggers or predators in your area.
Step 8: Finishing Touches
- Sand down any rough edges or splinters on the wood.
- Paint or apply a wood preservative to protect the wood from the elements and extend the life of your chicken tractor. This is optional but highly recommended.
Troubleshooting and Customization: Making It Your Own
- Wheels Getting Stuck? Make sure your wheels are appropriately sized for the terrain. Larger wheels are better for uneven ground.
- Predator Problems? Use hardware cloth instead of chicken wire for better protection. You can also add a skirt of mesh around the base to prevent digging predators from getting in.
- Too Heavy to Move? Consider reducing the size of the tractor or using larger, more robust wheels.
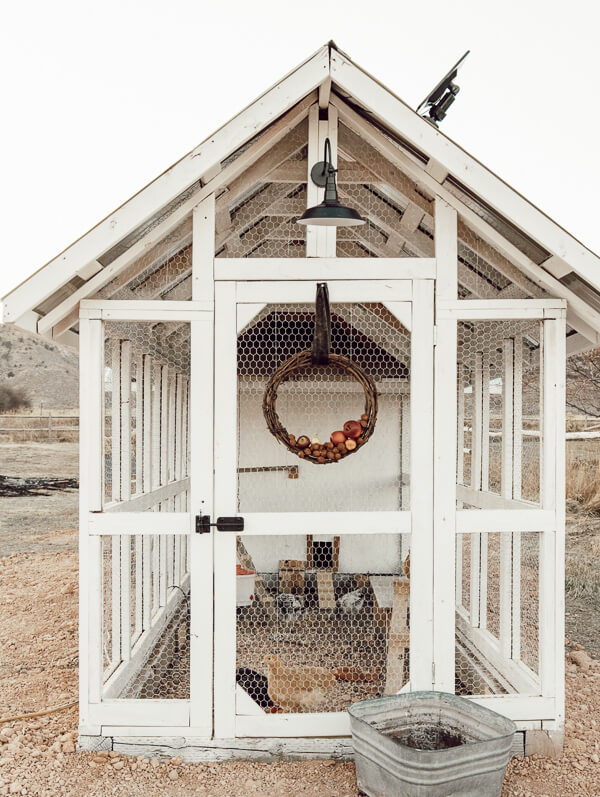
- Customization is Key: Feel free to adapt the design to your specific needs and resources. Add a small nesting box inside, or create a removable roof section for easier cleaning. Get creative!
Embracing the Homestead Spirit: Building a Sustainable Future
Building your own upcycled chicken tractor is more than just a DIY project; it's an act of self-reliance and sustainability. It's about taking control of your food production, reducing waste, and connecting with nature. There's a unique satisfaction that comes from creating something useful and beautiful with your own two hands. It's a testament to the resourcefulness and resilience that defines the homesteading lifestyle.
By building a budget chicken tractor, you are contributing to a more sustainable way of life. You're reducing your reliance on commercially produced food and products, minimizing waste, and creating a healthier environment for your chickens and your garden. This project truly embodies the spirit of homesteading: making the most of what you have and creating a thriving, self-sufficient homestead. Remember to search online for other DIY chicken coop ideas!
Now It's Your Turn!
I hope this guide has inspired you to build your own chicken tractor for sustainable chicken keeping. Don't be afraid to get your hands dirty and experiment. Every homestead is unique, so find what works best for you and your flock.
Do you have any chicken-raising tips or upcycled homestead projects you'd like to share? Let us know in the comments below! And be sure to subscribe to the "Better Homes and Harvests" newsletter for more homesteading inspiration delivered straight to your inbox. Happy homesteading! And remember, while this guide offers a starting point, always research best practices for chicken care to ensure your flock thrives.