Ditch the Grocery Store: Build Your Own High-Efficiency DIY Root Cellar This Weekend!
Are you tired of bland, out-of-season produce? Do you dream of extending your harvest well into the winter months? Then get ready to roll up your sleeves and embark on a fulfilling homesteading project: building your own high-efficiency DIY root cellar! We're here at Better Homes and Harvests to guide you through every step of creating a sustainable food storage solution right in your backyard, using readily available reclaimed materials. This weekend, let's transform your approach to fresh produce and embrace the rewarding lifestyle of homesteading.
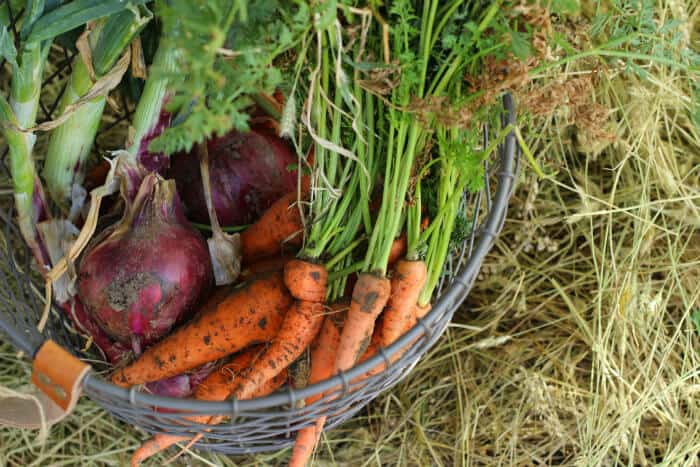
This image showcases several alternative options for food storage, highlighting the potential for building a cost-effective root cellar.
This isn’t just about saving money (though you absolutely will!). It’s about food security, reducing your environmental footprint, and connecting with the natural cycles of the seasons. We'll focus on a simple, above-ground design perfect for moderate climates (USDA Zone 6), leveraging the affordability and sustainability of reclaimed materials like pallets, salvaged lumber, and straw bales. Imagine fresh, crisp carrots and perfectly preserved potatoes available all winter long – that’s the power of a DIY root cellar!
Why Build a Root Cellar? The Benefits Are Bountiful
Before we dive into the building process, let's explore why a root cellar is a game-changer for any homesteader:
- Extended Growing Season: Keep your harvests fresh for months, enjoying homegrown produce long after the garden has gone dormant. A well-built DIY root cellar mimics the cool, humid conditions needed to slow down spoilage.
- Reduced Grocery Bills: Cut your reliance on store-bought produce during the off-season. Imagine not having to buy potatoes or onions for six months!
- Food Security: A root cellar provides a buffer against unpredictable events, ensuring you have a supply of nutritious food on hand.
- Environmental Responsibility: Using reclaimed materials minimizes waste and reduces the carbon footprint associated with commercially grown and transported produce.
- Healthier Eating: Enjoy the superior taste and nutritional value of fresh, naturally preserved vegetables, avoiding the preservatives often found in store-bought alternatives. Did you know storing potatoes properly can maintain their Vitamin C content for months?
Project Overview: An Above-Ground Root Cellar Built From Reclaimed Treasures
We’ll be constructing an above-ground DIY root cellar utilizing pallets for the main structure, salvaged lumber for framing and reinforcement, and straw bales for insulation. The size can be adapted based on your needs and available materials. Our design is simple, sturdy, and focuses on creating a consistently cool and humid environment. This design is tailored for easy adaptation to whatever reclaimed resources you can find, making it ideal for the budget-conscious homesteader.
Materials List: Reclaiming Your Way to Savings
Here’s a comprehensive list of materials needed for our DIY root cellar. Remember, costs can vary greatly depending on what you can reclaim. We encourage you to check local classifieds, construction sites (with permission, of course!), and salvage yards for affordable options.
- Pallets: 10-15 (Free - $5 each) for the walls. Look for heat-treated pallets (HT stamp) and avoid those treated with chemicals.
- Salvaged Lumber: Various sizes for framing, door construction, and shelving. (Free - $2 per board foot)
- Straw Bales: 15-20 for insulation. ($5 - $10 per bale)
- Roofing Material: Corrugated metal, salvaged shingles, or heavy-duty tarp. ($20 - $100, depending on material)
- Hardware: Screws, nails, hinges, latches. ($20 - $50)
- Insulation (Optional): Rigid foam insulation for added protection in colder climates. ($30 - $60)
- Gravel: For leveling the base. ($10 - $30)
- Ventilation Pipe: 4-inch PVC pipe. ($5 - $10)
- Chicken Wire/Hardware Cloth: To deter pests. ($15 - $30)
- Tools: Saw, hammer, drill, level, measuring tape, safety glasses, gloves. (Assume you already have these, but factor in if not)
Estimated Cost: Reclaimed: $100 - $300 / New: $300 - $600
Step-by-Step Instructions: Building Your Root Cellar Oasis
Safety First! Always wear safety glasses and gloves when working with power tools and reclaimed materials. Be mindful of lifting heavy objects and enlist help when needed.
1. Site Preparation:
- Choose a location that is shaded and well-drained. A north-facing slope is ideal.
- Clear the area of vegetation and debris.
- Level the ground with gravel to create a stable base.
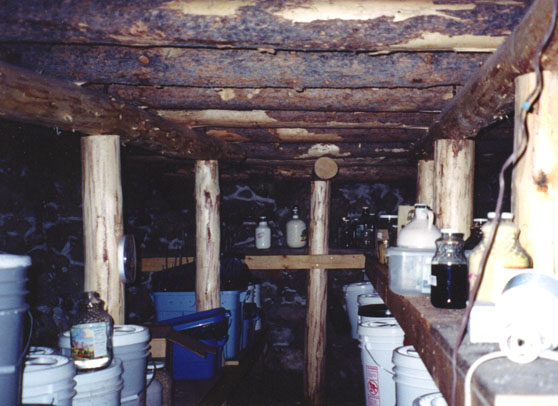
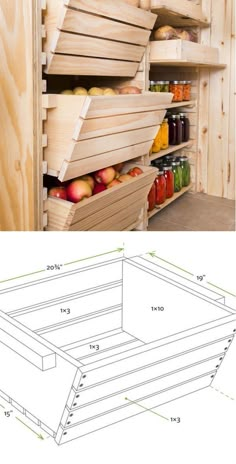
This image showcases an example of well-organized food storage, inspiring ideas for organizing your root cellar once it's complete.
2. Pallet Foundation and Walls:
- Arrange pallets in a rectangular or square shape to form the base of your DIY root cellar. Ensure they are level. Secure them to each other using screws or nails.
- Stack pallets on top of the base pallets to create the walls. Interlock the pallets for added stability.
- Reinforce the corners with salvaged lumber, creating a sturdy frame. This step is crucial for the structural integrity of your DIY root cellar.
3. Framing and Door:
- Frame out a doorway using salvaged lumber. Ensure the opening is wide enough for easy access.
- Construct a simple door using lumber and hinges. Consider adding a latch for security.
This image illustrates the potential problems of storing food improperly, emphasizing the need for a well-designed root cellar.
4. Straw Bale Insulation:
- Stack straw bales tightly against the outside walls of the pallet structure.
- Overlap the bales to eliminate gaps and maximize insulation.
- Consider adding chicken wire or hardware cloth to protect the straw bales from rodents.
5. Roofing:
- Construct a simple roof frame using salvaged lumber. A slightly sloped roof will help with water runoff.
- Cover the roof frame with your chosen roofing material (corrugated metal, shingles, or a heavy-duty tarp). Secure the roofing material tightly to prevent leaks.
This image provides a helpful example of a basic structure built with pallets, illustrating a simple way to construct the walls of your root cellar.
6. Ventilation:
- Install a ventilation pipe near the floor of the DIY root cellar to allow for air circulation.
- Another ventilation pipe can be installed near the roof to allow warm air to escape. This is critical for temperature regulation.
- Cover the ends of the pipes with mesh to prevent pests from entering.
7. Shelving:
- Build shelves using salvaged lumber to maximize storage space.
- Ensure the shelves are sturdy enough to hold the weight of your root vegetables.
8. Finishing Touches:
- Seal any gaps in the walls with caulk or expanding foam to improve insulation.
- Add a layer of soil or compost around the base of the DIY root cellar to further insulate the walls.
This image shows the outside of a built root cellar, giving an idea of its external structure and appearance.
Tips and Tricks for a Successful Root Cellar
- Sourcing Reclaimed Materials: Be patient and persistent! Check online marketplaces, local construction sites, and ask friends and neighbors.
- Material Adaptability: Can't find enough pallets? Use a combination of pallets and salvaged lumber for the walls. Straw bales too expensive? Consider using leaves or other natural materials for insulation. The key is adaptability!
- Climate Considerations: In colder climates, add extra insulation to the walls and roof. Consider burying the base of the DIY root cellar slightly below ground for added protection. In warmer climates, focus on maximizing ventilation.
- Ventilation is Key: Proper ventilation is crucial for preventing condensation and mold growth. Adjust the ventilation as needed based on the weather conditions.
- Pest Control: Regularly inspect your DIY root cellar for signs of pests. Use traps or natural repellents to keep them at bay.
- Optimizing Temperature and Humidity: Aim for a temperature between 32°F and 40°F and a humidity level of 80-90%. Use a thermometer and hygrometer to monitor conditions. Place a container of water inside to increase humidity if needed.

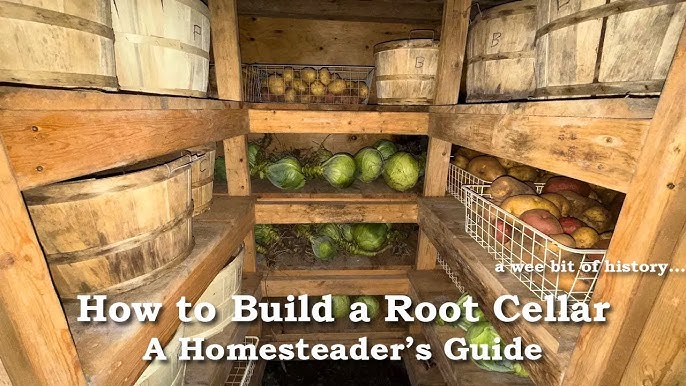
This image shows the interior of a root cellar, giving an idea of the setup and storage techniques used within.
Troubleshooting Common Problems
- Condensation: Increase ventilation. Ensure the ventilation pipes are not blocked.
- Pests: Seal any cracks or holes in the walls. Use traps or natural repellents.
- Temperature Fluctuations: Add more insulation. Consider burying the base of the DIY root cellar slightly below ground.
- Mold Growth: Improve ventilation. Remove any affected produce immediately.
What to Store in Your Root Cellar: A Winter Vegetable Feast

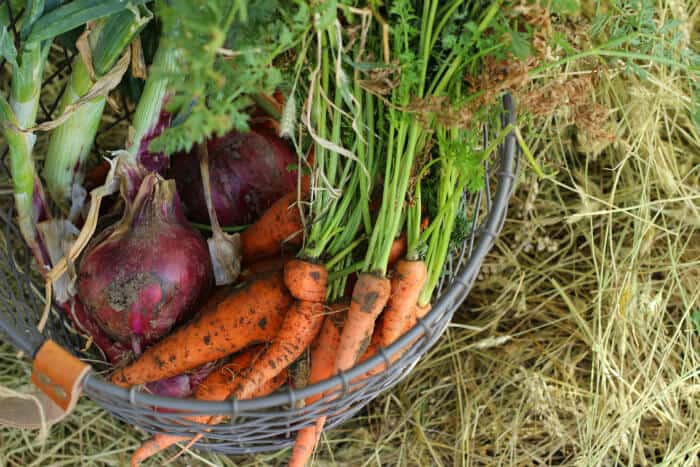
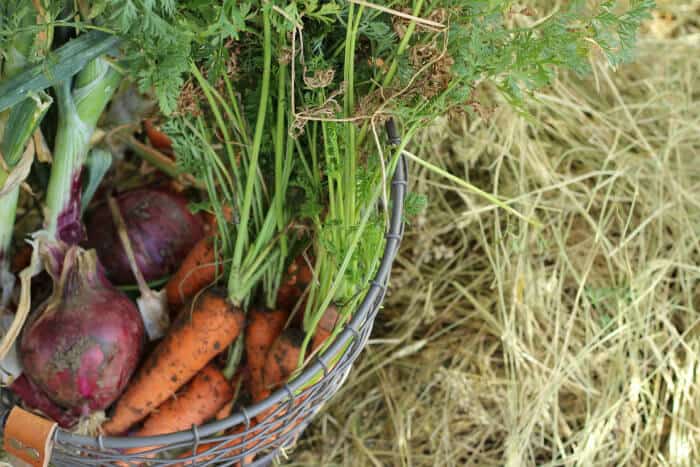
This image showcases different types of vegetables suitable for root cellar storage, helping with planning your garden and harvest.
Your DIY root cellar is perfect for storing a variety of root vegetables and other cool-weather crops, including:
- Potatoes
- Carrots
- Beets
- Onions
- Garlic
- Apples
- Cabbage
- Turnips
- Winter Squash
Ready to Get Started? Your Weekend Homesteading Adventure Awaits!
Building a DIY root cellar is a rewarding project that offers numerous benefits for the environmentally conscious homesteader. By using reclaimed materials and following these simple steps, you can create a sustainable food storage solution that will extend your growing season, reduce your grocery bills, and enhance your food security. We encourage you to adapt these root cellar plans to your specific needs and available resources.
Now it's your turn! Share your root cellar experiences or questions in the comments below. What three things are you most excited to store in your newly built DIY root cellar? Don’t forget to share this post on social media using the hashtag #BHHRootCellar. Let’s build a community of sustainable homesteaders, one root cellar at a time! Happy homesteading!