Ditch the Grocery Store: Build a Weekend Root Cellar from Reclaimed Materials
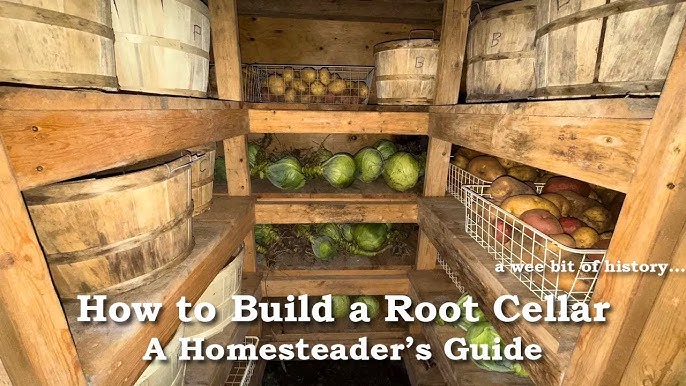
Remember that year the potatoes just wouldn't quit? We had mountains of them, more than we could possibly eat, give away, or even turn into vodka (though we gave it a good try!). The compost pile groaned under the weight of wasted spuds, a painful reminder of all that hard work gone to…well, rot. That’s the day I decided enough was enough. I needed a root cellar, and I needed it now. If you're a homesteader serious about food preservation, reducing waste, and extending your harvest, a root cellar is your secret weapon. And the best part? You can build a functional, efficient one in a single weekend using readily available, often reclaimed, materials. Let’s dive in!
Why Build a Root Cellar? The Tangible Benefits
Beyond the satisfaction of self-sufficiency, a root cellar offers a host of practical advantages:
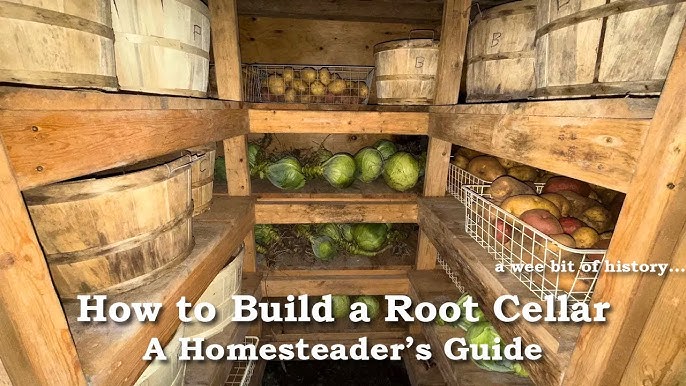
- Year-Round Freshness: Enjoy homegrown vegetables long after the growing season ends. Think crisp carrots in January and flavorful onions in March.
- Reduced Food Waste: Stop watching your hard-earned harvest spoil. A root cellar provides the ideal environment for long-term storage, drastically reducing waste.
- Grocery Bill Savings: Less reliance on store-bought produce translates to significant savings, especially during the winter months.
- Food Security: In uncertain times, having a well-stocked root cellar provides peace of mind and ensures a steady supply of nutritious food for your family.
This guide focuses on a small, efficient design perfect for intermediate homesteaders comfortable with basic DIY projects. We’ll prioritize reclaimed materials to keep costs down and promote sustainable practices.
Planning Your Weekend Root Cellar: Location, Location, Location!
Before you grab your hammer, consider these key factors:
- Location: Ideally, choose a naturally cool, shady spot. A north-facing slope is excellent. Avoid areas prone to flooding or direct sunlight. A partially buried design is easier than a fully underground one.
- Size: Start small! A 4x6 foot root cellar can hold a surprising amount of produce. Adjust the size based on your needs and available space.
- Drainage: Proper drainage is crucial. Ensure the site drains well or plan for drainage solutions like gravel beds or French drains.
Materials Needed: Reclaimed is King!
This list prioritizes readily available and reclaimed options to minimize costs. Approximate costs are provided as a guideline and will vary depending on your sourcing.
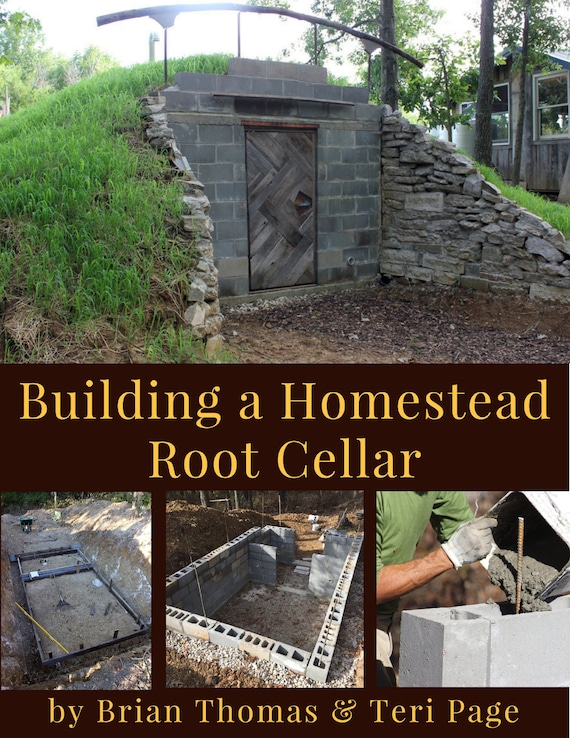
- Cinder Blocks (Reclaimed): Approximately 50-75 ($1-$2 each new, often free or very cheap reclaimed). These will form the walls.
- Salvaged Wood (Pallets, Old Lumber): For framing the door, shelves, and potentially the roof. (Cost varies widely – aim for free or under $50).
- Gravel: For drainage and flooring. (Approximately $30-$50 depending on quantity needed).
- Plastic Sheeting (Heavy Duty): As a moisture barrier. ($20-$40). Consider reusing heavy-duty construction plastic.
- Insulation (Optional, but Recommended): Rigid foam insulation or even packed straw bales. (Cost varies depending on material and size. Consider reclaimed rigid foam).
- Door: A solid, insulated door is essential. A salvaged door works perfectly. (Cost varies widely - aim for free or under $50).
- Hardware: Hinges, latches, nails, screws. ($20-$30).
- Tools: Shovel, level, measuring tape, circular saw or hand saw, drill, hammer, safety glasses, work gloves.
Total Estimated Cost (Using Reclaimed Materials): $100-$300. The beauty of this project is its flexibility. Get creative with your sourcing!
Step-by-Step Guide to Building Your Weekend Root Cellar
Day 1: Site Preparation and Wall Construction
- Clear and Level the Site: Remove any vegetation, rocks, and debris from the chosen location. Use a shovel and level to create a flat, even surface. This is crucial for a stable foundation.
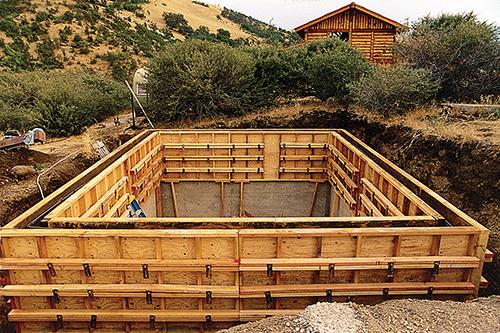
Lay the Foundation (Gravel Bed): Spread a layer of gravel (4-6 inches deep) over the leveled area. This provides drainage and prevents moisture from wicking up into the root cellar. Compact the gravel with a tamper or shovel.
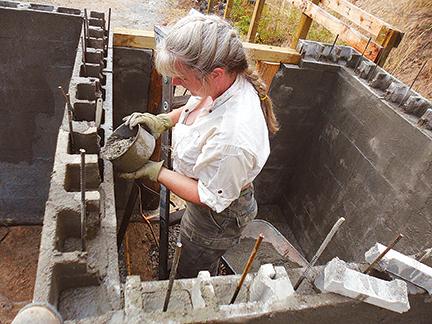
Build the Walls: Begin laying the cinder blocks, starting at one corner and working your way around the perimeter. Use a level to ensure each block is straight and even. Stagger the joints between rows for added strength. Leave a space for the doorway.
- Safety First: Wear gloves and safety glasses when working with cinder blocks.
- Troubleshooting: If your ground isn't perfectly level, you may need to use mortar to adjust the height of the blocks.
Backfill (Optional): If building partially underground, backfill around the exterior walls with soil, compacting it as you go. This provides insulation and stability.
Day 2: Roof, Door, and Interior Finishing
- Construct the Roof: This can be a simple sloped roof made from salvaged wood. Frame the roof with lumber, ensuring it's strong enough to support the weight of soil and snow (if applicable). Cover the frame with plywood or reclaimed boards.
Add a Moisture Barrier: Cover the roof with heavy-duty plastic sheeting to prevent leaks. Overlap the seams and secure the plastic with staples or nails.
Insulate the Roof (Recommended): Add a layer of insulation (rigid foam or straw bales) over the plastic sheeting. This helps maintain a consistent temperature inside the root cellar. Cover the insulation with a layer of soil or sod for added insulation and a natural look.
Install the Door: Frame the doorway with lumber and install the salvaged door using hinges and a latch. Ensure the door is properly sealed to prevent drafts.
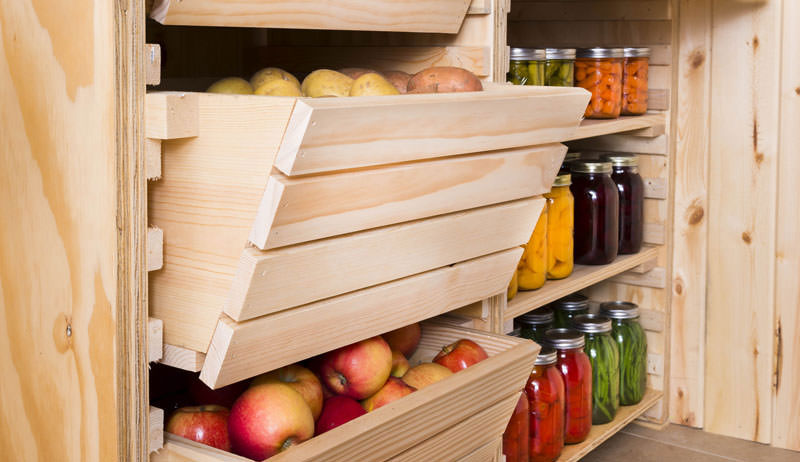
- Build Shelves: Construct shelves from salvaged wood to maximize storage space. Leave space between shelves for air circulation.
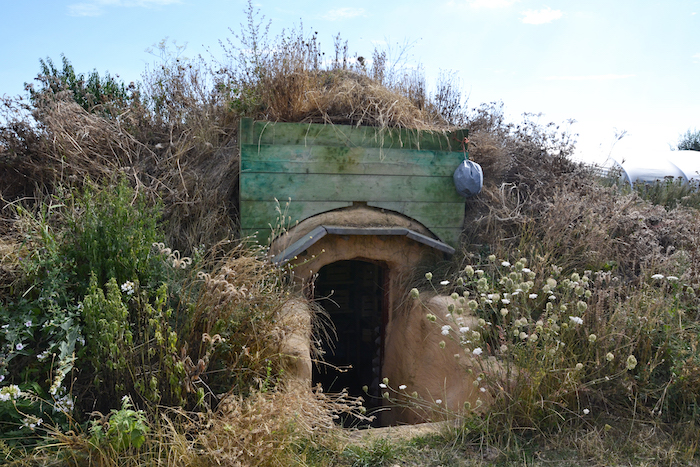
- Install Ventilation (Important): A simple ventilation pipe is crucial to prevent the build-up of moisture and gases. Run a pipe from the ceiling to the outside, ensuring it’s screened to prevent pests from entering. A second, lower vent is also beneficial for airflow.
Safety Precautions
- Wear safety glasses and work gloves when handling cinder blocks, lumber, and tools.
- Use caution when using power tools. Follow the manufacturer's instructions and wear appropriate safety gear.
- Ensure proper ventilation to prevent the build-up of dangerous gases.
- Be aware of the weight of materials and use proper lifting techniques to avoid injury.
Organizing and Maintaining Your Root Cellar
- Cleanliness is Key: Regularly clean your root cellar to prevent mold and rot. Remove any spoiled produce immediately.
- Monitor Temperature and Humidity: Use a thermometer and hygrometer to monitor the conditions inside your root cellar. Aim for a temperature between 32-40°F (0-4°C) and a humidity level of 85-95%.
- Proper Ventilation: Adjust ventilation as needed to maintain optimal temperature and humidity.
- Store Vegetables Properly: Store different vegetables in separate containers or areas, as some produce ethylene gas, which can cause other vegetables to spoil more quickly. Use crates, boxes, or even hanging bags.
- Check Regularly: Periodically inspect your stored produce for signs of spoilage and remove any affected items.
Troubleshooting Tips
- Too Much Moisture: Improve ventilation by opening vents wider or adding a fan. Consider adding a dehumidifier in extreme cases.
- Too Little Moisture: Sprinkle water on the floor or hang wet burlap sacks to increase humidity.
- Temperature Fluctuations: Add more insulation to the roof and walls to stabilize the temperature.
- Pest Problems: Seal any cracks or openings in the walls and roof. Use traps or natural pest control methods.
Ready to Get Started?
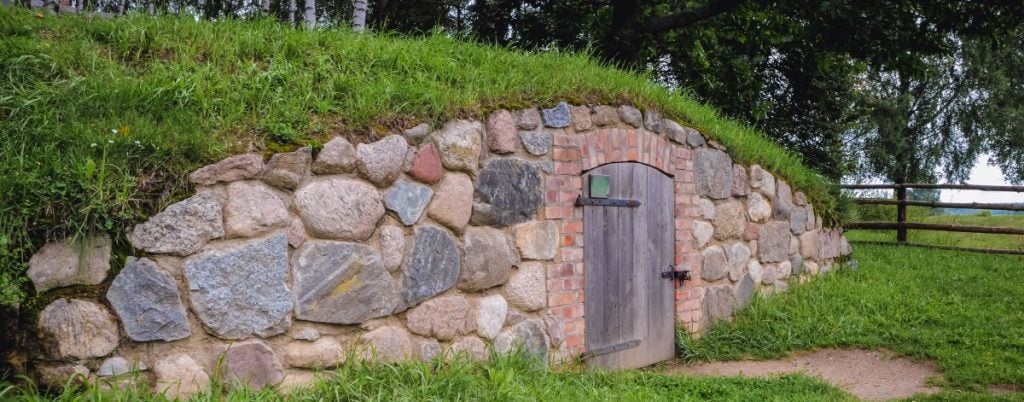
Building a root cellar is a rewarding project that will provide you with fresh, homegrown vegetables year-round. Don't be intimidated – with a little planning and elbow grease, you can build a functional and efficient root cellar in a single weekend using reclaimed materials.
Now it’s your turn! Have you built a root cellar? What tips and tricks can you share? Ask your questions and share your experiences in the comments below!
Further Reading:
- Check out our article on "Best Vegetables for Root Cellar Storage" [hypothetical link to internal BHH article].
- Learn more about "Sustainable Homesteading Practices" [hypothetical link to internal BHH article].