Digging into Self-Sufficiency: Building Your Family's Root Cellar
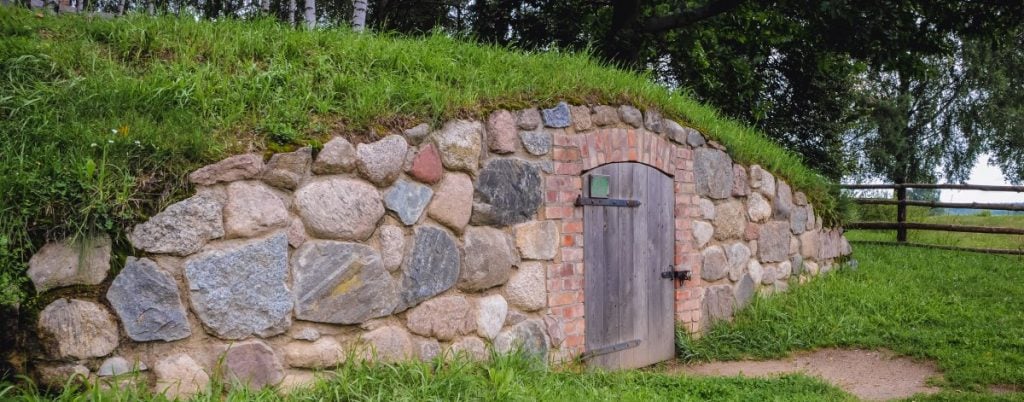
For generations, the heart of the homestead wasn't just the kitchen, but the cool, earthy space where the harvest was tucked away: the root cellar. My great-grandparents relied on theirs to feed their family through long winters, a testament to resourceful living. Now, in an age of grocery stores and global supply chains, the allure of a well-stocked root cellar is stronger than ever. It's about food security, saving money, and connecting to a simpler, more sustainable way of life. Today, I'm excited to share a step-by-step guide to building your own simple, efficient root cellar, perfect for a family of four. Let’s rediscover the art of preserving the bounty!
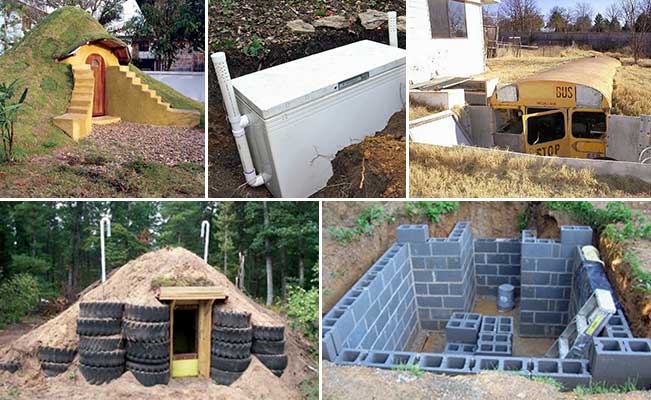
This project isn't about recreating a massive, ancient structure. It's about adapting the principles of temperature, humidity, and ventilation to create a manageable and effective food storage space on your small to medium-sized homestead. Get ready to save $500 or more per year on groceries by storing your garden bounty year-round and reduce your carbon footprint by decreasing reliance on refrigerated storage!
Understanding the Science Behind the Cellar
Before we grab our shovels, let’s understand how a root cellar works. The goal is to maintain a cool, humid environment – ideally between 32°F and 40°F with 85-95% humidity. This slows down respiration and decay, keeping your produce fresh for months. The earth itself provides insulation, moderating temperature swings. Proper ventilation is critical for removing ethylene gas (produced by ripening fruits and vegetables), preventing mold growth, and replenishing oxygen.
Planning and Preparation: The Foundation of Success
First, consider the location. Ideally, you want a spot that is naturally cool and shaded, preferably on the north side of your house or a slope. Avoid areas prone to flooding or with high water tables. A partially buried design is the most practical for many homesteads.
Next, determine the size. For a family of four, a root cellar of approximately 6ft x 8ft x 6ft (internal dimensions) should provide ample storage space. This size is manageable to build and maintain.
Materials List: Gathering Your Supplies
Here’s a detailed list of materials you’ll need, along with approximate costs (prices may vary depending on your location and supplier):
- Lumber:
- 4x4 pressure-treated lumber (for the frame): ~$100
- 2x4 lumber (for framing walls and roof): ~$150
- Plywood (for sheathing): ~$100
- Concrete:
- Concrete mix (for foundation): ~$50
- Insulation:
- Rigid foam insulation (for walls and roof): ~$100
- Moisture Barrier:
- 6-mil polyethylene sheeting: ~$30
- Ventilation:
- 4-inch PVC pipe (for intake and exhaust vents): ~$20
- Ventilation screens: ~$10
- Door:
- Exterior door (salvaged or new): ~$50 - $200
- Hardware:
- Nails, screws, hinges, latches: ~$50
- Shelving:
- Reclaimed wood, pallets, or shelving units: ~$0-$50
- Gravel:
- Gravel for drainage: ~$30
Total Estimated Cost: ~$700 - $900
Where to Purchase:
- Lumber and Hardware: Your local hardware store (e.g., Home Depot, Lowe's)
- Concrete: Your local hardware store (e.g., Home Depot, Lowe's)
- Insulation: Your local hardware store (e.g., Home Depot, Lowe's)
Tools You'll Need: Essential Equipment
- Shovels and picks
- Wheelbarrow
- Measuring tape
- Level
- Circular saw
- Drill
- Hammer
- Staple gun
- Safety glasses
- Gloves
- Dust mask
Step-by-Step Construction: From Excavation to Completion
Step 1: Excavation.
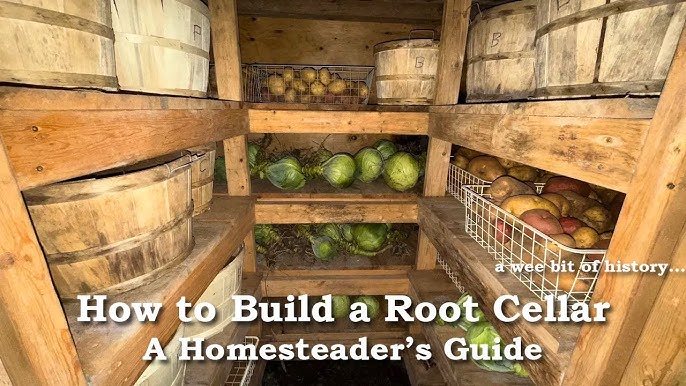
Dig a hole slightly larger than your planned root cellar dimensions, about 3-4 feet deep. Remember to slope the sides for stability. Time Estimate: 1-2 days
Step 2: Foundation.
Pour a concrete slab foundation (4 inches thick) to provide a level and stable base. Allow it to cure for at least 48 hours. This is critical for preventing moisture from wicking up into the cellar. Time Estimate: 1 day (plus curing time)
Step 3: Framing the Walls.
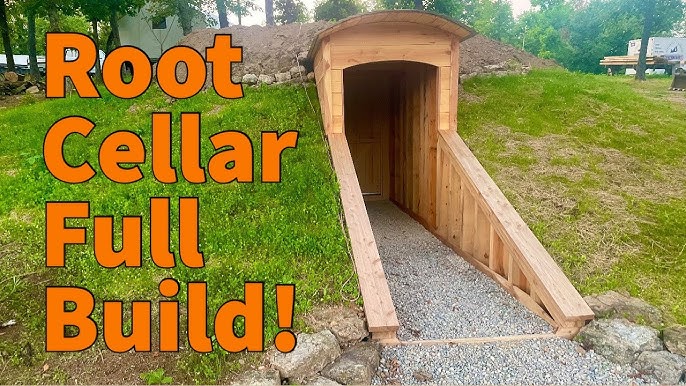
Construct the walls using 2x4 lumber, spaced 16 inches on center. Ensure the frame is square and level. Time Estimate: 1-2 days
Step 4: Sheathing and Insulation.
Cover the exterior of the walls with plywood sheathing. Then, attach rigid foam insulation to the exterior walls, sealing all seams with tape. This will help maintain a consistent temperature inside. Time Estimate: 1 day
Step 5: Moisture Barrier.
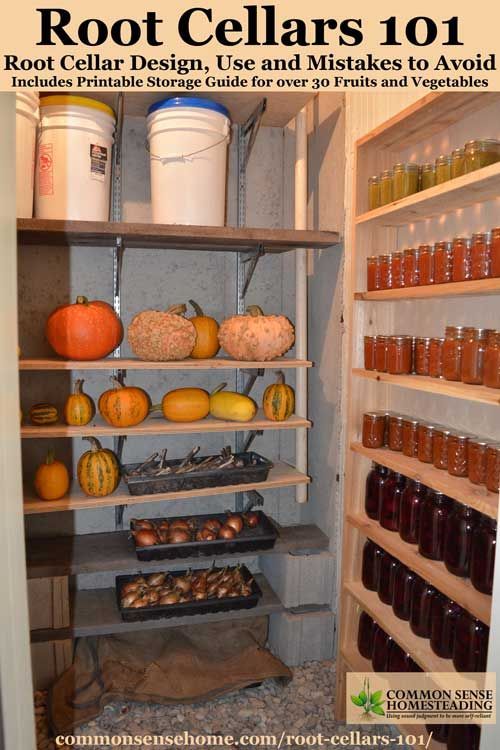
Wrap the entire structure (walls and roof) with 6-mil polyethylene sheeting to create a moisture barrier. Overlap the seams and seal them with tape. This will prevent moisture from seeping into the insulation and causing rot. Time Estimate: ½ day
Step 6: Backfilling.
Backfill around the walls with soil, compacting it in layers. This will provide additional insulation and stability. Time Estimate: 1 day
Step 7: Framing the Roof.
Construct a sloped roof using 2x4 lumber, ensuring adequate support. The slope will allow rainwater to drain away from the structure. Time Estimate: 1 day
Step 8: Roofing and Insulation.
Cover the roof with plywood sheathing, followed by a layer of rigid foam insulation and a final layer of roofing material (e.g., shingles, metal roofing). Time Estimate: 1-2 days
Step 9: Ventilation.
Install two 4-inch PVC pipes for ventilation: one near the floor (intake) and one near the ceiling (exhaust). Ensure the vents are screened to prevent pests from entering. Proper ventilation is KEY. Without it, you're creating a breeding ground for mold and spoilage. Time Estimate: ½ day
Step 10: Door Installation.
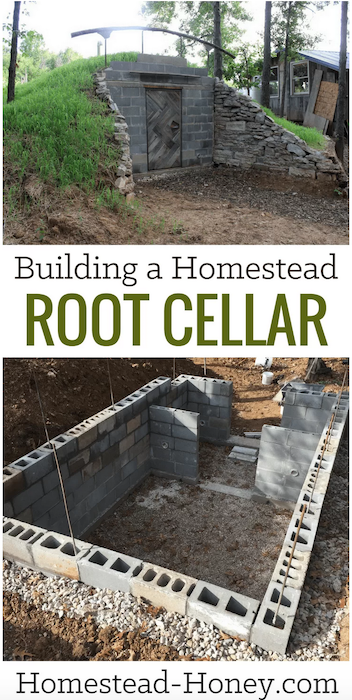
Install an exterior door, ensuring it is well-insulated and weather-stripped to prevent drafts. A tight-fitting door is crucial for maintaining a stable temperature. Time Estimate: ½ day
Step 11: Interior Finishing and Shelving.
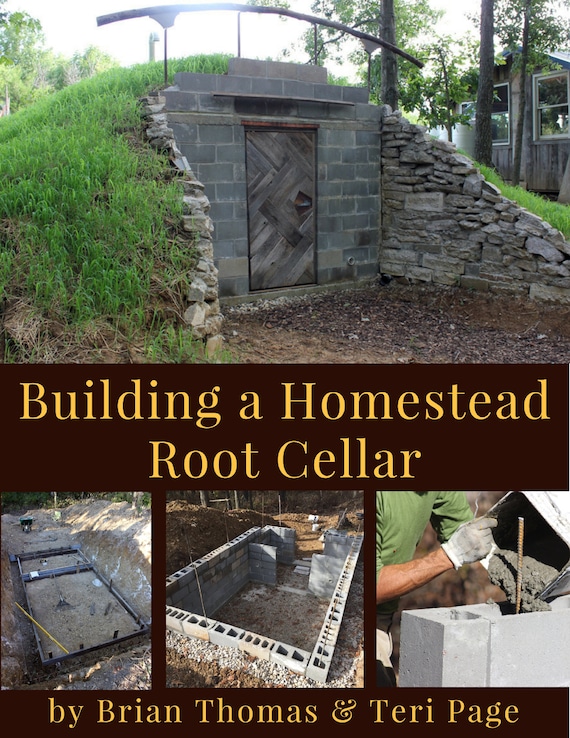
Install shelving units to store your produce. Reclaimed wood or pallets can be used for an affordable and rustic look. Stagger the shelves to allow for good air circulation. Time Estimate: 1 day
Step 12: Organization and Monitoring.
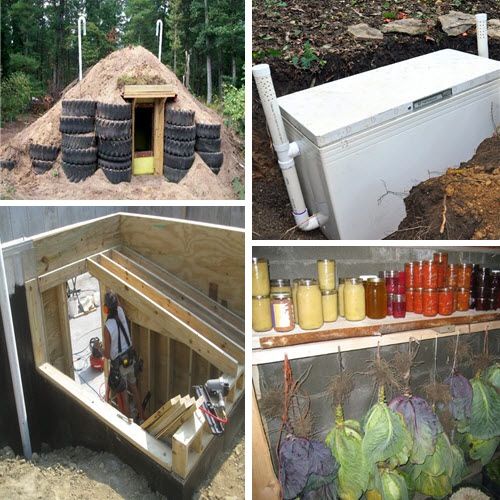
Organize your produce according to optimal storage conditions. Use a thermometer and hygrometer to monitor temperature and humidity levels, adjusting ventilation as needed.
Total Estimated Time Commitment: 7-10 days
Video Tip: Check out videos on YouTube about how to best seal joints with caulking to prevent air and moisture leaks to better insulate your root cellar. Proper sealing will improve the efficiency and extend the lifespan of your root cellar.
Common Mistakes and Troubleshooting
- Poor Drainage: Ensure proper drainage around the root cellar to prevent water from accumulating.
- Inadequate Ventilation: Monitor humidity levels and adjust ventilation as needed.
- Insufficient Insulation: If temperatures fluctuate too much, add more insulation.
- Pest Infestation: Regularly inspect your produce for signs of pests and take appropriate measures.
The Fruits (and Vegetables!) of Your Labor
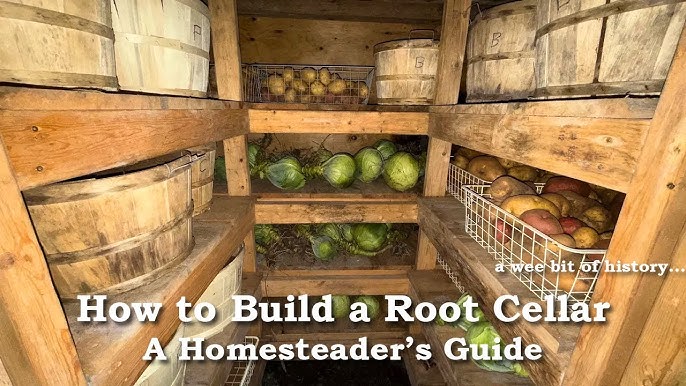
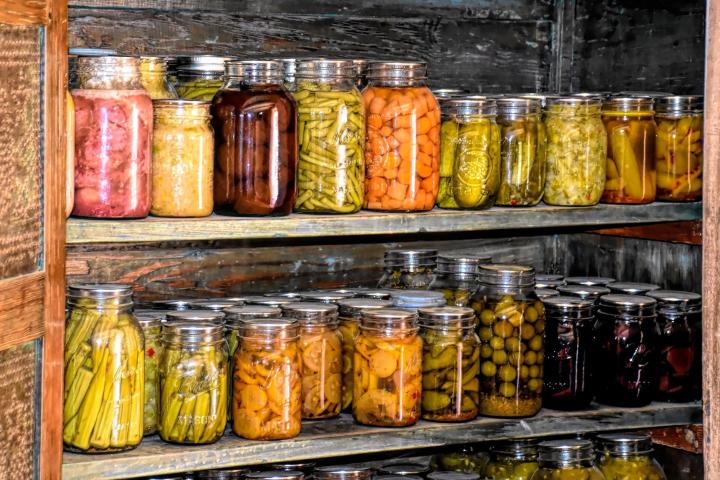
Imagine the satisfaction of harvesting your garden's bounty and storing it in your very own root cellar. Carrots, potatoes, onions, apples, and more – all available throughout the winter months, fresh and flavorful. It's a tangible connection to the land and a step towards greater self-sufficiency.
Planning Ahead: Expandability and Improvements
Consider the future. Design your root cellar with expandability in mind. You might want to add more shelving, improve ventilation, or even expand the structure itself. Think about incorporating features like a gravel floor for better drainage or a separate compartment for different types of produce.
You may also want to check out [this article on season extension techniques](URL to a related Better Homes and Harvests article on Season Extension) to maximize your harvest for root cellaring, or [this related article about companion planting](URL to a related Better Homes and Harvests article on Companion Planting) to plan out next year's garden. And, be sure to review [this article on common garden pests](URL to a related Better Homes and Harvests article on Pest Control) to prevent root cellar pests.
Conclusion: Reclaiming Our Roots
Building a root cellar is more than just a construction project. It’s an investment in your family's food security, a connection to our agricultural heritage, and a step towards a more resilient and sustainable lifestyle. It’s a way to savor the taste of summer long after the leaves have fallen. So, grab your tools, gather your materials, and get ready to dig into self-sufficiency. Your great-grandparents would be proud!
