Digging Deep for Self-Sufficiency: Building a Small-Scale Root Cellar
There’s nothing quite like the satisfaction of biting into a crisp apple in the dead of winter, a tangible reward for the hours spent tending your garden throughout the warmer months. But how do you bridge the gap between harvest and that first bite? For years, we relied on canning, freezing, and pickling to preserve our bounty. While effective, these methods can be time-consuming and energy-intensive. Then, we decided to delve into the age-old art of root cellaring, and it’s been a game-changer for our homestead's self-sufficiency. We’re now sharing our experience to inspire you to consider building your own small-scale root cellar! This DIY homesteading project is a fantastic way to naturally preserve your harvest, reduce food waste, and enjoy fresh, homegrown produce year-round.
Why Build a Root Cellar? The Homesteading Advantage
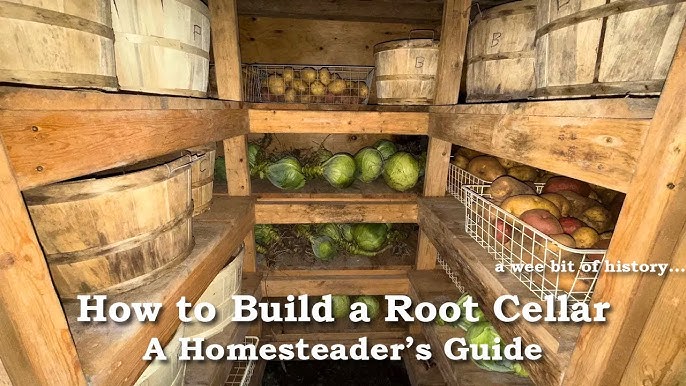
Before we dive into the how-to, let's talk about the why. A root cellar provides a cool, dark, and humid environment ideal for storing root vegetables, fruits, and even some canned goods. This environment slows down spoilage, allowing you to enjoy the fruits (and vegetables!) of your labor for months to come. Imagine storing potatoes, carrots, apples, and onions without relying on electricity! Not only does this save you money on energy bills, but it also reduces your carbon footprint and increases your homestead's resilience in the face of power outages. It's a cornerstone of sustainable homestead DIY.
Planning Your Root Cellar: Size and Location Matter
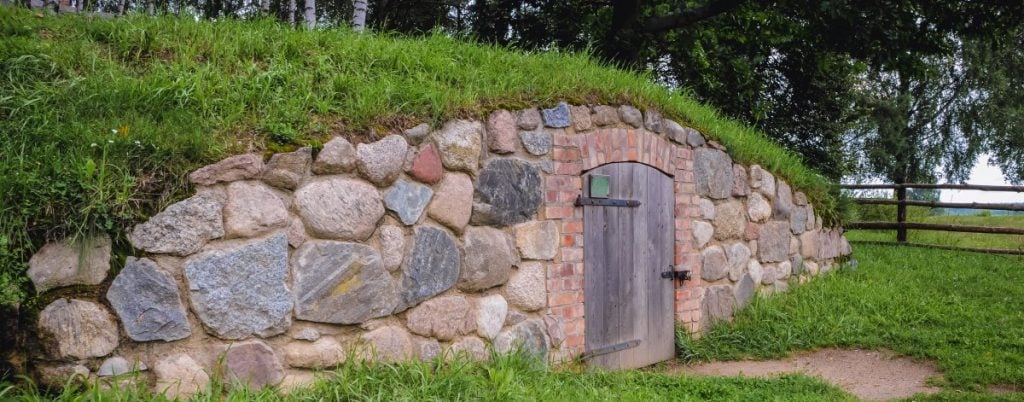
The first step is to determine the size of your root cellar based on your storage needs and available space. Consider the amount of produce you typically harvest and how long you want to store it. For a small family, a 4'x6' cellar can be sufficient. As for location, ideally, you want a naturally cool and shaded spot with good drainage. A north-facing slope is often a good choice, as it receives less direct sunlight. Avoid areas prone to flooding or with a high water table.
Materials and Tools: Gathering Your Supplies
Here’s a list of the materials and tools you’ll need for this project. We’ve included approximate costs and links to Amazon for your convenience (as an Amazon Associate I earn from qualifying purchases).
Materials:
- Concrete blocks or cinder blocks: (Approx. $2-3 per block). These will form the walls of your root cellar. Quantity depends on the size of your cellar.
- Gravel: (Approx. $50-100 per cubic yard). For drainage beneath the floor.
- Sand: (Approx. $40-80 per cubic yard). To level the base and provide a smooth surface.
- Lumber (Treated): (Price varies). For framing the door and potentially supporting the roof. Choose pressure-treated lumber to resist rot.
- Roofing material: (Price varies). Corrugated metal, plywood and roofing felt, or reclaimed materials.
- Insulation (Optional): (Price varies). Rigid foam insulation can help maintain a consistent temperature. Recycled materials like old blankets or straw bales can also be used.
- Door: (Price varies). A solid, insulated door is crucial for maintaining the proper environment. A reclaimed door can save money.
- Ventilation pipe: (Approx. $20-50). For air circulation.
- Moisture barrier (Optional): (Approx. $30-50). Plastic sheeting to prevent moisture from seeping into the cellar.
- Fasteners: (Screws, nails, etc.).
- Shelving: (Price varies). Lumber for building shelves or repurposed shelves.
Tools:
- Shovels
- Wheelbarrow
- Level
- Measuring tape
- Circular saw or handsaw
- Drill
- Hammer
- Mortar mix and mixing tools (if using concrete blocks)
- Safety glasses
- Gloves
Estimated Total Cost: $500 - $1500 (depending on materials and size)
Estimated Time: 1-2 weeks (working part-time)
Step-by-Step Construction: From Excavation to Storage
Excavation: Dig a hole to the desired dimensions, ensuring the bottom is level. Remember to account for the depth of the gravel base.
Gravel Base: Pour a layer of gravel (4-6 inches) into the hole to provide drainage. Compact the gravel thoroughly.
Sand Layer: Add a layer of sand (2-3 inches) on top of the gravel to create a level surface.
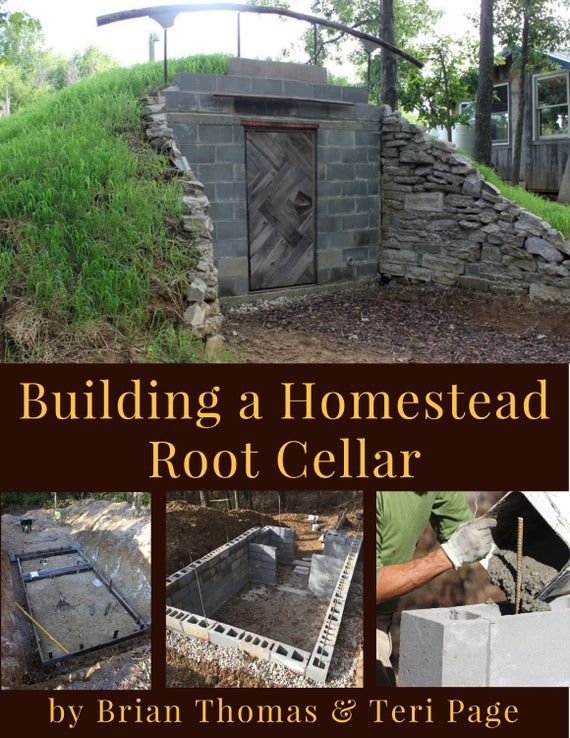
Wall Construction: Lay the concrete blocks or cinder blocks to form the walls of the root cellar. Use mortar to secure the blocks together, ensuring the walls are plumb and level. Leave an opening for the door and ventilation pipe.
Roof Construction: Build a roof frame using treated lumber. Ensure the roof is strong enough to support the weight of the soil and any snow load. Consider a slightly sloped roof for water runoff. Cover the frame with plywood and roofing felt, or corrugated metal.
Insulation (Optional): If desired, add insulation to the walls and roof to help maintain a consistent temperature.
Backfilling: Carefully backfill around the walls of the root cellar with soil.
Door Installation: Install a solid, insulated door to keep out light and maintain the proper temperature and humidity.
Ventilation: Install a ventilation pipe to allow for air circulation. The pipe should extend above ground level and be screened to prevent pests from entering.
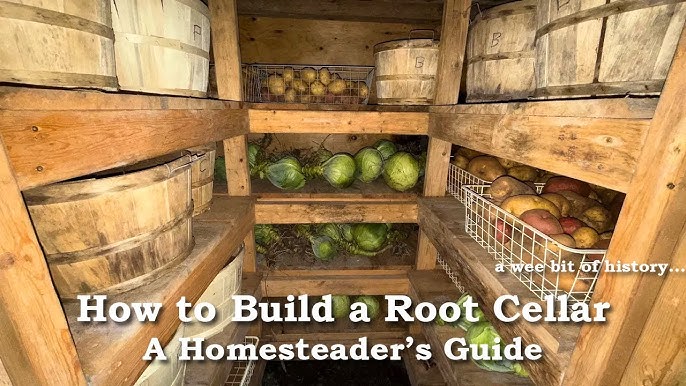
Shelving: Build or install shelving to maximize storage space.
Troubleshooting and Tips: Learning from Our Mistakes
Drainage is Key: Ensure proper drainage to prevent water from seeping into the root cellar. We initially underestimated the importance of this and had to add additional drainage channels.
Ventilation Matters: Adequate ventilation is crucial for preventing mold and mildew growth. Experiment with adjusting the ventilation to achieve the optimal humidity level.
Temperature Control: Monitor the temperature and humidity levels inside the root cellar regularly. Use a thermometer and hygrometer to track these conditions.
Pest Control: Take precautions to prevent pests from entering the root cellar. Seal any cracks or openings and use traps if necessary.
Repurposed Materials: Don't be afraid to get creative with repurposed materials. We used reclaimed lumber for our shelves and an old door for the entrance.
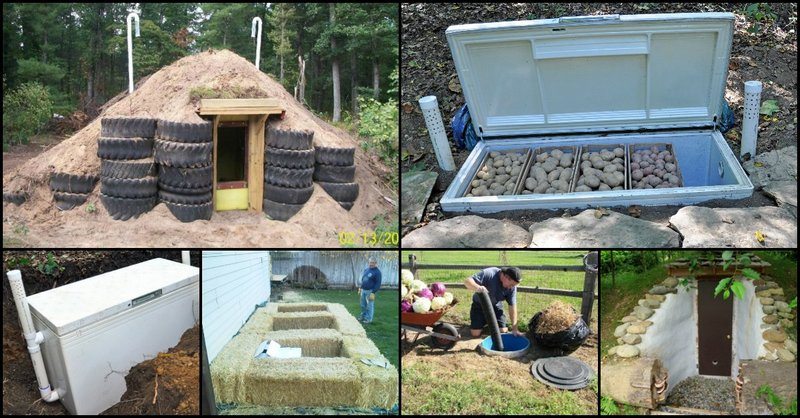
Alternative Approaches
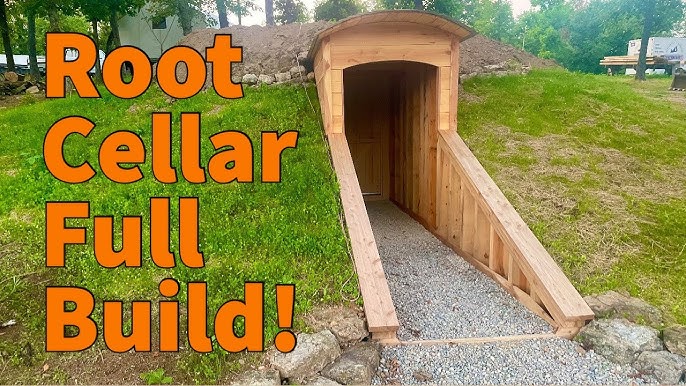
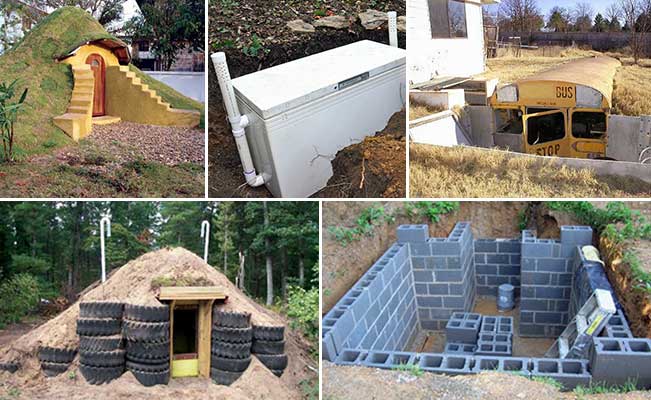
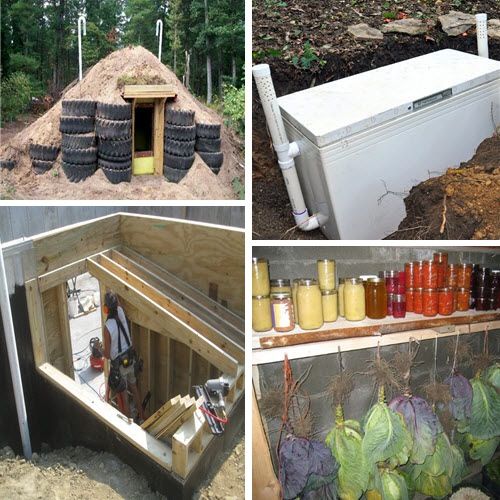
Consider building a root cellar into an existing hillside or using a buried shipping container for a larger-scale project. Another option is a simpler, above-ground root cellar using straw bales. The key is to adapt the design to your specific needs and resources.
The Sweet Reward of Self-Sufficiency
Building a root cellar is a challenging but incredibly rewarding DIY homesteading project. Not only will it help you preserve your harvest and save money, but it will also connect you to the age-old tradition of self-sufficiency. And there's truly nothing like the taste of a homegrown potato dug from your root cellar in the middle of winter!
Now, we want to hear from you! What are you planning to preserve in your root cellar? Or, if you already have one, what are your favorite tips and tricks for keeping it in tip-top shape? Share your thoughts and experiences in the comments below! We're a community, and we learn from each other. Let's dig deep into self-sufficiency together!
