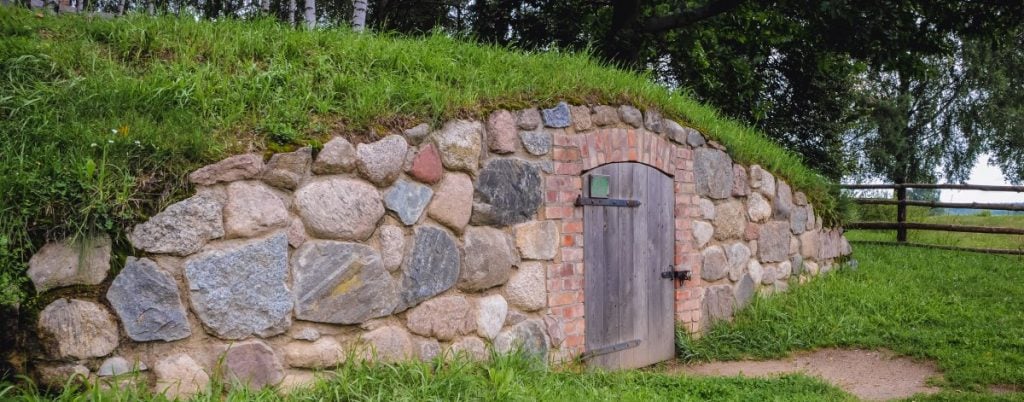
Digging Deep for Savings: Building a DIY Backyard Root Cellar for Under $500
I’ll never forget the sting of paying exorbitant prices for mealy, imported apples in January, while my own orchard lay dormant just outside the window. That was the year I decided enough was enough. I was tired of relying on grocery stores for produce that lacked the vibrant flavor and nutritional value of my summer garden. I needed a root cellar. The thought of crisp carrots, firm potatoes, and juicy apples lasting all winter long fueled my ambition. But, as a budget-conscious homesteader, I knew I had to build it myself and build it cheap. This is the story of how I constructed a DIY backyard root cellar for under $500, and how you can too!
If you're eager to embrace self-sufficiency and enhance your food storage capabilities, a cheap root cellar is a fantastic solution. This guide will empower you to build a budget root cellar and take control of your family's food supply. Let's get started!
Why Build a Root Cellar?
Before diving into the how-to, let’s quickly recap why a root cellar is a homesteading essential. Root cellars offer natural, energy-free cooling and humidity control, ideal for preserving a variety of fruits and vegetables without relying on electricity. They extend the harvest season, reduce food waste, and provide access to fresh, homegrown produce throughout the colder months.
Planning Your Root Cellar: Size, Location, and Design
The key to building a backyard root cellar on a tight budget is careful planning. Consider the following:
- Size: How much storage space do you need? Start small and expand later if necessary. A 4x6 foot cellar can be sufficient for a family of four.
- Location: Choose a well-drained spot with good shade. A north-facing slope is ideal. Avoid areas prone to flooding or with high water tables. Check with your local municipality about building permits or regulations.
- Design: We’re focusing on a simple, partially buried design using readily available materials. Think sturdy, functional, and affordable. The goal is a structure that provides consistent temperature and humidity.

Step-by-Step Guide to Building Your Budget Root Cellar
Here's a simplified step-by-step guide to building a small, cost-effective root cellar. Remember to adapt these steps to your specific needs and available resources.
Step 1: Dig the Hole
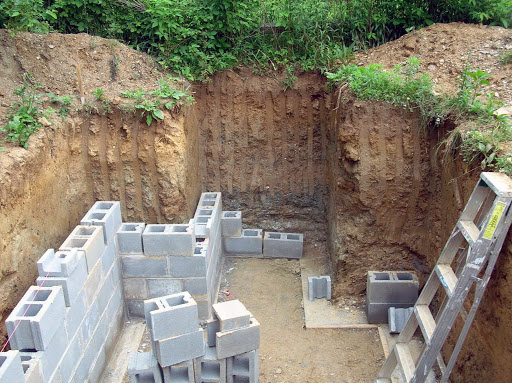
This is where the sweat equity comes in! Dig a hole to the dimensions you planned for, plus an extra foot or so on all sides for working room. The depth will depend on your local frost line; aim for at least 2 feet below the frost line. Ensure the sides are sloped slightly to prevent cave-ins.
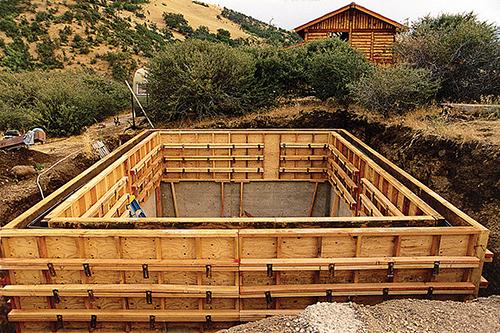
Alt Text: Photo of a partially dug hole for a root cellar, showing the sloped sides to prevent collapse.
Step 2: Lay the Foundation
A gravel base provides good drainage. Compact the soil at the bottom of the hole, then add a 6-inch layer of gravel. You can often find gravel affordably at local landscaping supply stores.
Alt Text: Image showing a layer of gravel being spread and leveled within the excavated hole for a root cellar foundation.
Step 3: Build the Walls
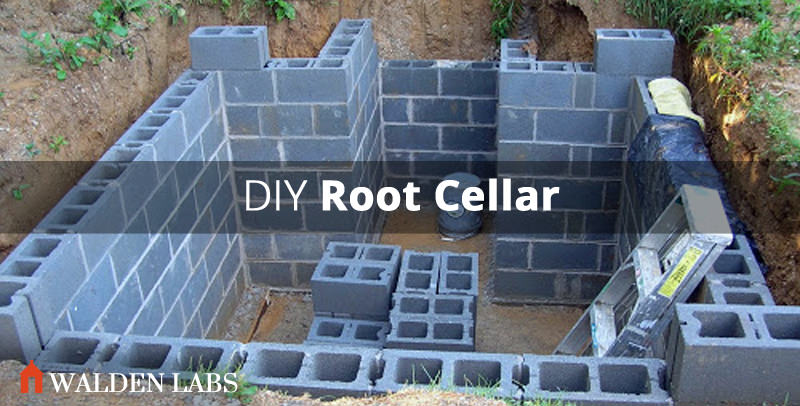
For a budget build, consider using reclaimed concrete blocks, cinder blocks, or even straw bales (with proper weatherproofing). Stack the blocks to create the walls, ensuring they are level and plumb. Use mortar to bind the blocks together for added stability. Straw bales need a thick layer of plaster for protection. We chose reclaimed cinder blocks.
Alt Text: Close-up of concrete blocks being stacked to form the walls of a root cellar, showing the mortar between the blocks.
Step 4: Construct the Roof
This is a critical step for insulation and water protection. A simple roof can be built using salvaged lumber, plywood, and a waterproof membrane. Create a sloped roof to allow for water runoff. Cover the plywood with a layer of roofing felt or a heavy-duty tarp, secured with roofing nails. Add a thick layer of soil and then sod on top for insulation and camouflage.
Alt Text: Image of a root cellar roof constructed with wooden beams and covered with soil and vegetation.
Step 5: Install a Door and Ventilation
A sturdy, insulated door is essential. Again, reclaimed materials can save money here. Add weather stripping to seal the door and prevent drafts. Ventilation is crucial for maintaining proper humidity and preventing mold growth. Install a simple ventilation pipe that extends above ground level, ideally with a damper to control airflow.
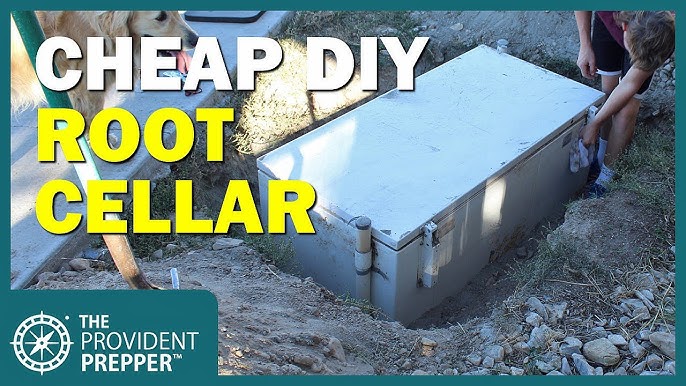
Alt Text: Exterior view of a root cellar entrance with a wooden door and a ventilation pipe extending from the roof.
Step 6: Backfill and Insulate
Backfill around the walls with the soil you excavated, compacting it as you go. This provides additional insulation and stability. Consider adding extra insulation, such as straw bales or rigid foam insulation, between the walls and the soil.

Alt Text: Shows insulation being installed against the outer walls of the root cellar before backfilling with soil.
Step 7: Interior Shelving and Organization
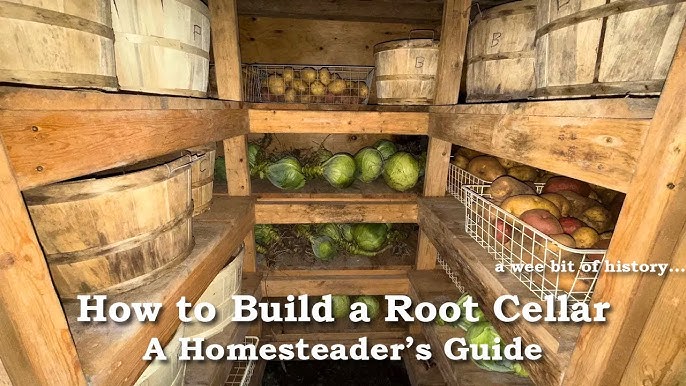
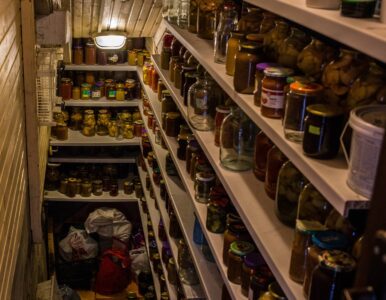
Build simple shelving using reclaimed lumber. Organize your produce according to its storage needs. Potatoes and onions need dry conditions, while carrots and beets need more humidity.
Alt Text: A root cellar's interior showcasing wooden shelving filled with various fruits and vegetables.
Budget Breakdown: Keeping it Under $500
Here's a sample budget breakdown based on my experience. Prices may vary depending on your location and access to reclaimed materials.
- Reclaimed Cinder Blocks: $100 (Free if sourced for free)
- Lumber (for roof and door): $150 (Salvaged wood can significantly reduce this)
- Gravel: $50
- Roofing Material (Tarp/Roofing Felt): $50
- Mortar: $30
- Hardware (Nails, screws, hinges): $20
- Ventilation Pipe: $20
- Insulation (Straw Bales/Rigid Foam): $80
Total: $500 (with careful scavenging and DIY labor, this can be lowered)
Beginner-Friendly Tips
- Start Small: Don't be afraid to start with a smaller, simpler design. You can always expand later.
- Reclaimed Materials are Your Friend: Scour salvage yards, construction sites, and online marketplaces for affordable materials.
- Enlist Help: Building a root cellar is a labor-intensive project. Recruit friends or family to help with digging, hauling, and construction.
- Proper Drainage is Key: Ensure your site has good drainage to prevent water damage.
- Research Local Building Codes: Check with your local authorities about permits and regulations.
Common Pitfalls
- Poor Drainage: This can lead to mold growth and spoilage.
- Inadequate Ventilation: This can also contribute to mold and humidity issues.
- Insufficient Insulation: This can cause temperature fluctuations and reduce storage life.
- Choosing the Wrong Location: Avoid areas prone to flooding or with high water tables.
- Ignoring Local Building Codes: This can lead to fines or require you to dismantle your cellar.
Stocking Your Root Cellar: The Fruits (and Vegetables!) of Your Labor
There's nothing quite like the feeling of stocking your root cellar with the bounty of your garden. Imagine the earthy aroma of freshly dug potatoes, the crisp scent of apples, and the vibrant colors of carrots and beets neatly arranged on shelves. As you close the door, you're not just storing food; you're preserving a connection to the land, a legacy of self-sufficiency, and the promise of delicious, homegrown meals throughout the winter.

Alt Text: Demonstrates an alternative storage option inside a root cellar - plastic pails used for specific produce.
A Legacy of Self-Sufficiency
Building a DIY root cellar is more than just a construction project; it’s an investment in your family's future. It’s a tangible step towards homesteading, food storage, and a more resilient lifestyle. It’s about teaching your children the value of hard work, resourcefulness, and connection to the earth. It is about a legacy.
Call to Action
Are you ready to dig in and build your own cheap root cellar? Share your plans, ask questions, or post photos of your completed projects in the comments below! Don't forget to share this post with your friends and family who are interested in self-sufficiency and taking control of their food supply. Let's build a community of resilient homesteaders, one root cellar at a time!