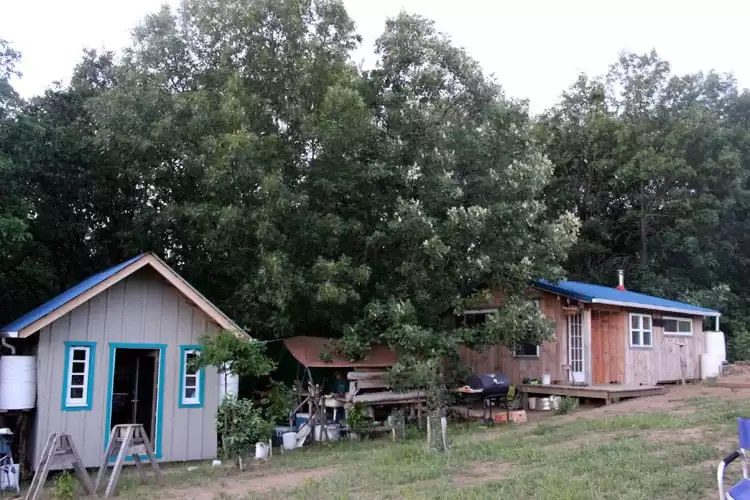
Digging Deep for Savings: Building a Budget-Friendly Root Cellar Revival
There's a certain satisfaction that comes with pulling a perfectly preserved carrot from the earth in the dead of winter. Last year, after a particularly harsh frost decimated my carefully stored squash, I knew I needed a better solution than my haphazard pantry. I dreamt of crisp apples in January, potatoes that didn't sprout before Thanksgiving, and the independence of relying less on the grocery store for my winter staples. Thus began my quest for the budget-friendly root cellar. It wasn't easy, but the rewards of extended harvest and food security are well worth the effort. This year, I'm sharing my journey to help you achieve the same, proving you don't need a fortune to build a functional and effective root cellar.
Why a Root Cellar? The Homestead Advantage
A root cellar is more than just a storage space; it's a key component of a resilient homestead. It provides:
- Extended Harvest: Enjoy your garden's bounty long after the growing season ends.
- Reduced Food Waste: Proper storage conditions minimize spoilage.
- Cost Savings: Less reliance on store-bought produce, especially during the expensive winter months.
- Food Security: A reliable food source in case of emergencies or disruptions.
- Preservation of Tradition: Root cellaring is an age-old practice that connects us to our agricultural roots.
Our Project: A Simple, Partially Buried Root Cellar
For this project, we'll focus on building a small, partially buried root cellar. This design is achievable for most homesteaders with basic construction skills and is less labor-intensive than a fully underground structure. We'll prioritize using reclaimed and affordable materials to keep costs down.
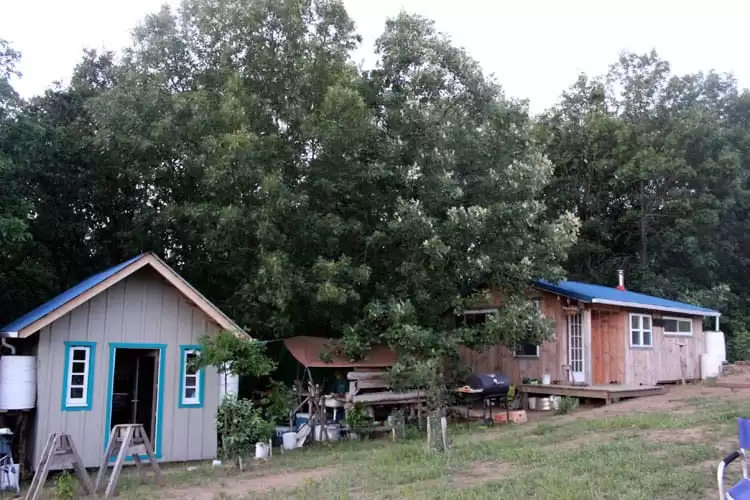
Step 1: Planning and Site Selection
- Location: Choose a site with good drainage, ideally on a north-facing slope to minimize sun exposure. Avoid areas prone to flooding.
- Size: Determine the appropriate size based on your storage needs. A small root cellar (e.g., 6' x 8') can store a significant amount of produce for a small family.
- Design: Sketch out a basic design, considering the materials you plan to use. Think about ventilation, access, and insulation.
Step 2: Gathering Materials (Approximate Costs)
This is where the "budget-friendly" aspect truly comes into play. Scour your property, local classifieds, and building supply stores for discounted or reclaimed materials.
- Reclaimed Lumber: (Varies, aim for free - $50) For framing and potentially siding.
- Concrete Blocks or Stone: (Approx. $100 - $200) For the foundation walls. Consider using reclaimed concrete or fieldstones.
- Gravel: (Approx. $50) For drainage.
- Insulation: (Approx. $50 - $100) Rigid foam insulation or salvaged materials like old blankets or straw bales.
- Roofing Material: (Approx. $50 - $150) Metal roofing, reclaimed shingles, or heavy-duty tarps.
- Door: (Varies, aim for reclaimed $0-50) A solid, insulated door is essential.
- Ventilation Pipes: (Approx. $20) PVC pipes for air circulation.
- Hardware: (Approx. $20) Nails, screws, hinges, latches.
Total Estimated Cost: $290 - $640 (depending on reclaimed materials)
Step 3: Construction - The Step-by-Step Guide
Excavation: Dig a shallow pit (2-3 feet deep) for your root cellar foundation. The size will depend on your planned dimensions.
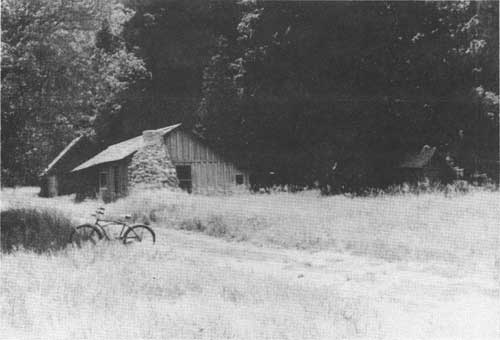
Foundation: Lay a gravel bed for drainage, then construct the foundation walls using concrete blocks or stone. Ensure the walls are level and sturdy. Mortar the blocks together for added stability.
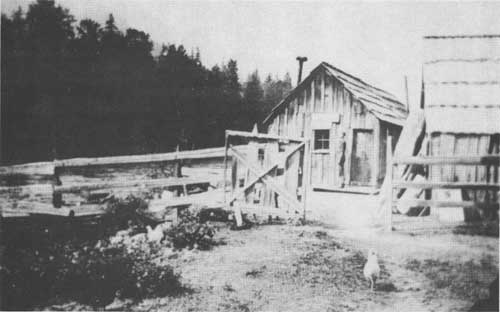
Framing: Build a wooden frame on top of the foundation walls to support the roof. Use pressure-treated lumber for ground contact. Ensure proper bracing for structural integrity.
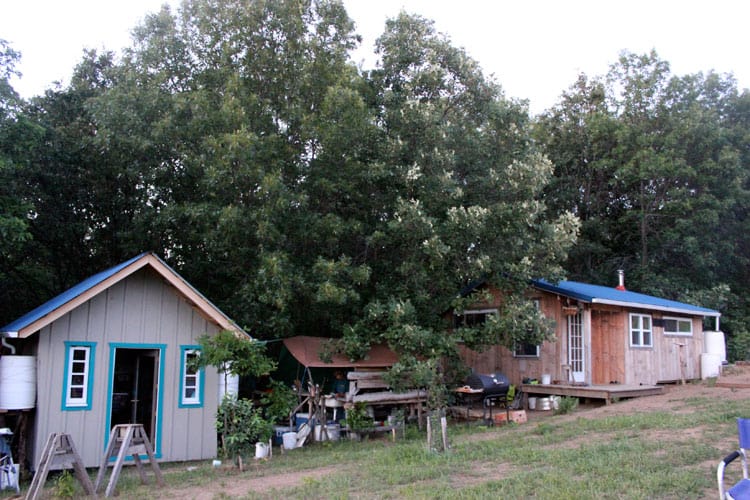
Roofing: Construct a roof using your chosen materials. A simple shed roof is easiest to build. Overhangs will help protect the walls from rain. Insulate the roof to maintain consistent temperature.
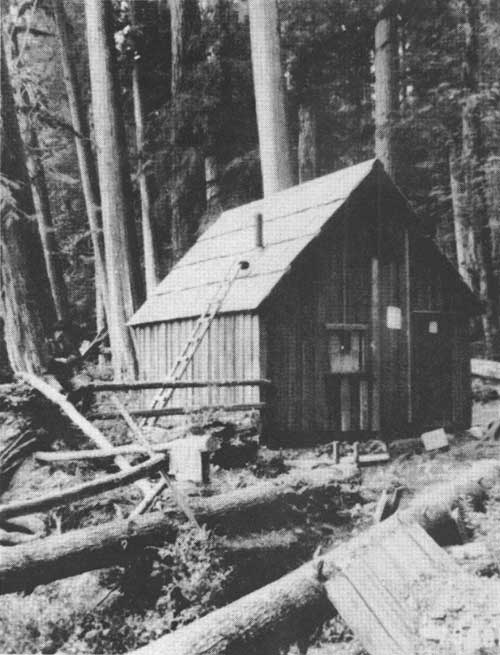
Insulation: Insulate the walls and roof to maintain a stable temperature inside the root cellar. Rigid foam insulation is effective, but you can also use salvaged materials like old blankets or straw bales for a more eco-friendly approach.
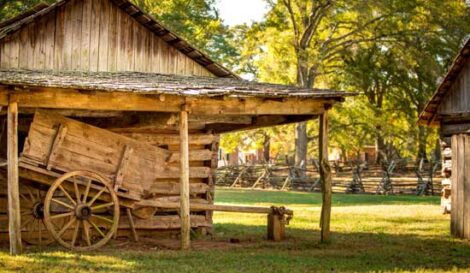
Ventilation: Install ventilation pipes to allow for air circulation. One pipe should extend near the floor and another near the ceiling to promote airflow. Install screens to prevent pests from entering.
Door: Install a solid, insulated door to maintain a stable temperature. Weather stripping will help seal gaps and prevent drafts. A reclaimed door is a great option to save money.
Backfilling: Backfill around the walls of the root cellar with soil, leaving the entrance exposed. This will help insulate the structure and maintain a consistent temperature.
Step 4: Interior Organization
- Shelving: Build simple wooden shelves to organize your produce.
- Sand or Sawdust: Place root vegetables like carrots and potatoes in boxes filled with slightly damp sand or sawdust to prevent them from drying out.
- Humidity Control: A container of water can help increase humidity, while an open container of charcoal can absorb excess moisture.
Tips and Troubleshooting
- Drainage is Key: Ensure proper drainage around the root cellar to prevent water from seeping in.
- Temperature Monitoring: Use a thermometer to monitor the temperature inside the root cellar. Aim for a temperature between 32°F and 40°F (0°C and 4°C).
- Pest Control: Regularly inspect your produce for signs of pests or spoilage. Remove any affected items immediately.
- Adapt Your Design: Modify the design to suit your specific needs and available materials.
Call to Action
Building a budget-friendly root cellar is an achievable and rewarding project for any homesteader. It's an investment in your food security, sustainability, and self-sufficiency. Don't be intimidated by the process; break it down into manageable steps and utilize reclaimed materials whenever possible. Start planning your root cellar today, and share your progress and questions in the comments below! I'm excited to hear about your journey towards a more resilient homestead.