Digging Deep: Building Your Own Efficient Root Cellar
Here at Better Homes and Harvests, we believe in self-sufficiency and making the most of what your homestead provides. One of the best ways to extend your harvest and enjoy fresh, homegrown produce year-round is with a root cellar. Forget relying on expensive, store-bought vegetables in the dead of winter! This guide will walk you through building your own practical and efficient root cellar, perfect for homesteaders with intermediate DIY skills. Get ready to roll up your sleeves and create a space that will keep your bounty fresh and delicious for months to come.

1. Site Selection and Preparation: Location, Location, Location!
The success of your root cellar hinges on choosing the right location. Consider these factors carefully:
- Drainage: This is paramount. A consistently damp root cellar will quickly lead to rot. Look for a spot with well-draining soil. Avoid low-lying areas where water tends to pool. A slight slope is ideal. Consider performing a percolation test to assess drainage.
- Soil Type: Sandy or gravelly soil is preferable for drainage. Heavy clay soil can retain too much moisture. If you have clay soil, you may need to amend it with organic matter like compost to improve drainage.
- Proximity to the Home: While you want your root cellar to be cool and stable, you also want it to be conveniently located. A spot too far from the house will be less likely to be used regularly, especially during harsh weather. Aim for a location within a reasonable walking distance.
- Sun Exposure: Minimize direct sunlight exposure. A north-facing slope is ideal, as it receives the least direct sunlight.
Once you've selected your site, clear it of vegetation, rocks, and any other debris. Mark out the perimeter of your root cellar using stakes and string. We'll be building an 8ft x 10ft x 7ft deep root cellar in this example, but you can adjust the dimensions to suit your needs.
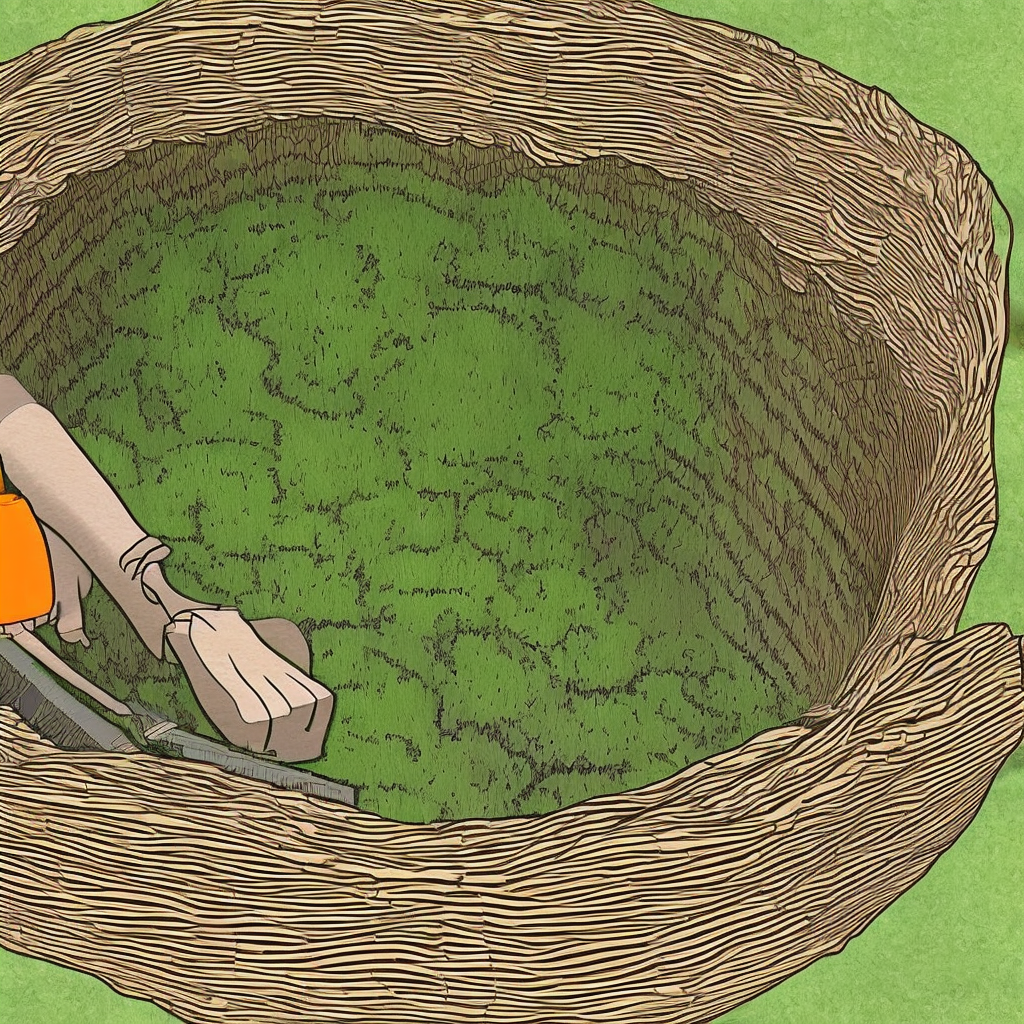
2. Excavation and Foundation: Laying the Groundwork
Now for the hard work – excavation! Remember safety first! Call 811 before you dig to locate underground utilities.
- Excavation: Dig carefully within the marked perimeter. Aim for a depth of 7 feet. As you dig, slope the sides of the excavation to prevent collapse. Shoring may be required in unstable soil.
- Foundation: A solid concrete foundation is crucial for a durable, long-lasting root cellar. Pour a 6-inch thick concrete slab, reinforced with #4 rebar placed at 12-inch intervals. This rebar grid provides structural integrity and prevents cracking. Use a concrete mix designed for foundations. Ensure the foundation is level. Consider adding a keyway around the perimeter to create a strong bond with the walls. Let the concrete cure for at least 7 days before proceeding.

3. Wall Construction: Waterproofing and Insulation for Preservation
Building the walls is a multi-stage process that requires careful attention to detail.
- Concrete Walls: Construct 6-inch thick concrete walls using concrete blocks or poured concrete. If using concrete blocks, stagger the joints for added strength and fill the cores with concrete. For poured concrete walls, use forms and reinforce with #4 rebar placed at 12-inch intervals, both vertically and horizontally.
- Waterproofing: After the walls have cured, apply a high-density polyethylene (HDPE) liner to the exterior. This liner will prevent water from seeping into the root cellar. Overlap the seams of the liner by at least 12 inches and seal them with waterproof tape. Extend the liner slightly above ground level to prevent surface water from entering.
- Insulation: Insulation is key to maintaining a consistent temperature. Install 2-inch rigid foam insulation (such as XPS or EPS) on the exterior of the walls, over the HDPE liner. This creates a thermal barrier that protects the root cellar from temperature fluctuations. Seal all joints and edges of the insulation with waterproof tape or caulk to prevent air leaks. Proper sealing is critical for insulation to be effective.

4. Ventilation System: Letting the Fresh Air Flow
Proper ventilation is essential for preventing the buildup of ethylene gas, which can cause produce to spoil.
- Air Intake: Install a 4-inch diameter PVC pipe as an air intake, extending from the base of the root cellar to several feet above ground level. The intake should be screened to prevent insects and rodents from entering. Locate the intake in a shaded area to draw in cooler air.
- Air Exhaust: Install a similar 4-inch diameter PVC pipe as an air exhaust, located near the ceiling of the root cellar. The exhaust should also be screened and extend above ground level. A damper can be installed on the exhaust to control airflow.
- Placement: Position the intake and exhaust vents on opposite sides of the root cellar to promote cross-ventilation. During warmer months, open the damper to increase airflow. During colder months, close the damper to conserve heat.
5. Door and Sealing: Locking in the Cool
The door is a critical component for maintaining a stable environment within your root cellar.
- Door Selection: Choose a solid, insulated door that is weather-resistant. An exterior-grade door with a tight seal is ideal. Avoid hollow-core doors, as they offer minimal insulation. Consider a steel or fiberglass door for maximum durability.
- Sealing: Install weather stripping around the doorframe to create an airtight seal. Use caulk to seal any gaps or cracks. A good seal will prevent drafts and maintain a consistent temperature inside the root cellar. A storm door can provide an additional layer of insulation.
6. Interior Finishing: Shelving and Organization
Maximize your storage space with efficient shelving.
- Shelving Options: Use sturdy wooden shelves made from untreated lumber (such as cedar or redwood) to avoid chemicals leaching into your produce. Metal shelving is also an option, but ensure it is rust-resistant.
- Organization: Arrange shelves to accommodate different types of produce. Root vegetables like potatoes and carrots store best in bins or crates. Fruits like apples can be stored on individual shelves to prevent bruising. Label each shelf or bin to keep track of your inventory.
- Other Features: Consider adding a thermometer and hygrometer to monitor temperature and humidity levels. A small fan can be used to improve air circulation.
7. Safety Considerations: Dig Safe, Build Safe
Safety is paramount during any construction project.
- Excavation Safety: Always call 811 before you dig to locate underground utilities. Wear a hard hat and safety glasses. Ensure the sides of the excavation are properly sloped or shored to prevent collapse. Never enter an unsupported excavation.
- Concrete Work: Wear gloves, eye protection, and a dust mask when working with concrete. Concrete can irritate skin and eyes. Follow the manufacturer's instructions for mixing and handling concrete. Use caution when lifting heavy objects.
- Ladder Safety: Use a sturdy ladder that is in good condition. Ensure the ladder is placed on a level surface and is properly secured. Never overreach while on a ladder.
- Electrical Safety: If you plan to install lighting or other electrical devices, consult with a qualified electrician. Follow all electrical codes and safety regulations.

Building your own root cellar is a rewarding project that will provide you with fresh, homegrown produce year-round. With careful planning and attention to detail, you can create a practical and efficient storage space that will enhance your homesteading lifestyle. Don’t be afraid to adapt the design to suit your specific needs and resources. Now, gather your tools, follow these steps, and get ready to enjoy the fruits (and vegetables!) of your labor.
And finally, please share your own root cellar experiences and tips in the comments below! We'd love to hear about your successes and challenges. Happy homesteading!