Dig In: Building a Budget-Friendly Earth Berm Root Cellar for Year-Round Harvests
Remember that sinking feeling? You've spent months nurturing your garden, coaxing life from tiny seeds into vibrant, bountiful plants. The harvest arrives, an overflowing cornucopia of deliciousness… only to watch as squash softens, potatoes sprout eyes, and apples wrinkle far too quickly. The dream of fresh, homegrown goodness throughout the winter fades, replaced by the familiar trek to the grocery store. But what if you could extend that harvest, savoring the fruits (and vegetables!) of your labor well into the colder months? The answer lies beneath your feet: a DIY root cellar. For under $500, and with basic DIY skills, you can build a high-performing earth berm root cellar right in your backyard. This guide will walk you through the entire process, transforming your garden bounty into a winter feast.
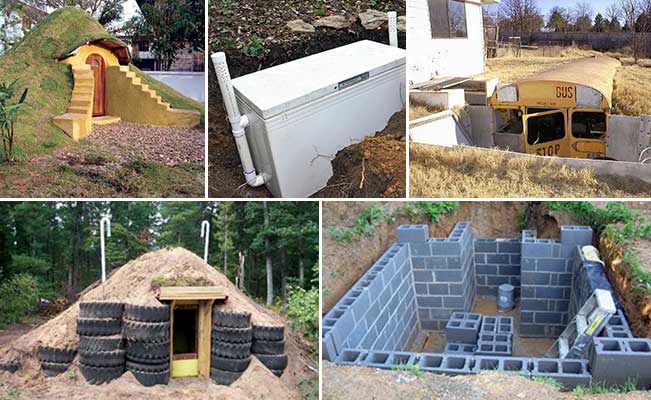
Why Build an Earth Berm Root Cellar?
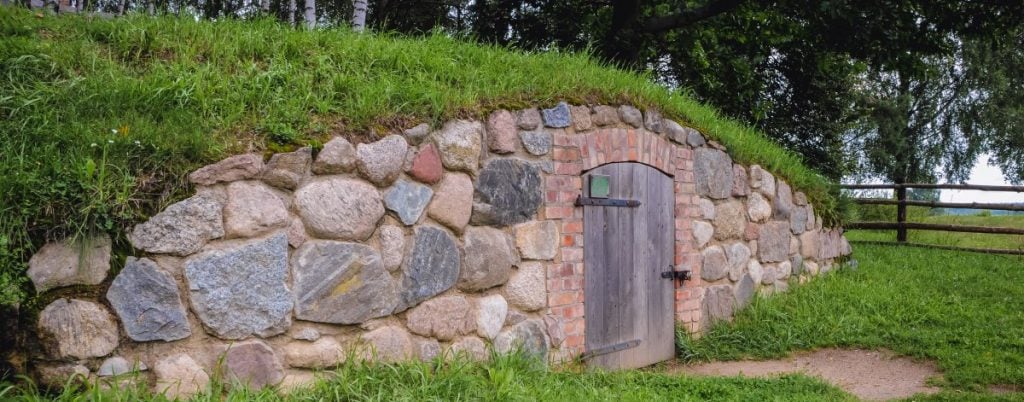
A root cellar is essentially an underground structure designed to naturally regulate temperature and humidity, creating optimal conditions for long-term food storage. Earth berm root cellars, in particular, offer several advantages:
- Cost-Effective: Utilizing readily available and often recycled materials, this project keeps expenses low.
- Energy-Efficient: The earth's natural insulation eliminates the need for artificial cooling or heating.
- Sustainable: Reduces food waste and reliance on commercially produced and transported produce.
- Extends the Harvest: Enjoy fresh, homegrown vegetables and fruits for months beyond the growing season.
- Increases Self-Sufficiency: Gain greater control over your food supply and reduce grocery bills.
Step-by-Step Guide to Building Your Earth Berm Root Cellar
This project is geared towards intermediate DIYers with basic carpentry and gardening knowledge. Always prioritize safety and consult local building codes before beginning construction.
1. Site Selection & Planning:
- Location: Choose a well-drained location, ideally on a slight slope to prevent water accumulation. Consider proximity to your garden for easy access. A north-facing slope is ideal to minimize sun exposure, further assisting in temperature regulation.
- Size: Determine the size based on your storage needs. A small root cellar (approximately 6ft x 8ft) is sufficient for most backyard homesteads.
- Planning: Sketch out your design, including dimensions, framing, ventilation, and access. A detailed plan will save time and prevent errors during construction.
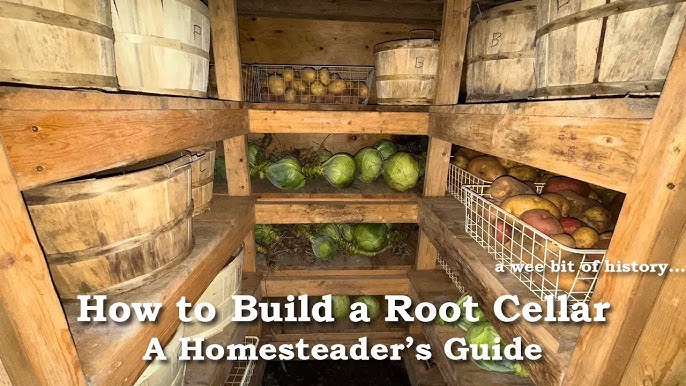
2. Excavation:
- Digging: Excavate the area to the desired depth, typically 4-6 feet. Remember to factor in the thickness of the floor and ceiling. Ensure the walls are slightly angled outwards for stability.
- Safety: Shore up the walls of the excavation to prevent collapse, especially in sandy or unstable soil.
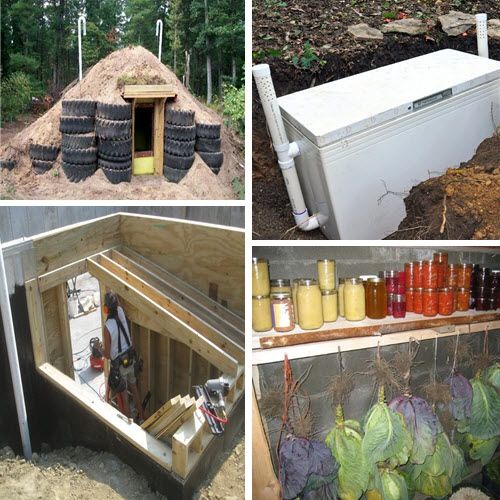
3. Framing:
- Foundation: Pour a concrete slab foundation or create a gravel base for drainage.
- Walls: Construct the walls using pressure-treated lumber. Frame the walls with 2x4s or 2x6s, depending on the size and load-bearing requirements. Ensure proper bracing for added strength.
- Doorway: Frame the doorway, allowing for a well-insulated door.
- Roof: Build a sturdy roof frame, sloping slightly for water runoff. Use rafters and sheathing to create a solid surface.
4. Insulation:
- Walls: Insulate the walls using rigid foam insulation boards. Cover the exterior of the framing with a waterproof membrane to protect the wood from moisture.
- Roof: Insulate the roof with rigid foam or fiberglass insulation.
- Door: Use a solid-core door and weather stripping for a tight seal.
5. Ventilation:
- Inlet and Outlet Vents: Install two ventilation pipes – one near the floor (inlet) and one near the ceiling (outlet). This allows for natural air circulation, crucial for regulating temperature and humidity. Use 4-inch PVC pipes with screens to prevent rodent entry.
- Adjustability: Consider adding dampers or adjustable covers to the vents, allowing you to fine-tune airflow based on weather conditions.
6. Earth Berming:
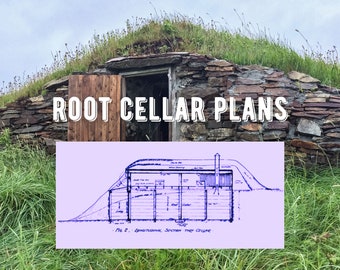
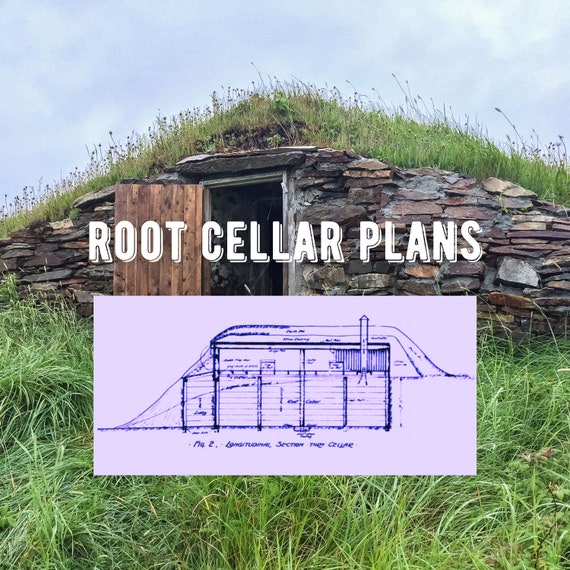
- Covering: Backfill the excavated soil around the walls and over the roof, creating an earth berm. This provides excellent insulation and helps maintain a consistent temperature.
- Compacting: Compact the soil thoroughly to prevent settling and water infiltration.
- Vegetation: Plant grass or other vegetation on the berm to stabilize the soil and improve insulation.
7. Interior Finishing:
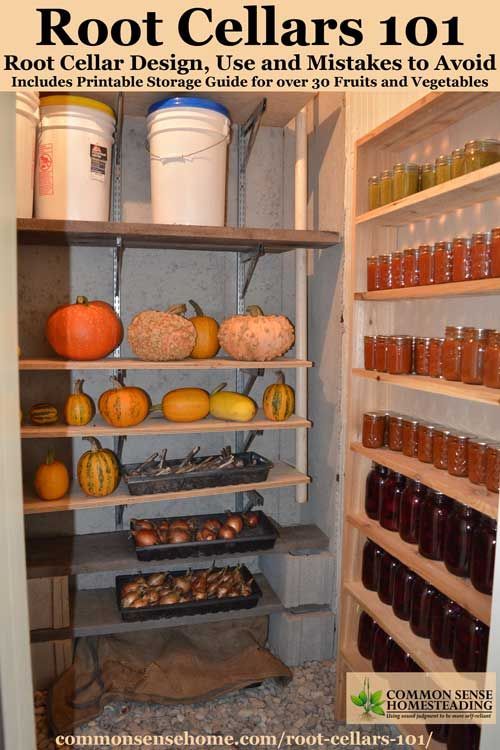
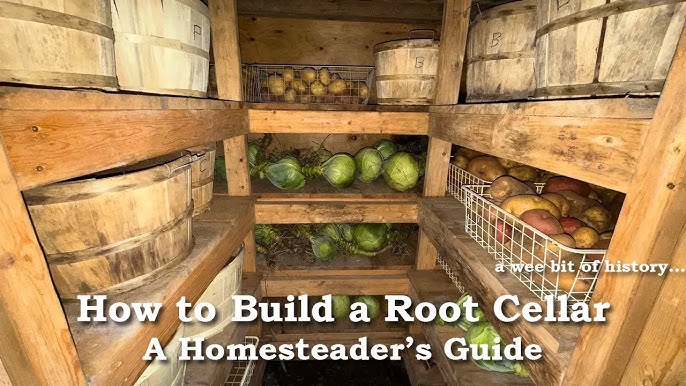
- Shelving: Build shelves from untreated lumber or reclaimed materials. Ensure adequate spacing for air circulation around stored produce.
- Flooring: A gravel floor provides good drainage.
8. The Door:
- Construction: A sturdy well insulated door is key. Consider using reclaimed wood for the door facing and ensure it closes tightly.
- Security: A strong locking mechanism is a good idea to deter pests and potential theft.
Materials List (Approximate Cost Under $500):
- Pressure-treated lumber (for framing): $200
- Rigid foam insulation boards: $100
- Waterproof membrane: $30
- Ventilation pipes and fittings: $20
- Concrete mix (for foundation, optional): $50
- Fasteners (nails, screws, etc.): $30
- Solid-core door (reclaimed options available): $70
(Prices are approximate and may vary depending on location and availability)
Troubleshooting Tips:
- Drainage Issues: If water accumulates in the excavation, install a French drain or sump pump to remove excess moisture.
- Uneven Terrain: Level the building site as much as possible before excavation. Consider terracing the earth berm for added stability.
- Rodent Intrusion: Seal all gaps and openings to prevent rodents from entering the root cellar. Use wire mesh around ventilation pipes and consider a rodent-proof barrier around the base of the structure.
- High Humidity: Ensure adequate ventilation. Add a container of lime or charcoal to absorb excess moisture.
Performance Data: Temperature & Humidity
The temperature and humidity inside your root cellar will vary depending on your climate and the effectiveness of your insulation and ventilation. However, you can generally expect:
- Temperature: 32-40°F (0-4°C) during the winter months.
- Humidity: 80-95%
Monitor temperature and humidity using a simple thermometer and hygrometer. Adjust ventilation as needed to maintain optimal conditions. For instance, increase ventilation on cool, dry days to lower humidity.
Monitoring and Adjusting Conditions:
- Thermometer/Hygrometer: Essential for tracking temperature and humidity levels.
- Vent Adjustment: Open vents to lower temperature and humidity, close them to retain warmth and moisture.
- Water Sprinkling: Lightly misting the floor can increase humidity if needed.
- Insulation Adjustment: Adding or removing insulation can further fine-tune temperature control.
What Crops to Store in Your Root Cellar
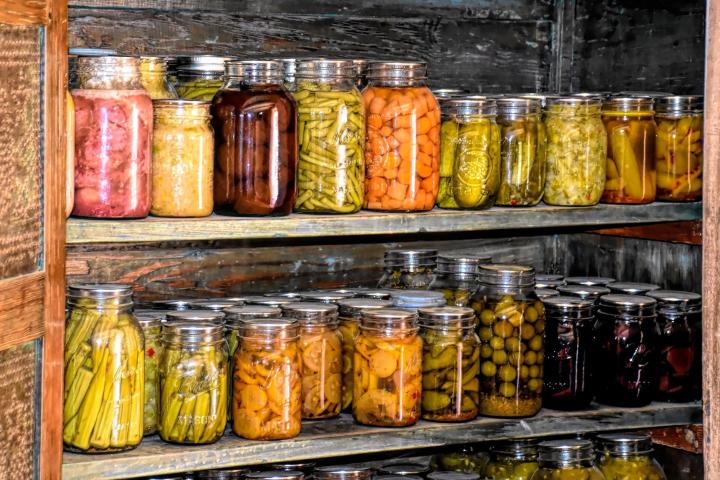
Root vegetables like potatoes, carrots, beets, and turnips thrive in the cool, humid environment. Apples, pears, and other fruits also store well. Cabbage, onions, and garlic require drier conditions, so store them in separate containers.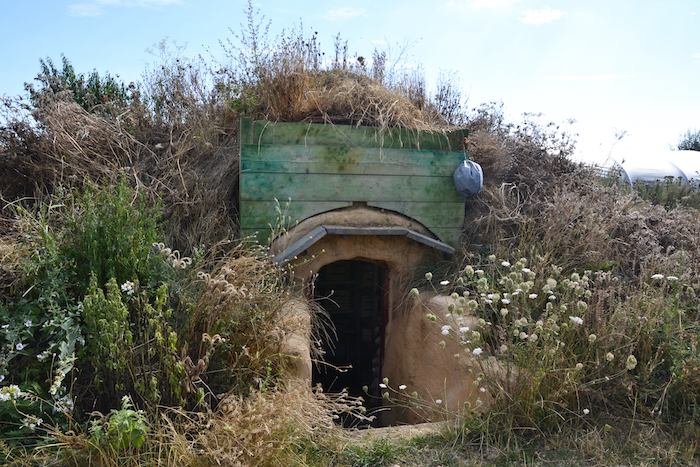
Long-Term Benefits: Food Security, Savings & Sustainability
Building an earth berm root cellar is an investment in your food security, your wallet, and the environment. By extending your harvest, you reduce food waste, save money on groceries, and lessen your reliance on industrial agriculture. You gain greater control over your food supply, ensuring access to fresh, healthy produce throughout the year. Moreover, you contribute to a more sustainable lifestyle, reducing your carbon footprint and promoting local food systems. It's a win-win for you, your family, and the planet.
What crops do you plan to store in your root cellar? What challenges have you faced with food preservation on your homestead? Share your thoughts and experiences in the comments below!