Dig In! Build Your Own Simple Root Cellar for Winter Food Storage
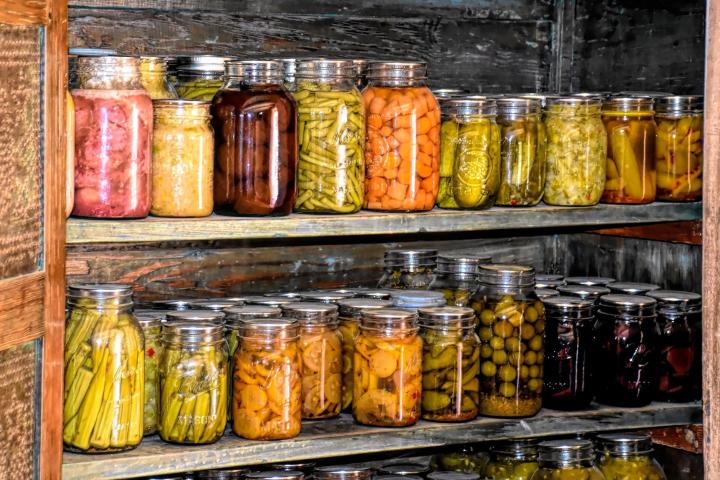
Are you tired of watching your hard-earned garden bounty wither away after the first frost? Do you dream of enjoying fresh, homegrown produce all winter long without relying on expensive, store-bought alternatives? Then it's time to consider building a root cellar! This time-honored method of food preservation is a cornerstone of homesteading, offering a sustainable and cost-effective way to extend the life of your homegrown produce well into the colder months. Forget complicated canning and freezing – a DIY root cellar taps into the earth's natural cooling power to keep your vegetables and fruits fresh and delicious.
This guide, brought to you by Better Homes and Harvests, will walk you through building a simple and effective DIY root cellar perfect for a small to medium-sized homestead. With basic carpentry skills and readily available materials like repurposed shipping pallets or concrete blocks, you can have your own winter storage solution up and running in no time.
Why Build a Root Cellar? The Benefits of Natural Food Preservation
Before we dive into the construction process, let's take a moment to appreciate the many advantages of a root cellar:
- Cost Savings: Reduce your grocery bills by storing your own homegrown produce instead of buying it from the store.
- Sustainability: Minimize food waste and reduce your reliance on transportation-heavy food systems. A root cellar offers truly sustainable food storage.
- Food Security: Ensure a reliable supply of fresh food for your family throughout the winter months.
- Improved Flavor and Nutrition: Certain vegetables actually improve in flavor and nutritional value during winter storage in a root cellar.
- Independence: Take control of your food supply and embrace a more self-sufficient lifestyle. Embrace true homesteading.
Choosing the Right Root Cellar Design for Your Needs
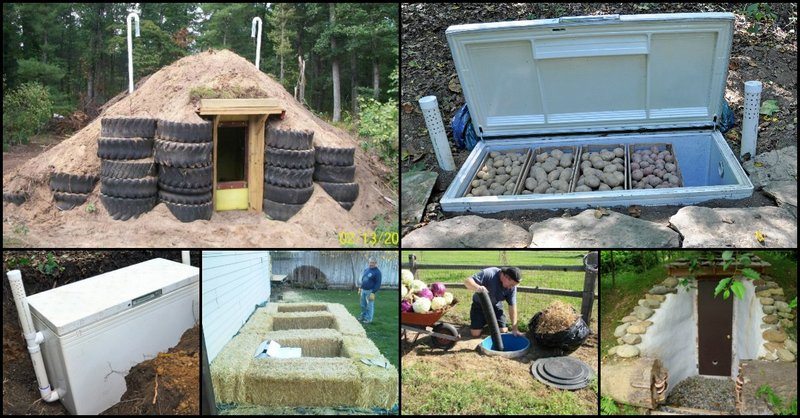
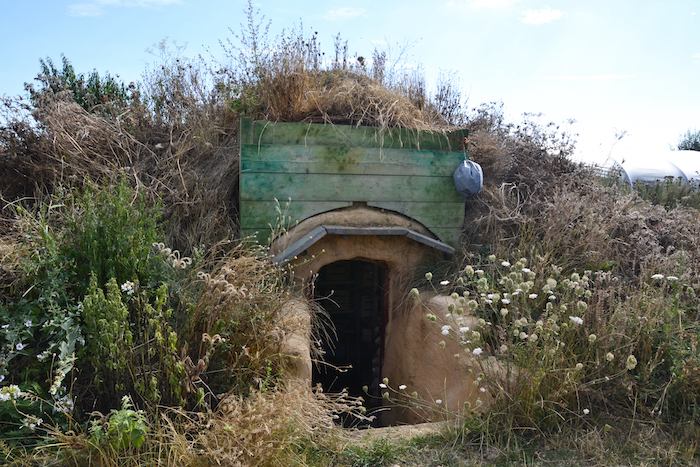
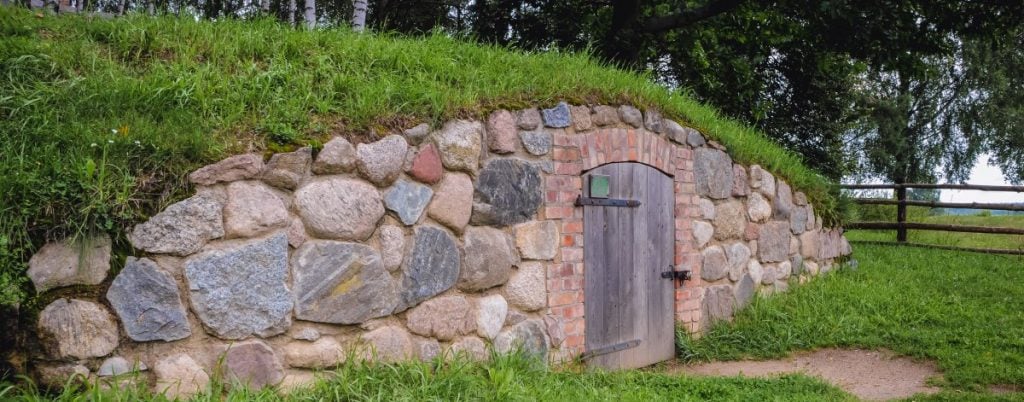
We'll be focusing on a simple, partially buried root cellar design. This type is ideal for a typical suburban backyard or small farm and can be adapted to suit different climates. It offers a good balance of accessibility, affordability, and effectiveness.
Dimensions: Aim for a space roughly 6ft wide, 8ft long, and 6ft high. This provides ample vegetable storage for a family of four. Adjust the size based on your specific needs and garden output.
Climate Considerations:
- Cold Climates: Focus on insulation to prevent freezing. Consider burying the cellar deeper or adding extra layers of insulation to the walls and ceiling. A well-insulated DIY root cellar is crucial.
- Moderate Climates: Ventilation becomes even more important to prevent excessive humidity and mold growth. Ensure adequate airflow to keep your homegrown produce fresh.
Step-by-Step Guide to Building Your DIY Root Cellar
Step 1: Site Selection
Choose a location that is:
- Well-drained: Avoid areas prone to flooding or waterlogging.
- Shady: A north-facing slope is ideal to minimize sunlight exposure and maintain a cool temperature.
- Accessible: Ensure easy access to your root cellar throughout the winter, even in snowy conditions.
Step 2: Excavation
- Dig a hole to the desired dimensions, plus an extra foot or two on all sides for working space. Remember to factor in the depth needed to bury the cellar partially (at least 3-4 feet is recommended).
- Ensure the bottom of the excavation is level and compact the soil.
Step 3: Foundation
- Lay a gravel base (about 6 inches deep) for drainage.
- Construct a simple concrete slab foundation. This will provide a stable base for your root cellar walls.
- Alternatively, you can use pressure-treated lumber to create a wooden frame for the base.
Step 4: Walls
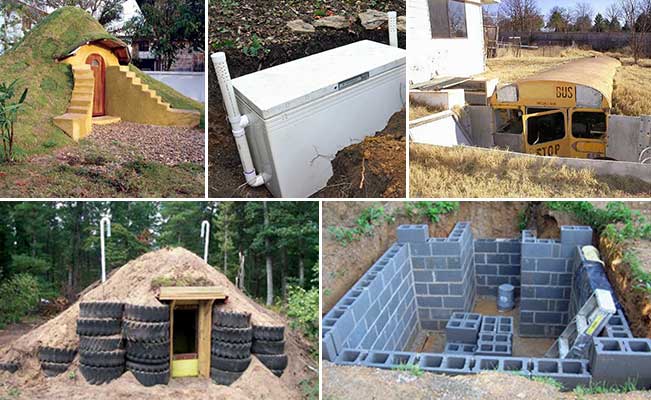
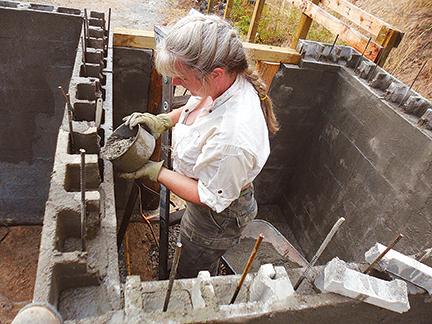
- Option 1: Concrete Blocks: Stack concrete blocks to create the walls, using mortar to bind them together. Ensure the walls are plumb and level.
- Option 2: Repurposed Shipping Pallets: Build a sturdy frame using pressure-treated lumber and then attach the pallets to the frame. This is a more budget-friendly option, but requires careful construction to ensure structural integrity.
- Important: Regardless of your choice, ensure the walls are strong enough to withstand the pressure of the surrounding soil.
Step 5: Roofing
- Construct a sturdy roof frame using lumber.
- Cover the frame with plywood sheeting.
- Apply a waterproof membrane (such as roofing felt or rubber roofing) to prevent leaks.
- Insulate the roof with rigid foam insulation or fiberglass batts.
Step 6: Insulation
- Insulate the exterior walls of the DIY root cellar with rigid foam insulation. This will help maintain a stable temperature inside.
- Seal all seams and gaps with caulk or expanding foam to prevent air leaks.
Step 7: Ventilation
- Install two ventilation pipes: one near the floor and one near the ceiling. This creates a natural convection current, allowing cool air to enter and warm air to escape.
- Use PVC pipe or metal ductwork for the vents.
- Install dampers on the vents to control airflow and prevent freezing during extremely cold weather. Proper ventilation is key for successful vegetable storage.
Step 8: Entrance
- Build a sturdy door frame and install an insulated door.
- Ensure the door seals tightly to prevent drafts.
- Consider adding a small entryway or airlock to further insulate the interior.
Step 9: Backfilling
- Backfill around the root cellar walls with soil, compacting it in layers.
- Slope the soil away from the walls to prevent water from pooling.
Step 10: Interior Finishing
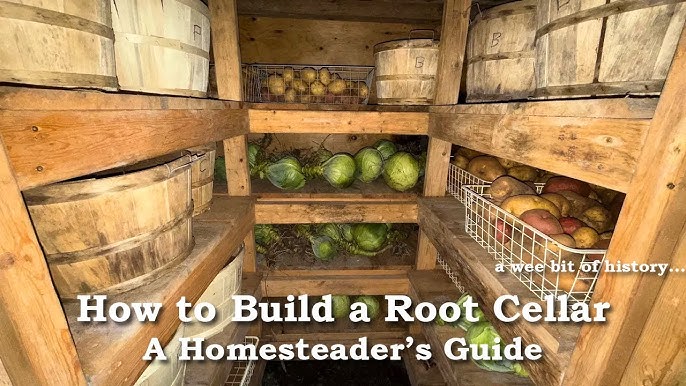
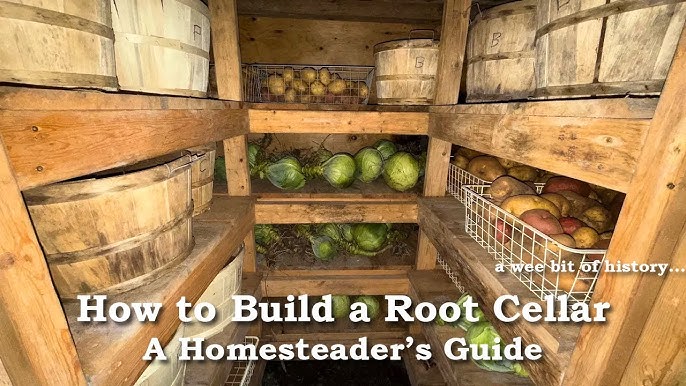
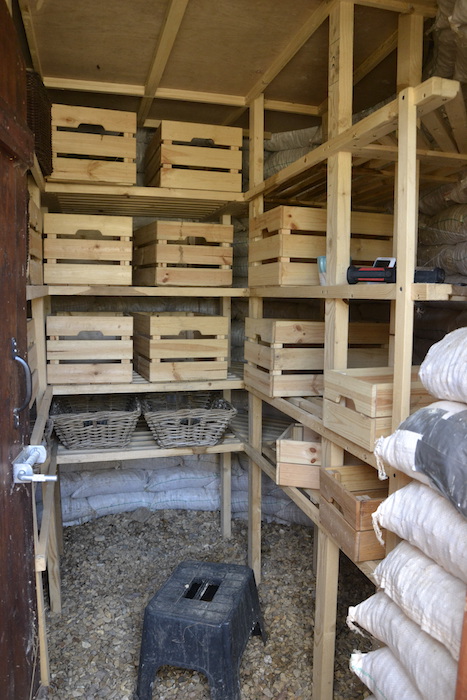
- Install shelving or bins to store your homegrown produce.
- Use wooden shelves or wire racks for good air circulation.
Materials List (Estimated Costs)
- Lumber (pressure-treated for foundation, framing): $200-$500
- Concrete blocks (if using): $300-$600
- Mortar (if using concrete blocks): $50
- Plywood sheeting: $100-$200
- Waterproof membrane: $50-$100
- Rigid foam insulation: $100-$300
- Ventilation pipes: $50-$100
- Door and frame: $100-$300
- Gravel: $50-$100
- Fasteners (nails, screws, etc.): $50
- Total Estimated Cost: $1050 - $2300
Note: Prices may vary depending on location and material choices. Consider sourcing repurposed materials like shipping pallets to reduce costs.
Tips for Successful Root Cellar Storage
- Harvest at the Right Time: Pick your homegrown produce when it is fully mature and dry.
- Proper Curing: Cure onions, garlic, and squash before storing them in the root cellar.
- Maintain Ideal Conditions: Aim for a temperature of 32-40°F (0-4°C) and a humidity level of 80-90%.
- Monitor Regularly: Check your vegetable storage periodically for signs of spoilage and remove any affected items.
- Store Strategically: Separate fruits and vegetables that produce ethylene gas (like apples) from those that are sensitive to it (like potatoes).
- Provide Air Circulation: Ensure good airflow around your stored produce to prevent mold and rot.
Potential Pitfalls and How to Avoid Them
- Poor Drainage: Can lead to flooding and spoilage. Ensure proper site selection and drainage.
- Inadequate Insulation: Can result in freezing temperatures. Use sufficient insulation and seal all gaps.
- Insufficient Ventilation: Can cause excessive humidity and mold growth. Install adequate ventilation and monitor humidity levels.
- Pest Infestation: Can damage your stored produce. Inspect your homegrown produce carefully before storing it and take steps to prevent pests.
Building a DIY root cellar is a rewarding project that will provide you with fresh, homegrown produce throughout the winter. By following these steps and adapting them to your specific needs and climate, you can create a sustainable and cost-effective food preservation solution for your homestead. Embrace the power of winter food storage and enjoy the fruits (and vegetables!) of your labor all year round.
Ready to take the plunge and build your own DIY root cellar? We’d love to hear about your experiences! Share your tips, questions, and photos in the comments below.
And be sure to check out our other articles on [Better Homes and Harvests - insert link to style guide here] for more tips on gardening, food preservation, and homesteading. Check out these related articles:
- "Extending Your Harvest: Late-Season Gardening Tips"
- "Canning 101: A Beginner's Guide to Preserving Your Garden's Bounty"
- "Winter Vegetable Recipes: Hearty Meals from Your Root Cellar"
