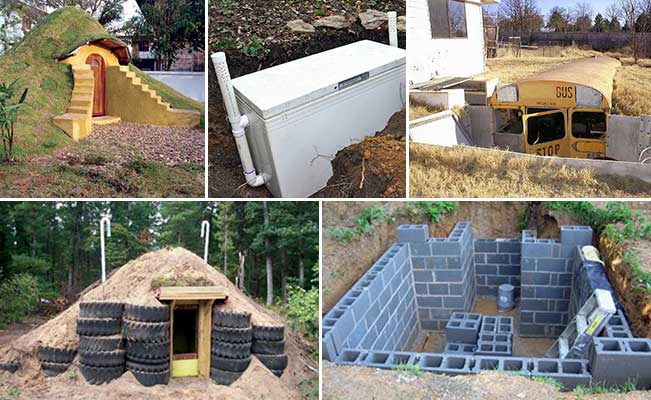
Dig In! Building a Budget-Friendly Root Cellar for Homestead Resilience
Remember the Great Blizzard of '22? The grocery store shelves were bare, the roads impassable, and everyone was scrambling for the last can of beans. But at the Miller's place, it was business as usual. Hearty stews simmered on the wood stove, the aroma of roasted root vegetables filled the air, and laughter echoed from their cozy home. Their secret? That humble root cellar, the one I helped them build, brimming with the bounty of last year's harvest. That's the kind of empowering self-reliance Better Homes and Harvests readers crave, and it's exactly what we're going to explore today.
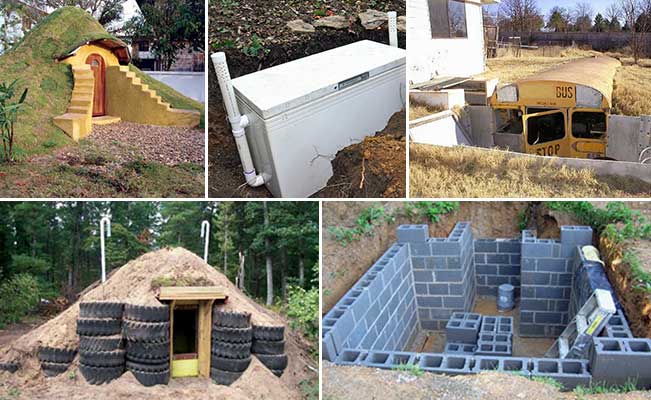
Why Root Cellars? Your Fortress of Food Security
In an era of unpredictable weather, fragile supply chains, and rising grocery bills, a root cellar is more than just a storage space; it's a symbol of homesteading resilience. This time-tested method of food preservation offers a wealth of benefits, from energy savings to a greater sense of self-sufficiency.
A well-designed root cellar provides the ideal environment – cool, dark, and humid – for storing a wide variety of fruits and vegetables. This drastically extends their shelf life, allowing you to enjoy the flavors of summer and autumn throughout the winter months. Imagine fresh carrots, potatoes, onions, and apples available long after the growing season has ended!
Beyond individual benefits, embracing off-grid solutions like root cellars collectively bolsters our communities against climate change and unforeseen disruptions. By reducing our reliance on external food sources and energy-intensive refrigeration, we create a more sustainable and secure food system.
For more on related topics, check out our articles on Canning for Beginners and Building a Resilient Garden here on Better Homes and Harvests.
Digging Deep: A Budget-Friendly Root Cellar Guide
Ready to take the plunge and build your own haven of harvest? This step-by-step guide focuses on a simple, affordable design – a buried pallet structure – perfect for beginner homesteaders. Safety is paramount. Always wear appropriate safety gear when digging or working with tools, and be sure to check for underground utilities before you start digging.
Materials List:
- Pallets (4-6): Free (check with local businesses – grocery stores, construction sites).
- Wooden Posts (4): $20 (Home Depot, Lowe's).
- Heavy-Duty Plastic Sheeting: $30 (Home Depot, Lowe's).
- Straw or Hay Bales: $25 (Tractor Supply Co., local farm).
- Gravel or Pea Stone: $40 (Home Depot, Lowe's).
- Hardware (screws, nails, brackets): $15 (Home Depot, Lowe's).
- Hinged Door (recycled or new): $30 (Habitat for Humanity ReStore, Home Depot).
- Ventilation Pipe (4-inch PVC): $10 (Home Depot, Lowe's).
Total Estimated Cost: $170 (Prices may vary based on location and availability.)
Tools Needed:
- Shovel
- Pickaxe (if necessary)
- Wheelbarrow
- Saw
- Drill
- Hammer
- Level
- Tape Measure
- Utility Knife
- Safety Glasses
- Work Gloves
Step-by-Step Instructions:
Choose Your Location: Select a well-drained area with partial shade. Ideally, a north-facing slope is best to minimize sun exposure. Avoid areas prone to flooding.
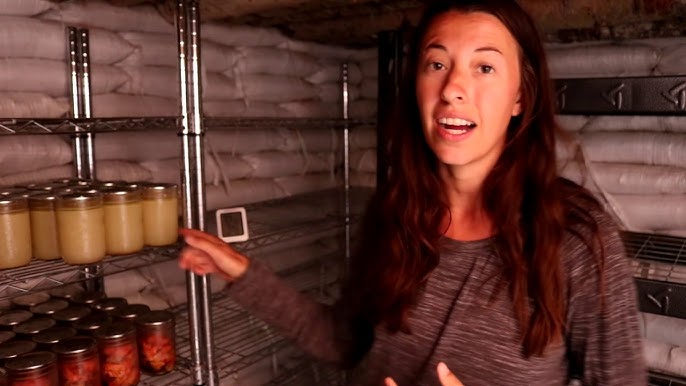
Alt Text: An individual begins digging the foundation for the root cellar.
Dig the Hole: Excavate a rectangular pit approximately 6 feet long, 4 feet wide, and 4 feet deep. The dimensions can be adjusted based on your available pallet sizes.
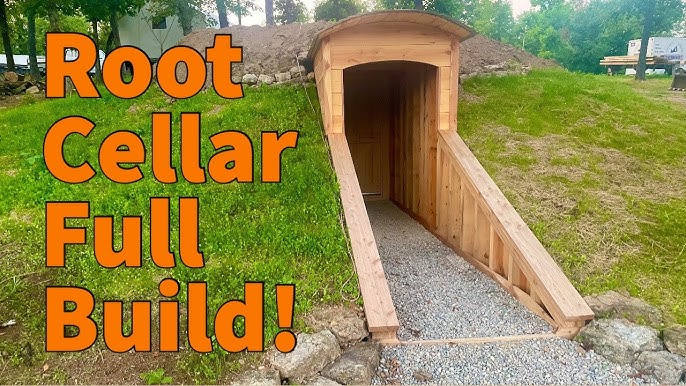
Alt Text: A partially dug hole in the ground, showcasing the initial stages of excavation.
Prepare the Base: Line the bottom of the pit with a 6-inch layer of gravel or pea stone for drainage.
Construct the Frame: Set the wooden posts into the corners of the pit, ensuring they are level and extend at least 2 feet above the ground. These will provide structural support.
Assemble the Walls: Attach the pallets to the wooden posts, creating the walls of the root cellar. Secure them with screws or nails. Ensure the pallets are structurally sound and free from any chemical treatments.
Line the Interior: Cover the interior walls with heavy-duty plastic sheeting to create a moisture barrier. Overlap the seams and secure the plastic to the pallets with staples or tape.
Build the Roof: Use additional pallets or lumber to create a roof structure. Ensure the roof is slightly angled to allow for water runoff. Cover the roof with plastic sheeting, overlapping the seams.
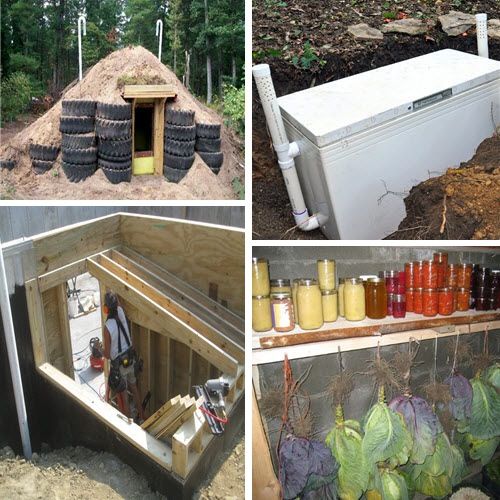
Alt Text: The roof and walls of the root cellar frame are covered with heavy-duty plastic sheeting to create a waterproof barrier.
Insulate: Cover the roof and walls with a thick layer of straw or hay bales for insulation. This will help maintain a consistent temperature inside the root cellar.
Install the Door: Frame an opening for the door and install a hinged door. Ensure the door seals tightly to prevent drafts.
Ventilation: Install a ventilation pipe through the roof or wall to allow for air circulation. This will help prevent the buildup of moisture and gases.
Backfill: Backfill around the root cellar with soil, compacting it firmly. Slope the soil away from the structure to prevent water from pooling.
Troubleshooting Tips:
- Water Leaks: If you experience water leaks, check the plastic sheeting for holes or tears. Repair any damage and ensure the seams are properly overlapped.
- High Humidity: If the humidity is too high, increase ventilation by opening the door or adjusting the ventilation pipe.
- Temperature Fluctuations: Add more insulation to the roof and walls to stabilize the temperature.
Safety Precautions:
- Always wear safety glasses and work gloves when building.
- Be careful when digging to avoid hitting underground utilities.
- Ensure the structure is stable and secure before entering.
- Proper ventilation is crucial to prevent the buildup of harmful gases.

Alt Text: Exterior view of the root cellar with hay bales to aid in temperature control.
Beyond the Build: Stocking and Maintaining Your Root Cellar
Building the root cellar is only half the battle. Proper storage and maintenance are essential for maximizing its effectiveness.
Temperature and Humidity: Aim for a temperature between 32°F and 40°F and a humidity level of 85-95%.
Storage Methods: Store root vegetables like potatoes and carrots in bins or crates filled with slightly damp sand or sawdust. Apples can be stored on shelves, spaced apart to prevent rotting. Onions and garlic should be hung in mesh bags to ensure good air circulation.
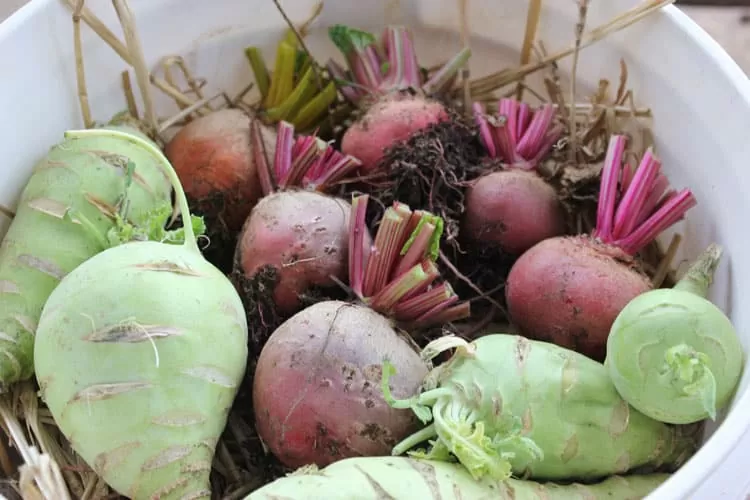
Alt Text: Root cellar in use with a variety of fruits and vegetables stored.
Regular Inspection: Regularly inspect your stored produce for signs of spoilage. Remove any damaged or rotting items to prevent them from affecting the rest of your harvest.
Ventilation Control: Adjust ventilation as needed to maintain optimal temperature and humidity levels.
Dig In and Thrive!
Building a budget root cellar is an investment in your homestead's future. It's a tangible step towards self-sufficiency, food preservation, and resilience. It's about more than just storing food; it's about reclaiming control over your food supply and creating a more secure and sustainable lifestyle. So, gather your materials, grab your tools, and get ready to dig in!
What are you hoping to preserve in your root cellar? Share your plans and experiences in the comments below!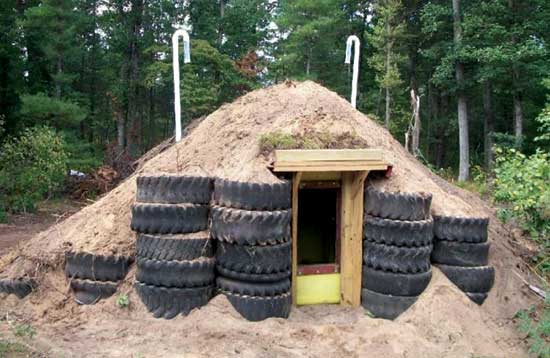
Alt Text: An exterior view of a stone root cellar.