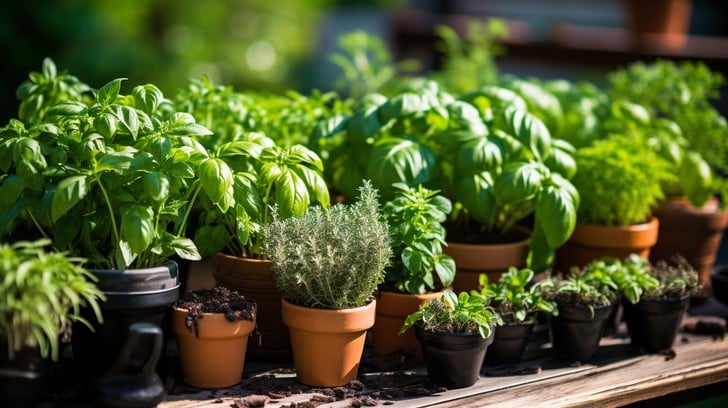
Cultivating Culinary Herbs Indoors: A Guide to Year-Round Flavor
Do you ever find yourself craving the bright, fresh taste of basil in the dead of winter? Or perhaps you’re tired of the bland, lifeless herbs you find at the grocery store? For those of us who love to cook with fresh ingredients, the longing for garden-fresh flavor during the colder months is a familiar feeling. But what if I told you that you could enjoy homegrown herbs all year round, right in your own kitchen?
Growing culinary herbs indoors is easier than you might think, and it's a fantastic way to bring the flavors of summer inside, no matter the season. In this guide, we’ll cover everything you need to get started, from choosing the right herbs and setting up your indoor garden to providing proper care and harvesting tips. Not only will you have access to fresh, organic herbs whenever you need them, but you’ll also save money on grocery bills and add a touch of cozy greenery to your home. Let's bring the garden to your kitchen!

Choosing the Right Herbs (and the Right Space)
The foundation of a successful indoor herb garden is selecting the right herbs for your environment. Not all herbs thrive equally well indoors. Some need significantly more light than others, while others are more susceptible to pests in a confined space.
Generally, these herbs are easiest to grow indoors:
- Basil: A warm-weather favorite that needs plenty of sunlight.
- Mint: Easy to grow, but keep it contained as it can be invasive.
- Chives: Cold-hardy and can tolerate lower light conditions.
- Parsley: Needs consistent moisture and moderate sunlight.
- Oregano: Drought-tolerant and loves a sunny spot.
- Thyme: Prefers well-drained soil and plenty of light.
- Rosemary: Can be a bit more challenging, needing excellent drainage and lots of sunshine, but well worth the effort.
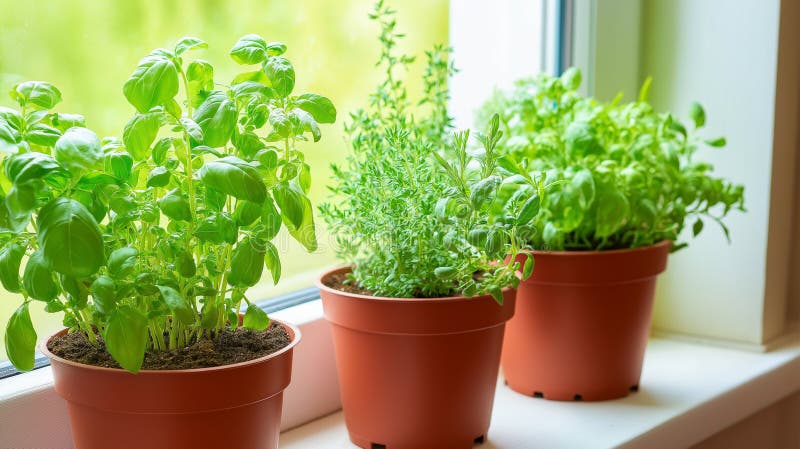
Consider your available sunlight when choosing your herbs. A south-facing window is ideal, but if you don't have one, don't despair! You can supplement with grow lights (more on that later). Also, think about space. Dwarf or compact varieties are perfect for small kitchens.
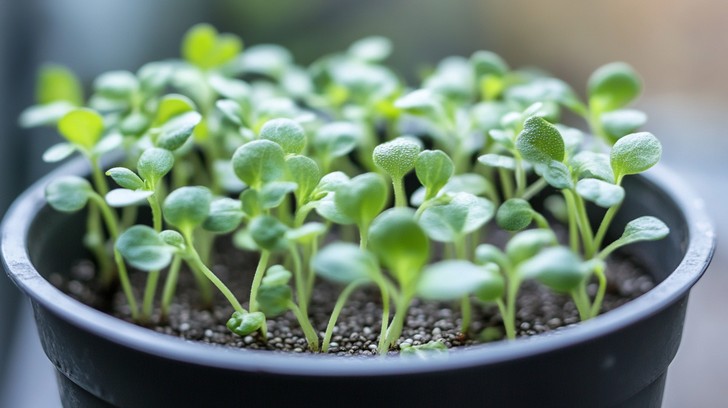
If you're a beginner, I recommend starting with seedlings from your local nursery. It’s tempting to start from seed, but seedlings give you a head start and are generally more resilient. Plus, you can be sure you're getting a healthy plant.
Setting Up Your Indoor Herb Garden: Essential Supplies & DIY Options
You don't need a lot of fancy equipment to create a thriving indoor herb garden. Here's a list of essentials:
- Pots: Choose pots with good drainage holes. Clay pots are great because they allow the soil to breathe, but plastic pots are lighter and retain moisture better.
- Potting Mix: Use a well-draining potting mix, not garden soil. Garden soil is too heavy and compacts easily, which can lead to root rot.
- Grow Lights (Optional): If you don't have enough natural light, invest in grow lights. LED grow lights are energy-efficient and provide the right spectrum of light for plant growth.
- Watering Can: A small watering can with a long spout is perfect for watering your herbs without disturbing the soil.
- Small Gardening Tools: A small trowel and hand rake can be helpful for transplanting and maintaining your herbs.
Now for the fun part: DIY! There are countless ways to create a beautiful and functional indoor herb garden using recycled materials. Here are a few ideas:
- Repurposed Mason Jars: Mason jars are perfect for growing individual herbs. Just add some pebbles to the bottom for drainage and fill with potting mix.
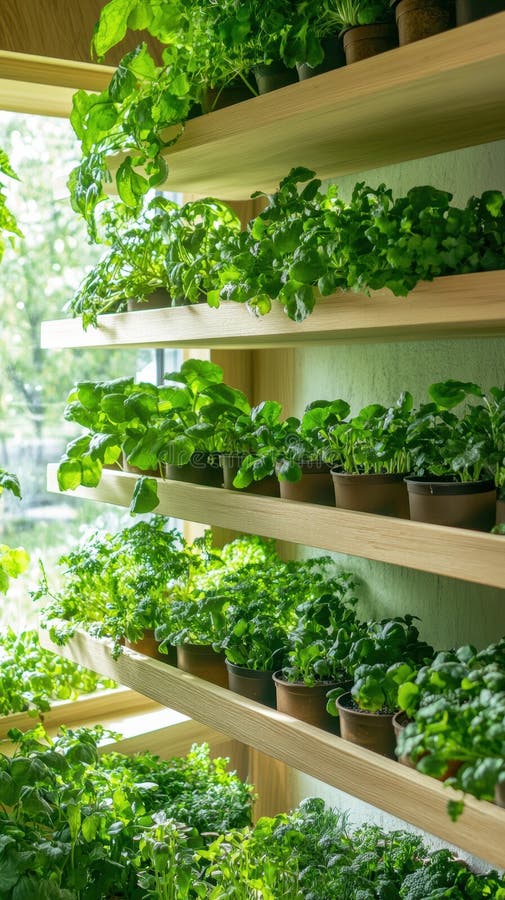
- Tiered Planters from Reclaimed Wood: Build a tiered planter using reclaimed wood to create a visually appealing and space-saving herb garden.
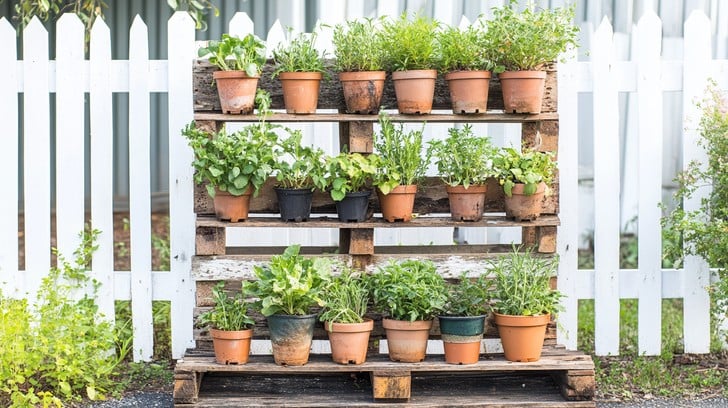
- Vertical Garden Using Pallets: Transform an old pallet into a vertical garden by attaching pots to the slats. This is a great option for small spaces.
Don't forget the plant labels! You can get creative here too. Use corks, rocks, or popsicle sticks to label your herbs.
Nurturing Your Indoor Herb Garden: Watering, Feeding, and Light
Proper care is crucial for healthy and productive herbs. Here's what you need to know about watering, feeding, and light:
- Watering: Avoid overwatering, which is a common mistake. Check the soil moisture before watering. The top inch of soil should be dry to the touch. Water at the base of the plant, avoiding getting the leaves wet.
- Feeding: Feed your herbs with an organic fertilizer, such as diluted compost tea or fish emulsion, every few weeks. Be careful not to over-fertilize, as this can burn the roots.
- Light: Most herbs need at least 6 hours of sunlight per day. If you don't have enough natural light, use grow lights. Adjust the light levels based on the herb variety. Signs of insufficient light include leggy growth and pale leaves.
- Humidity: Indoor air can be dry, especially in winter. Increase humidity by grouping plants together, using a humidifier, or placing your pots on a pebble tray filled with water.
- Pests: Keep an eye out for common indoor herb pests like aphids and spider mites. Treat them with organic methods, such as neem oil or insecticidal soap.
Harvesting and Using Your Homegrown Herbs
Harvesting your herbs regularly encourages continued growth and keeps them productive. Here are some tips:
- Harvesting Techniques: Snip leaves or pinch stems above a leaf node. For herbs like basil, pinch off the flowering stems to encourage leafy growth.
- Optimal Flavor: Harvest herbs in the morning after the dew has dried for the best flavor.
- Using Your Harvest: Use your fresh herbs in recipes, dry them for later use, infuse them in oils or vinegars, or add them to homemade teas.
- Storing Fresh Herbs: To prolong the shelf life of fresh herbs, store basil in a glass of water, like a bouquet of flowers. Wrap other herbs in damp paper towels and store them in the refrigerator.
Simple Recipe: Basil Pesto
Here's a simple recipe that showcases the delicious flavor of homegrown basil:
Ingredients:
- 2 cups fresh basil leaves
- 1/4 cup pine nuts
- 2 cloves garlic
- 1/2 cup grated Parmesan cheese
- 1/2 cup olive oil
- Salt and pepper to taste
Instructions:
- Combine basil, pine nuts, garlic, and Parmesan cheese in a food processor.
- Pulse until finely chopped.
- Slowly drizzle in olive oil while the food processor is running.
- Process until smooth.
- Season with salt and pepper to taste.
- Serve with pasta, sandwiches, or as a topping for grilled meats.
Bringing the Outdoors In
Growing culinary herbs indoors is a rewarding way to enjoy fresh flavor, improve your well-being, and connect with nature throughout the year. As the days grow shorter, starting your indoor herb garden now will ensure you have a steady supply of homegrown herbs during the colder months. Why not start planning for your outdoor garden at the same time?
Remember, anyone can grow herbs indoors, regardless of their gardening experience or space limitations. It's a simple and satisfying way to bring a touch of the garden into your home.
Now, I'd love to hear from you! Share your own experiences with indoor herb gardening in the comments below. What are your favorite herb varieties to grow indoors, and what tips do you have for success? Don't forget to sign up for the Better Homes and Harvests newsletter for more gardening tips and DIY projects. And be sure to share this post with your friends who love gardening and cooking! Happy growing!