Crafting Cozy: Five Unexpected Ways to Preserve the Magic of Your Fall Harvest
The air is crisp, carrying the scent of woodsmoke and fallen leaves. Golden sunlight filters through the branches of the apple trees, painting the orchard in hues of amber and crimson. The fall harvest is bountiful – perhaps even overwhelming. While pies and crisps are tempting, you yearn to capture the essence of this fleeting season, to savor its flavors long after the last leaf has fallen. You long to extend the joy of this season, one delicious bite at a time.
This year, let’s go beyond the usual jams and pickles. Join me as we explore five unexpected ways to preserve the magic of your fall harvest, reduce food waste, and bring the warmth of autumn to your table throughout the year.
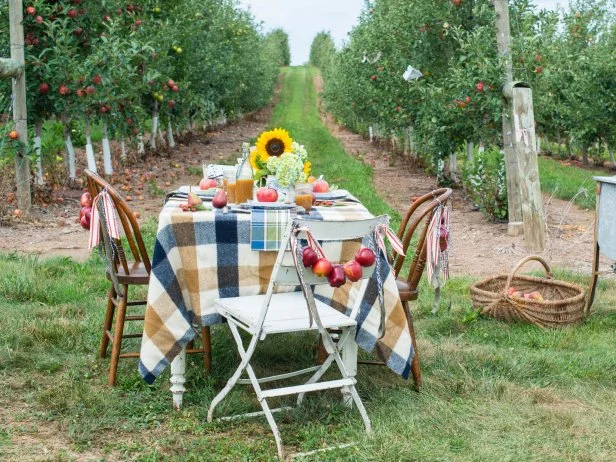
A cozy fall harvest picnic in the orchard, showcasing the abundance of the season.
1. Infused Vinegars: A Tangy Twist on Tradition
Forget plain vinegar! Imagine drizzling a vibrant cranberry-infused vinegar over roasted Brussels sprouts or using a sage-infused vinegar to deglaze a pan of sautéed mushrooms. Infusing vinegars is a simple yet elegant way to preserve the flavors of your fall harvest, adding a tangy twist to your cooking. It's a wonderful way to incorporate homegrown herbs and fruits from your seasonal harvest into everyday meals.
Here's how to do it:
- Choose your vinegar: White wine vinegar or apple cider vinegar work best.
- Select your flavorings: Rosemary, thyme, sage, cranberries, apples, pears, and even chili peppers add unique flavor profiles.
- Combine: Place your chosen herbs or fruits in a sterilized jar. Gently bruise the herbs to release their oils.
- Heat the vinegar: Gently warm the vinegar (do not boil) to help extract the flavors.
- Pour: Pour the warm vinegar over the herbs or fruits, ensuring they are fully submerged.
- Steep: Seal the jar and store in a cool, dark place for 2-4 weeks.
- Strain: Strain the vinegar through a cheesecloth-lined sieve.
- Bottle: Pour the infused vinegar into a sterilized bottle. Add a sprig of fresh herbs for visual appeal.
My grandmother always said that a beautiful infused vinegar is like bottled sunshine. Display them proudly in your farmhouse life kitchen.
2. Fruit Leathers: A Healthy and Nostalgic Treat
Remember those chewy fruit leathers from childhood? Recreate this classic snack with your homegrown apples, pears, or plums. Fruit leathers are a healthy, portable, and surprisingly easy way to preserve the natural sweetness of your organic gardening efforts.
Here's a simple recipe:
- Puree your fruit: Peel, core, and cook your chosen fruit until soft. Puree until smooth using a food processor or blender.
- Sweeten (optional): Add a touch of honey or maple syrup if desired. I prefer to let the natural sweetness of the fruit shine through.
- Spice it up: A pinch of cinnamon, nutmeg, or ginger adds warmth and depth of flavor.
- Spread: Line a baking sheet with parchment paper or a silicone baking mat. Spread the fruit puree thinly and evenly.
- Dehydrate: Dehydrate in a dehydrator at 135°F (57°C) for 6-8 hours, or in an oven at the lowest setting (170°F or lower) with the door slightly ajar for 4-6 hours. The fruit leather is ready when it's no longer sticky to the touch.
- Cut and store: Cut the fruit leather into strips and store in an airtight container at room temperature.
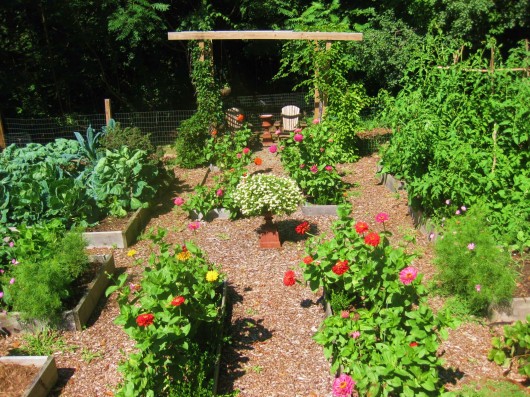
Homemade fruit leathers, a healthy and delicious snack made from the fall harvest.
3. Vegetable Powders: Hidden Nutrition in Every Bite
Don’t let those carrot tops, beet greens, or squash peels go to waste! Turn them into nutrient-rich vegetable powders. These powders can be added to soups, stews, smoothies, or even baked goods, providing a boost of vitamins and minerals throughout the year. This is a fantastic sustainable home practice!
Here's the process:
- Wash and dry: Thoroughly wash and dry your vegetable scraps.
- Dehydrate: Dehydrate the scraps in a dehydrator until completely dry and brittle. This prevents mold growth.
- Grind: Grind the dried scraps into a fine powder using a coffee grinder or high-speed blender.
- Store: Store the vegetable powder in an airtight container in a cool, dark place.
I love adding beet greens powder to my morning smoothies for an extra dose of iron. It’s a simple way to sneak in extra homegrown goodness.
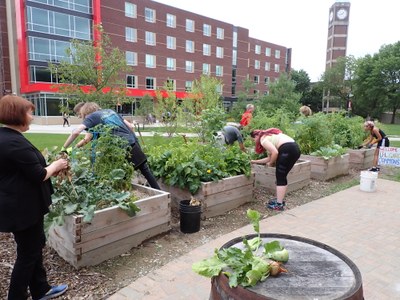
Sustainable gardening and home practices, showcasing responsible resource management.
4. Fermented Vegetables: Gut-Friendly Goodness
Fermentation is an ancient method of preserving food that not only extends its shelf life but also enhances its nutritional value and adds a unique tangy flavor. Think sauerkraut, kimchi, or fermented carrots. These cozy living staples are packed with probiotics, which are beneficial for gut health.
Here’s a basic recipe for fermented vegetables:
- Choose your vegetables: Cabbage, carrots, beets, radishes, and peppers all work well.
- Prepare your brine: Dissolve 2-3% salt in filtered water (e.g., 2-3 tablespoons of salt per quart of water).
- Combine: Chop or shred your vegetables and pack them tightly into a sterilized jar.
- Pour brine: Pour the brine over the vegetables, ensuring they are fully submerged. Use a weight (such as a glass fermentation weight or a small jar filled with water) to keep the vegetables submerged.
- Ferment: Cover the jar with a breathable cloth or fermentation lid. Ferment at room temperature (65-75°F) for 1-4 weeks, or until desired sourness is achieved.
- Store: Transfer the fermented vegetables to the refrigerator to slow down the fermentation process.
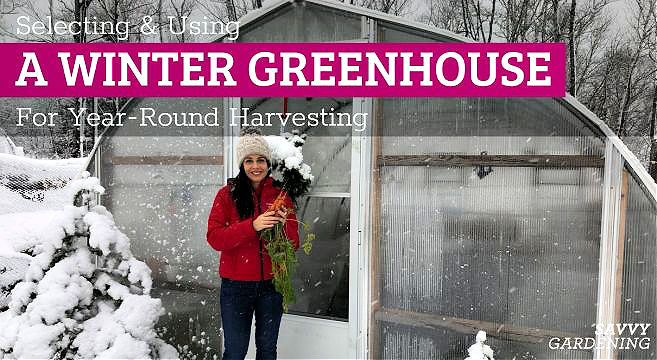
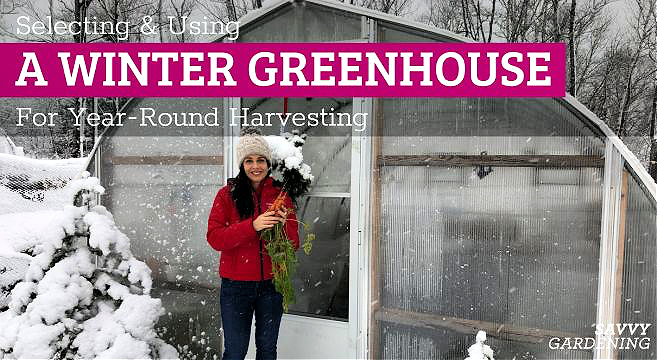
A winter greenhouse, showcasing a space for year-round growing and preserving.
My first attempt at sauerkraut was a bit of a disaster (too salty!), but with a little practice, I’ve learned to create flavorful and healthy fermented vegetables that I enjoy all winter long.
5. Frozen Herb Cubes: Fresh Flavor at Your Fingertips
Don't let your abundant backyard projects of herbs wither away with the first frost. Preserve their fresh flavor by freezing them in olive oil or water. Simply chop your favorite herbs (such as parsley, basil, oregano, or thyme), pack them into ice cube trays, and cover them with olive oil or water. Once frozen, transfer the herb cubes to a freezer bag.
When you need fresh herbs for a recipe, simply pop out a cube and add it to your dish. This is a fantastic way to enjoy the taste of summer all year round, and a beautiful addition to your seasonal harvest.

A cozy farmhouse-style kitchen, perfect for preserving and enjoying the fall harvest.
As the days grow shorter and the nights grow cooler, there’s a certain satisfaction in knowing that you’ve captured the essence of fall, ready to be savored throughout the winter months. These unexpected preservation methods not only extend the life of your harvest but also bring a touch of warmth and nostalgia to your table.
What’s your most treasured fall harvest recipe, the one that evokes the most cherished memories? Share your thoughts and traditions in the comments below! Don't forget to share this post with your friends and family using #BetterHomesAndHarvestsFall.