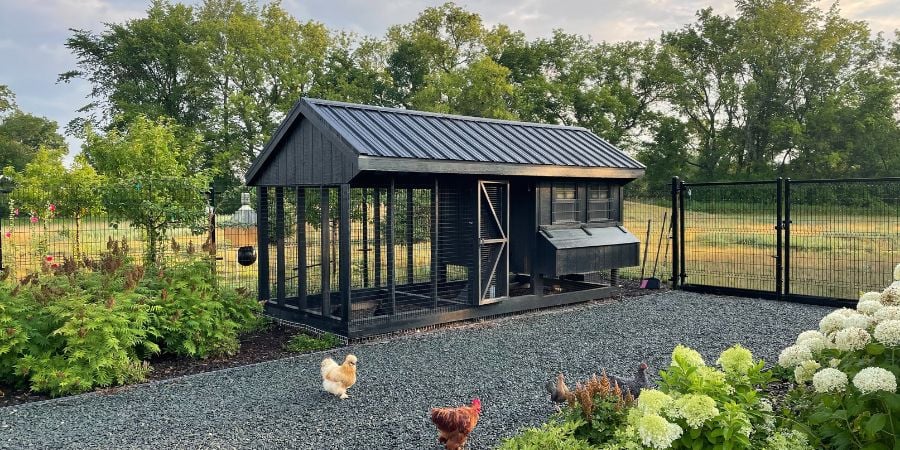
Crafting a Sustainable Homestead: Building a Backyard Chicken Coop for Fresh Eggs Daily
Better Homes and Harvests believes in empowering our community to live more self-sufficiently. And what's more rewarding than collecting your own fresh eggs every morning? This blog post will guide you through building a backyard chicken coop capable of housing six chickens, providing a consistent supply of fresh eggs. We'll create a functional, predator-proof, and aesthetically pleasing design that blends seamlessly into your landscape.
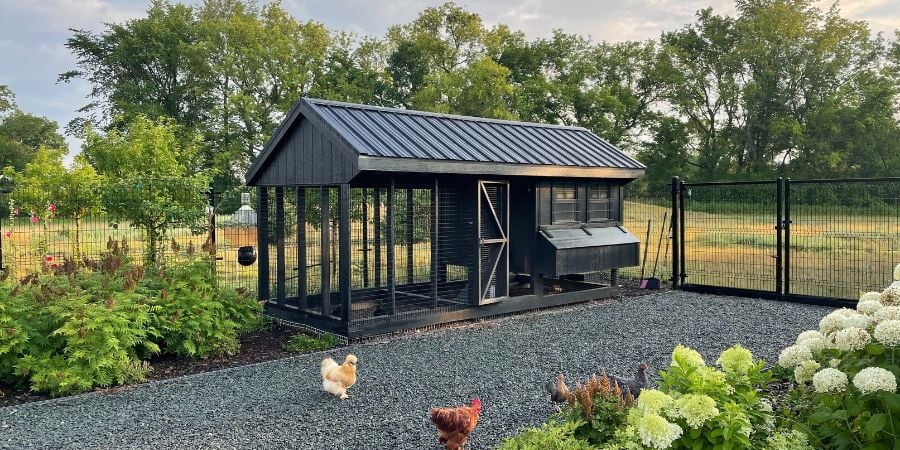
Planning & Design: Laying the Foundation for Success
Before you start swinging a hammer, careful planning is crucial. Location, size, and layout are key considerations.
Location, Location, Location:
- Sunlight: Choose a location that receives partial sun, particularly in the winter. This helps keep the coop warm and dry. Avoid areas that are constantly shaded, as this can lead to dampness and disease.
- Drainage: Ensure the area drains well to prevent muddy conditions. Chickens don't like wet feet!
- Proximity to House: Consider how close the coop will be to your house. Closer proximity makes egg collection and daily chores easier, but be mindful of potential noise and odor.
- Predator Considerations: Keep the coop away from dense bushes or wooded areas where predators might hide.
- Zoning Regulations: Check your local zoning regulations for any restrictions on backyard chickens and coop construction.
Coop Size and Layout:
A good rule of thumb is to provide at least 4 square feet of coop space per chicken and 8-10 square feet of run space per chicken. For six chickens, aim for a coop that is at least 4'x6' and a run that is at least 6'x8'. Consider a larger run if you can, as chickens enjoy having space to roam. The coop needs to have a height that allows you to easily enter and clean it.
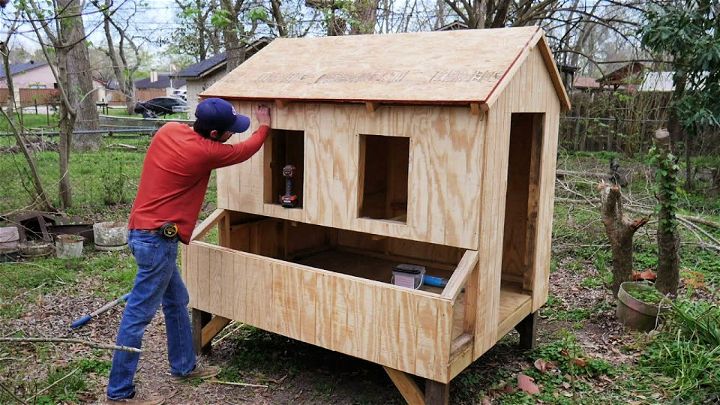
The interior layout should include:
- Nesting Boxes: Provide one nesting box for every 3-4 hens. A 12"x12"x12" box is usually sufficient. Place them in a dark, quiet corner of the coop.
- Roosting Bars: Chickens naturally roost at night. Provide roosting bars that are at least 2" wide and 2-3 feet off the ground. Allow 8-10 inches of roosting space per chicken.
- Feeding and Watering Stations: Choose feeders and waterers that are easy to clean and prevent spillage.
- Ventilation: Proper ventilation is crucial to prevent moisture buildup and ammonia odors. Install vents near the top of the coop to allow for airflow.
Inspiration:
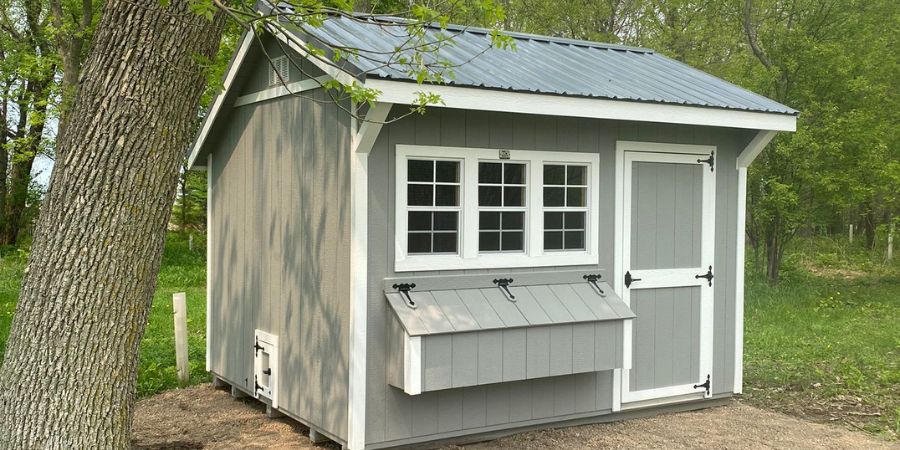
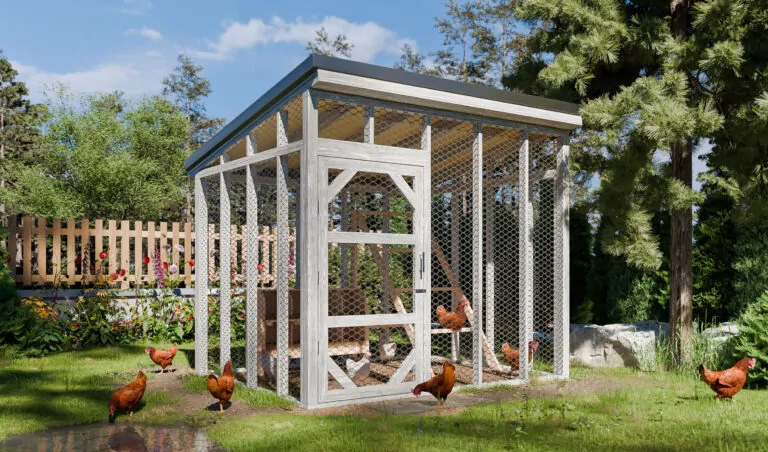
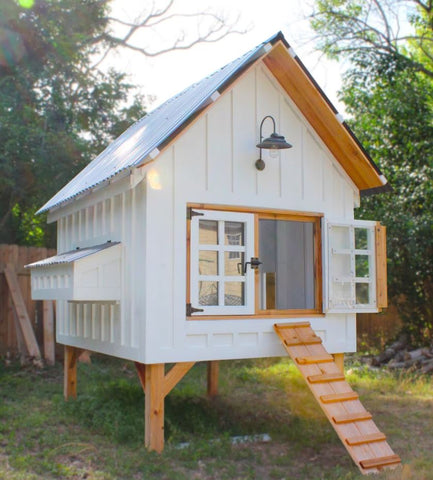
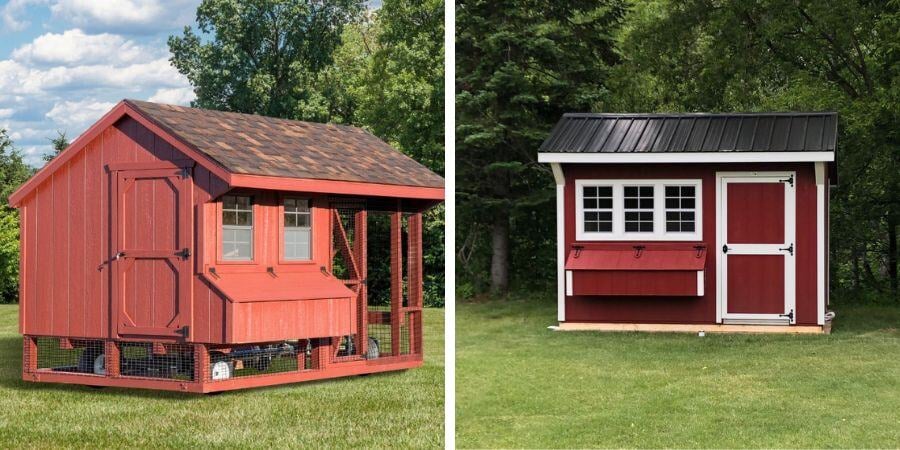
Consider an A-frame design for simplicity, a traditional barn-style coop for aesthetics, or a mobile "chicken tractor" for rotational grazing. The image above shows a free-range setup that allows chickens to roam safely within a defined area.
Materials List & Budget Breakdown: Counting Your Chickens Before They Hatch
Here's a sample materials list and budget breakdown for a 4'x6' coop and 6'x8' run. Prices are estimates and may vary depending on your location and supplier.
Coop:
- Lumber (2x4s, plywood, siding): $200 - $300
- Roofing Material (shingles, metal roofing): $50 - $100
- Hardware (nails, screws, hinges, latches): $50
- Nesting Box Material (wood scraps, plastic bins): $20
- Roosting Bar Material (2x4s): $10
- Ventilation Screening: $10
- Paint/Stain (optional): $30
- Total Coop Cost: $370 - $520
Run:
- Lumber (for framing): $100 - $150
- Hardware Cloth (1/2" mesh): $150 - $200
- Gate Hardware: $20
- Total Run Cost: $270 - $370
Other:
- Chicken Wire (optional, for extra predator protection around the base of the run): $30
- Chicken Feeder and Waterer: $30
- Bedding Material (straw, wood shavings): $20
Grand Total Estimated Cost: $690 - $970
Cost-Saving Alternatives:
- Repurposed Materials: Use reclaimed lumber, old doors, or windows to save money.
- Pallet Coop: Build a coop from recycled pallets. While this can significantly reduce material costs, ensure the pallets are heat-treated and not chemically treated.
- DIY Hardware: Make your own latches and hinges from scrap metal.
Construction Process: From Blueprint to Henhouse
Step 1: Building the Base and Frame
- Cut the lumber according to your design plans.
- Assemble the base frame using screws or nails. Ensure it is square and level.
- Build the wall frames, including openings for the door and windows (if any).
Step 2: Attaching the Siding and Roofing
- Attach the siding to the wall frames. Plywood is a cost-effective option, but you can also use shiplap or other siding materials.
- Construct the roof frame. A simple sloped roof is easiest to build.
- Install the roofing material, overlapping the edges to prevent leaks.
Step 3: Building the Run
- Build a frame for the run using lumber.
- Attach the hardware cloth to the frame, ensuring there are no gaps where predators could enter. Bury the hardware cloth a few inches into the ground to prevent digging.
- Build a gate for the run and attach it with hinges and a latch.
Step 4: Adding the Finishing Touches
- Install the nesting boxes and roosting bars inside the coop.
- Add ventilation holes covered with screening.
- Paint or stain the coop and run to protect the wood from the elements.
Potential Challenges and Solutions:
- Keeping the structure square: Use a framing square to ensure all corners are 90 degrees.
- Cutting wood accurately: Use a miter saw or circular saw with a guide for precise cuts.
- Working alone: Ask a friend or family member for help with lifting heavy materials.
- Uneven ground: Level the ground before building the coop and run, or build the coop on a platform.
VIDEO IDEA: Consider creating a short video demonstrating how to attach the hardware cloth to the run frame securely.
Finishing Touches & Chicken-Friendly Features: Making it a Home
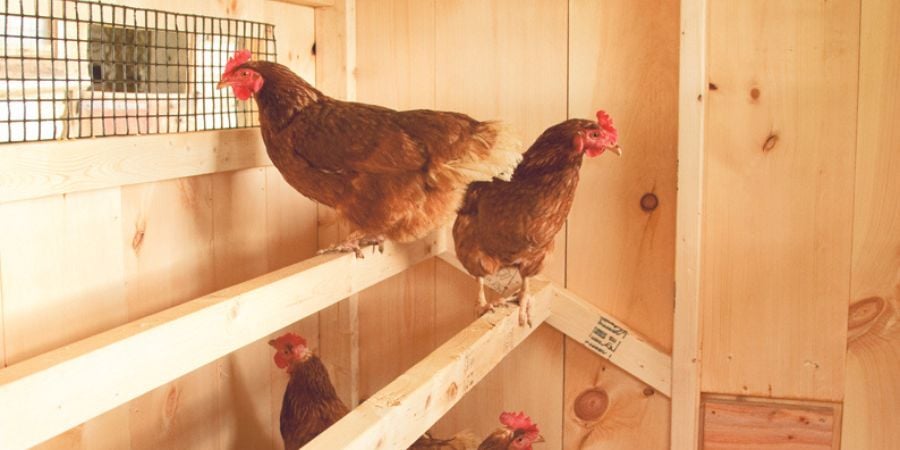
- Nesting Boxes: Line nesting boxes with straw or wood shavings to create a comfortable nesting environment.
- Roosting Bars: Ensure roosting bars are smooth and free of splinters.
- Ventilation: Adequate ventilation prevents moisture buildup and ammonia odors. Install adjustable vents to control airflow.
- Predator-Proofing: Use hardware cloth with 1/2" mesh to prevent predators from entering the coop and run. Bury the hardware cloth a few inches into the ground to deter digging predators. Install a secure latch on the coop door.
- Dust Bath Area: Chickens need to dust bathe to keep their feathers clean and free of parasites. Provide a designated dust bath area in the run with sand, dirt, and wood ash.
- Chicken Entertainment: Provide a chicken swing, a cabbage suspended from the roof, or other enrichment items to keep your chickens entertained.
Maintenance & Upkeep: Keeping Your Coop in Tip-Top Shape
- Daily: Collect eggs daily and check the water and food levels.
- Weekly: Clean the coop and run, removing droppings and replacing bedding.
- Monthly: Deep clean the coop, scrubbing the floor and walls with a disinfectant solution.
- Annually: Inspect the coop and run for any damage or repairs. Replace any worn-out materials.
- Pest Control: Regularly check your chickens for mites, lice, or other parasites. Treat them as needed.
My Chicken Coop Journey: Lessons Learned
Building my chicken coop was a rewarding experience, but it wasn't without its challenges. I underestimated the amount of time it would take, and I had to make several trips to the hardware store for forgotten materials. One unexpected challenge was dealing with a persistent raccoon that kept trying to break into the run. I ended up adding an extra layer of hardware cloth and installing a motion-activated light to deter it. The biggest lesson I learned was the importance of thorough planning and predator-proofing. But seeing my chickens happily scratching around in their coop and collecting fresh eggs every day makes it all worthwhile.

Call to Action: Share Your Coop Stories!
Now it's your turn! We'd love to hear about your experiences with building chicken coops.
- What are your biggest challenges when raising chickens?
- What are your favorite chicken coop designs?
- Do you have any tips or tricks to share with our community?
Share your thoughts in the comments below!
Building a backyard chicken coop is a rewarding project that brings you closer to self-sufficiency. With careful planning, quality materials, and a little elbow grease, you can create a safe and comfortable home for your chickens and enjoy a consistent supply of fresh eggs for years to come. Happy homesteading!