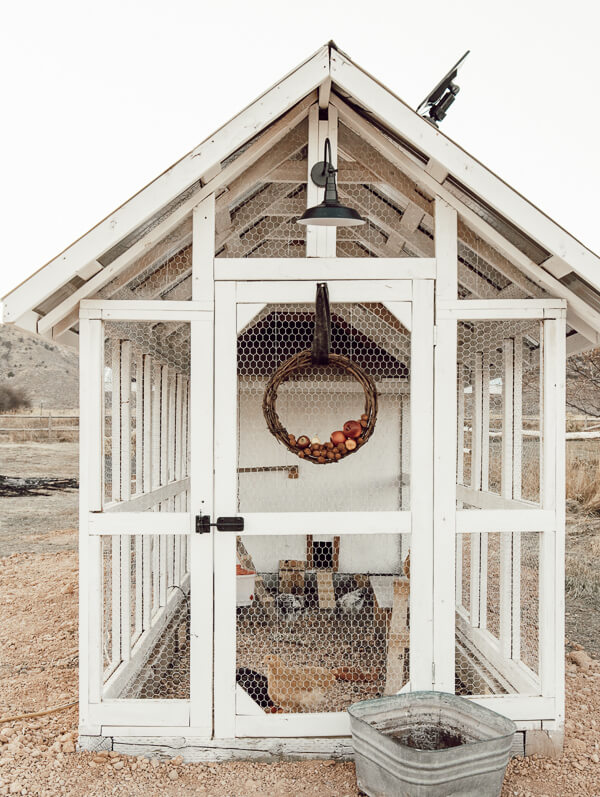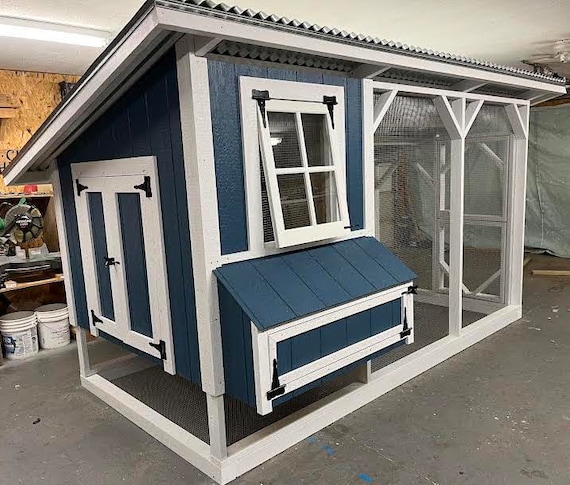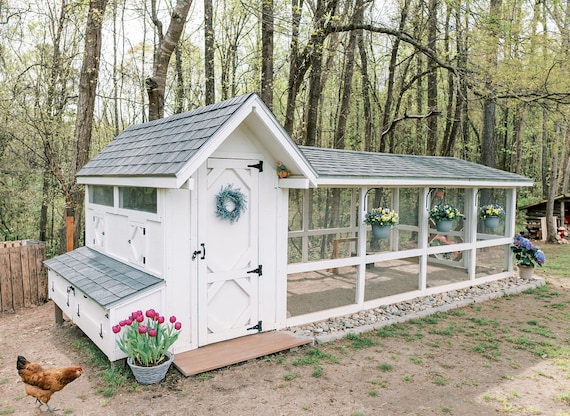
Craft Your Own Backyard Oasis: A Budget-Friendly, Reclaimed Chicken Coop Project
Spring is bursting with life, and what better way to celebrate than by welcoming a flock of feathered friends to your homestead? At Better Homes and Harvests, we're passionate about self-sufficiency and sustainable living. That's why we're thrilled to share this comprehensive guide on building a simple, budget-friendly chicken coop using mostly reclaimed materials. Imagine the joy of collecting fresh eggs daily, knowing you've created a safe, happy, and productive environment for your chickens, all while contributing to a more sustainable lifestyle. Let's get started!
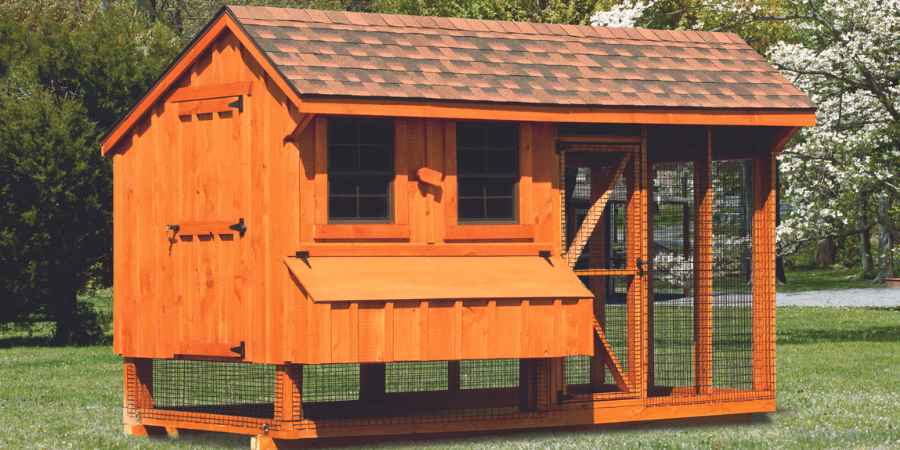
This project focuses on building a small chicken coop suitable for 4-6 chickens, utilizing at least 50% reclaimed or repurposed materials. Whether you're a seasoned homesteader or just starting, this guide is designed to be accessible, encouraging, and informative. I remember when I first started raising chickens; I felt overwhelmed by all the information! But with a little planning and some elbow grease, you can build a fantastic coop without breaking the bank.
Why Build a Chicken Coop?
Beyond the obvious benefit of fresh eggs, raising chickens offers numerous advantages. They're excellent pest control, devouring insects and weeds. Their droppings make fantastic garden fertilizer, enriching your soil naturally. Plus, raising chickens connects you to your food source and fosters a deeper understanding of sustainable living. It's a fulfilling experience that contributes to a more self-sufficient lifestyle.
Choosing the Right Breed for Beginners
Before you build, consider which chicken breeds are best suited for your needs and climate. For beginners, breeds like Rhode Island Reds, Orpingtons, and Plymouth Rocks are excellent choices. They are known for their docile temperaments, good egg production, and hardiness. Do your research to find the perfect fit for your backyard.
Project Overview
- Capacity: 4-6 Chickens
- Skill Level: Beginner to Intermediate
- Cost: Budget-Friendly (Utilizing reclaimed materials significantly reduces expenses)
- Sustainability: High (Focus on reclaimed and repurposed materials)
Materials and Tools
Before you begin, gather your materials and tools. Sourcing reclaimed materials is key to keeping costs down and embracing sustainability. Check local salvage yards, online marketplaces like Craigslist and Facebook Marketplace, and even construction sites (with permission, of course!) for discarded lumber, pallets, and roofing materials.
Materials:
- Reclaimed Lumber: For framing, siding, and roofing. Pallets can be disassembled for usable wood.
- Reclaimed Roofing Material: Old metal roofing sheets, asphalt shingles, or even sturdy plastic tarps.
- Chicken Wire or Hardware Cloth: For creating a secure run and preventing predators.
- Plywood or OSB: For the floor and nesting boxes (can also be reclaimed).
- Hinges and Latches: For doors and nesting boxes.
- Screws and Nails: Galvanized for weather resistance.
- Sand or Wood Shavings: For bedding material.
Tools:
- Measuring Tape
- Saw (Circular Saw or Hand Saw)
- Drill with Screwdriver Bits
- Hammer
- Staple Gun
- Level
- Safety Glasses
- Gloves
Step-by-Step Instructions: Building Your Reclaimed Chicken Coop
Step 1: Planning and Design
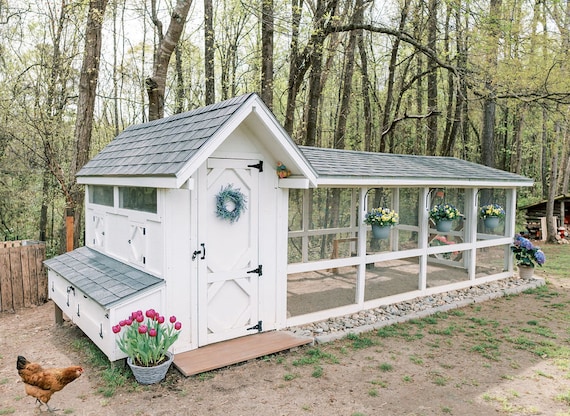
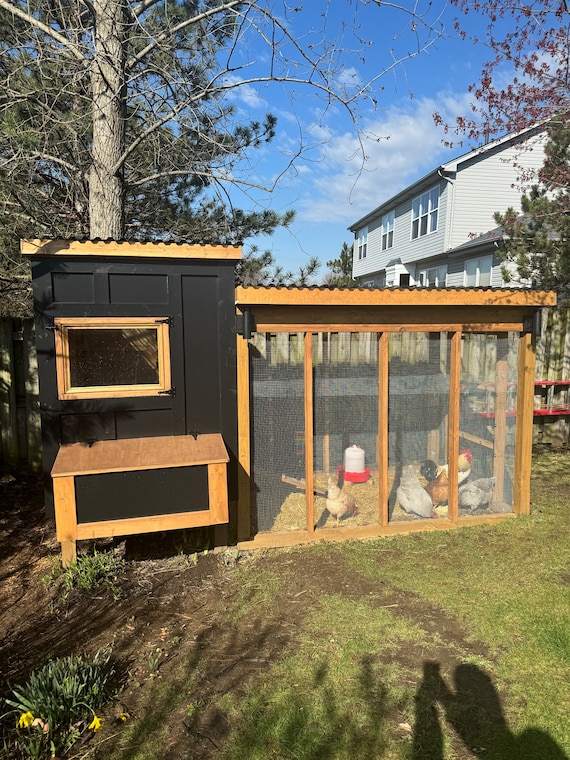
Before you start cutting wood, sketch out your chicken coop design. A simple rectangular coop with a sloped roof is a great starting point. Plan for a secure run attached to the coop, providing your chickens with outdoor space. Ensure adequate ventilation and easy access for cleaning. This coop is designed to be approximately 4ft x 6ft for the coop and 6ft x 8ft for the run.
Step 2: Building the Frame
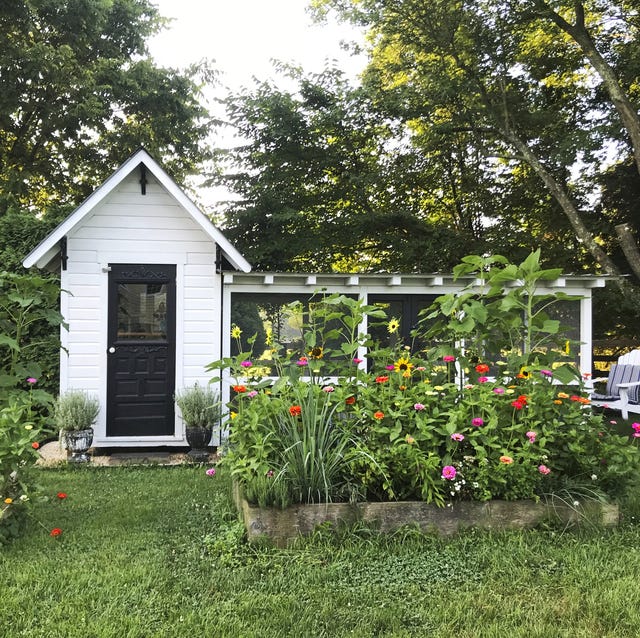
Construct the frame of the coop using reclaimed lumber. Cut the lumber to the desired lengths and assemble the frame using screws or nails. Ensure the frame is square and level for a sturdy structure. Consider pressure-treating the bottom of the frame to prevent rot, especially if it will be in contact with the ground.
Step 3: Adding the Floor
Attach plywood or OSB to the frame to create the floor. Ensure the floor is securely fastened to prevent drafts and predator access. You can also use reclaimed wood planks for a more rustic look.
Step 4: Framing the Walls and Roof
Build the wall frames using reclaimed lumber, ensuring adequate height for your chickens to stand comfortably. Construct a sloped roof frame for proper water runoff. Attach the wall and roof frames to the base frame.
Step 5: Installing Siding
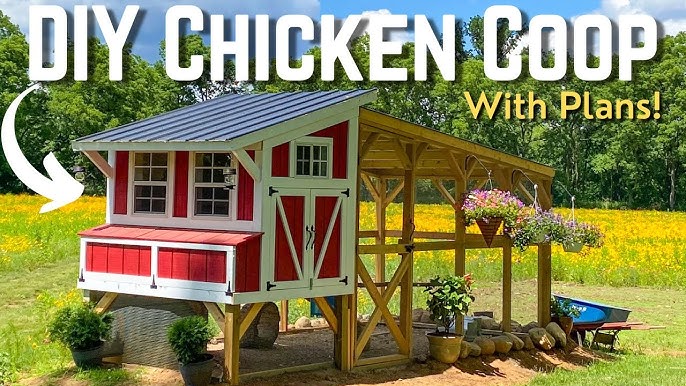
Attach reclaimed wood siding to the wall frames, creating a solid and weather-resistant enclosure. Overlap the siding boards slightly to prevent water from seeping in. Pallet wood is an excellent and readily available source for siding.
Step 6: Roofing
Install your chosen roofing material, ensuring it is securely fastened and watertight. Overlap the roofing sheets or shingles to prevent leaks. A properly installed roof is crucial for protecting your chickens from the elements.
Step 7: Building the Chicken Run
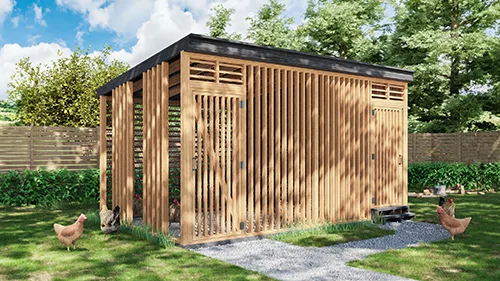
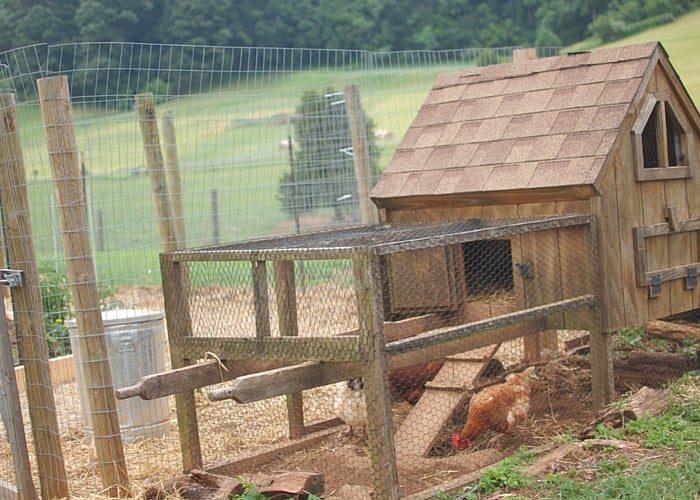
Construct a frame for the chicken run using reclaimed lumber, attaching it securely to the coop. Enclose the run with chicken wire or hardware cloth, burying the bottom edge a few inches into the ground to prevent predators from digging under.
Step 8: Adding Doors and Nesting Boxes
Build a door for the coop and a separate door for the run, using hinges and latches for secure closure. Construct nesting boxes inside the coop, providing a comfortable and private space for your chickens to lay eggs. A good rule of thumb is one nesting box for every 3-4 hens.
Step 9: Ventilation
Ensure adequate ventilation in the coop to prevent moisture buildup and ammonia odors. Install vents near the top of the walls, covering them with hardware cloth to keep predators out. Proper ventilation is essential for your chickens' health and well-being.
Step 10: Finishing Touches
Add a roosting bar inside the coop, providing a comfortable place for your chickens to sleep. Spread sand or wood shavings on the floor for bedding material, changing it regularly to maintain a clean and healthy environment.
Troubleshooting & Common Mistakes
- Uneven Ground: Level the ground before building to ensure a stable structure.
- Inadequate Ventilation: Ensure proper airflow to prevent moisture buildup.
- Poor Predator Protection: Use hardware cloth instead of chicken wire for better protection and bury the edges to prevent digging.
- Choosing the Wrong Materials: Select weather-resistant materials for durability.
- Not Enough Space: Ensure the coop and run are large enough for your flock.
Sustainability Focus: Embrace Reclaimed Materials
Using reclaimed materials isn't just about saving money; it's about reducing waste and embracing sustainable building practices. By repurposing old lumber, roofing materials, and other items, you're diverting them from landfills and giving them a new life. This reduces your environmental impact and promotes a more circular economy. Plus, reclaimed materials often have a unique character and charm that new materials lack.
Beyond the Coop: Benefits of Raising Chickens
Raising chickens offers so much more than just fresh eggs. They're natural pest controllers, devouring insects and weeds in your garden. Their droppings are a valuable source of nitrogen-rich fertilizer for your plants. Plus, the joy of watching your chickens roam and interact is a rewarding experience in itself.
Call to Action: Share Your Chicken Coop Journey!
We'd love to hear about your chicken coop building experiences! Share your tips, challenges, and successes in the comments section below. And don't forget to share photos of your finished coops on social media using the hashtag #BHHCChickenCoop. We can't wait to see your creations! Happy building!
