Craft a Captivating DIY Guide: Build a Simple Cold Frame for Better Homes and Harvests
Are you dreaming of fresh greens in the dead of winter? Do you find yourself longing for the taste of homegrown tomatoes long after the first frost? If so, you're in the right place! As homesteaders, we're always looking for ways to extend our growing season, increase our yields, and become more self-sufficient. One of the simplest and most effective ways to do this is by building a cold frame. In this DIY guide, I'll share my experience building a simple, yet sturdy, cold frame that has significantly boosted my homestead's productivity. I’ll walk you through each step, from gathering materials to planting your first seedlings, and share the lessons I learned along the way. Get ready to roll up your sleeves and create your own mini-greenhouse!
Why a Cold Frame? My Homesteading "Aha!" Moment
I remember the frustration vividly: a beautiful fall harvest followed by a barren winter landscape. The grocery store produce just didn't compare to the vibrant flavors of my own garden. That's when I started researching ways to extend the growing season. I stumbled upon cold frames and was immediately intrigued. They seemed like a manageable DIY project, even for someone like me, who is handy-ish but not exactly a master carpenter.
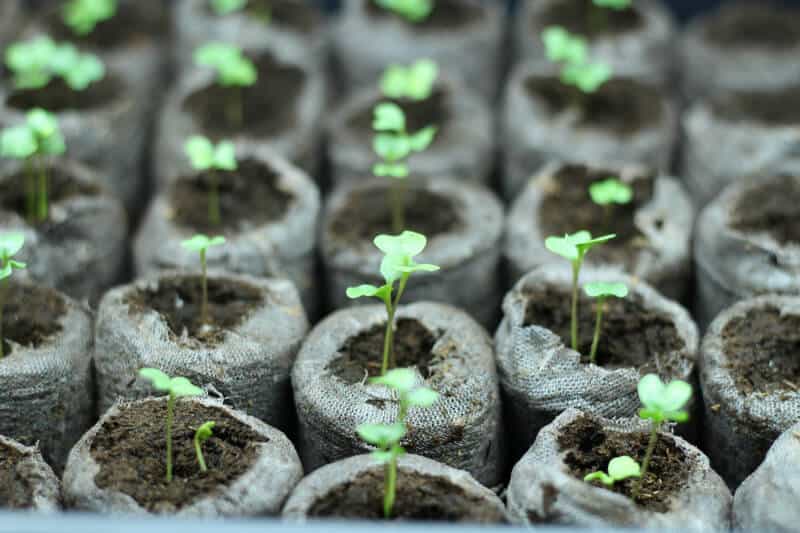
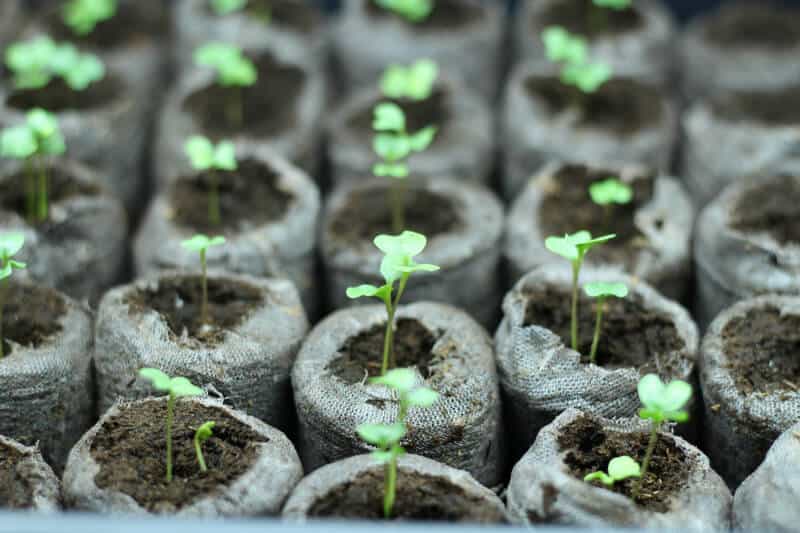
Seed starting is a good way to get a jumpstart on the growing season and is often done in conjunction with using a cold frame for early growth.
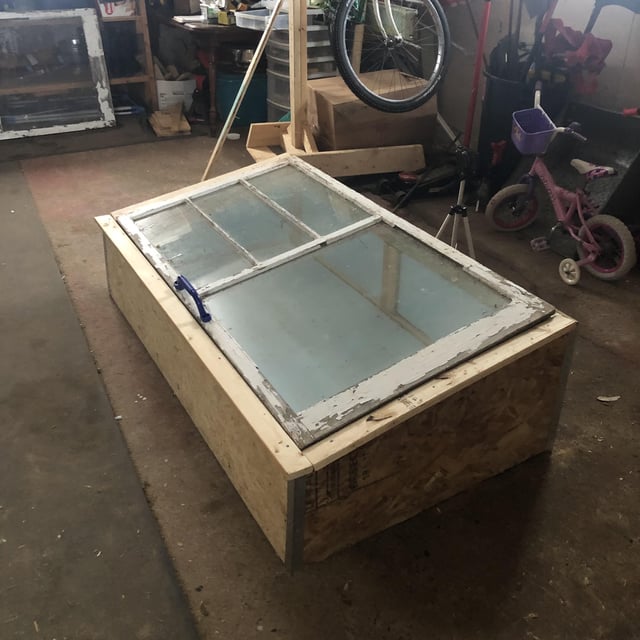
The beauty of a cold frame lies in its simplicity. It's essentially a miniature greenhouse that traps solar heat, protecting plants from frost and extending the growing season by several weeks, or even months! This means earlier spring harvests, later fall harvests, and the possibility of overwintering certain crops in milder climates. It was a game-changer for my self-sufficient living DIY ambitions. This project solves the problem of seasonal limitations in growing food in an elegant and satisfying way.
Building a Cold Frame: A Step-by-Step Guide
Here's a detailed guide to help you build your own cold frame, based on my experience and lessons learned. Remember to adapt the dimensions to suit your specific needs and available space. I wanted a cold frame that was easy to access and relocate, so I kept it relatively small.
Materials List:
- Lumber:
- Two 2"x12"x8' untreated cedar boards (for the sides)
- One 2"x12"x6' untreated cedar board (for the back)
- One 2"x12"x4' untreated cedar board (for the front)
- Untreated lumber is preferred for it's lack of chemicals and suitability for edible plants.
- Glazing: One 4'x6' sheet of clear polycarbonate or plexiglass (check local hardware stores)
- Hinges: Two heavy-duty hinges
- Latch: One simple latch to secure the lid
- Screws: Exterior wood screws (various lengths)
- Tools:
- Saw (circular saw or hand saw)
- Drill with screwdriver bits
- Measuring tape
- Pencil
- Safety glasses
- Gloves
Estimated Cost: $80 - $150 (depending on lumber prices and glazing material)
Step 1: Cutting the Lumber
This is where accurate measurements are crucial! We're creating a slanted box, so the back board will be taller than the front.
- Sides: Cut the two 2"x12"x8' boards in half to create four 4' lengths. These will be your sides.
- Back: Use the 2"x12"x6' for the back; no cutting is needed here.
- Front: Use the 2"x12"x4' for the front; no cutting is needed here.
Remember that if you're adjusting the size, keep the slant; the back needs to be higher than the front.
Step 2: Assembling the Box
- Attach the sides to the back: Place one side board against the back board, ensuring the edges are flush. Use exterior wood screws to attach the side to the back. Repeat with the other side board.
- Attach the front: Attach the front board to the side boards in the same manner. You should now have a rectangular box.
- Reinforce the Corners: For added stability, consider adding small pieces of scrap wood to the inside corners of the box, screwing them into each side.
There are many kinds of DIY garden projects you can build to help expand your garden or make it easier to use.
Step 3: Building the Lid
- Frame: You can either build a wooden frame around the glazing material or attach the glazing directly to the box. I chose the simpler route and attached it directly.
- Attach the Glazing: Carefully position the polycarbonate or plexiglass sheet over the box, ensuring it overhangs slightly on all sides. Use screws with rubber washers to attach the glazing to the top edges of the box. The rubber washers will prevent leaks and cracking.
Step 4: Adding Hinges and Latch
- Attach the Hinges: Position the hinges along the back edge of the box, evenly spaced. Attach one side of each hinge to the back board and the other side to the glazing (or the wooden frame, if you built one).
- Attach the Latch: Install the latch on the front of the box to secure the lid. This is important to prevent the lid from blowing open in strong winds.
Step 5: Finishing Touches
- Sand Rough Edges: Sand any rough edges to prevent splinters.
- Paint or Stain (Optional): While cedar is naturally weather-resistant, you can paint or stain the wood for added protection and aesthetics. Be sure to use a non-toxic, exterior-grade paint or stain.
- Placement: Choose a sunny location for your cold frame, preferably one that receives at least 6 hours of sunlight per day. A south-facing location is ideal.
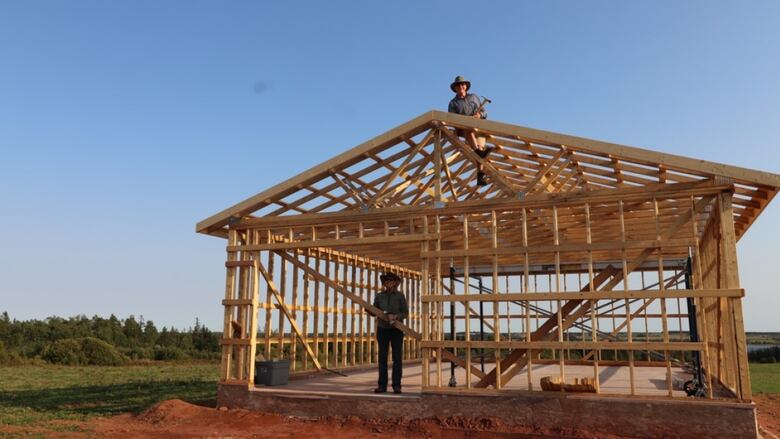
Starting from scratch on a homestead often involves building different garden structures for growing food.
Troubleshooting Tips
- Condensation: Condensation inside the cold frame is normal, but excessive moisture can lead to fungal diseases. To prevent this, ensure good ventilation by propping the lid open slightly on warmer days.
- Overheating: Cold frames can heat up quickly on sunny days, even in winter. Monitor the temperature inside the cold frame and open the lid as needed to prevent overheating.
- Drafts: Seal any gaps or cracks in the cold frame to prevent drafts. This will help maintain a consistent temperature inside.
Variations for Different Skill Levels
- Beginner: Use pre-cut lumber from a home improvement store to simplify the construction process.
- Intermediate: Build a wooden frame for the glazing material for added durability.
- Advanced: Incorporate automatic vents that open and close based on temperature.
My Cold Frame in Action: From Seedlings to Salad
You can use water conservation techniques to help keep your cold frame watered for longer without having to monitor it all the time.
The moment I placed my first seedlings into the cold frame, I felt a surge of excitement. I started with lettuce, spinach, and kale, all cool-season crops that thrive in the protected environment. Within weeks, I was harvesting fresh salads, long before my neighbors even thought about planting their gardens.
The cold frame has also allowed me to overwinter herbs like parsley and chives, providing a continuous supply of fresh flavors throughout the winter months. And in the spring, I use it to start my tomato, pepper, and eggplant seedlings, giving them a head start before transplanting them into the garden.
The Emotional Payoff: A Deeper Connection to the Land
Beyond the practical benefits, building a cold frame has deepened my connection to the land. It's a tangible reminder of my commitment to self-sufficiency and resilience. Every time I harvest a fresh salad from my cold frame in the middle of winter, I feel a sense of accomplishment and gratitude. It’s a small act of defiance against the limitations of the season, a testament to the power of human ingenuity and our ability to work with nature. It's those moments of triumph that fuel my passion for homesteading.
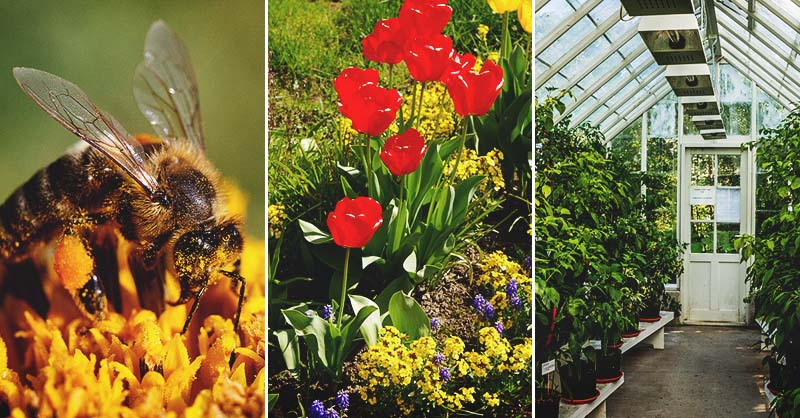
Cold frames provide a way to naturally insulate your plants from the cold so they can continue to grow.
Take the Plunge: Build Your Own Cold Frame!
I hope this guide has inspired you to build your own cold frame and extend your growing season. It's a manageable DIY project that can have a significant impact on your homestead's productivity and your own sense of self-sufficiency. Don't be afraid to experiment, adapt the design to your needs, and learn from your mistakes. The rewards are well worth the effort.
Now, I want to hear from you! Have you ever built a cold frame? What tips and tricks do you have to share? What crops do you like to grow in your cold frame? Share your experiences and variations in the comments section below!
For more DIY homesteading projects and tips on self-sufficient living, be sure to check out other articles on the Better Homes and Harvests website. Happy growing!
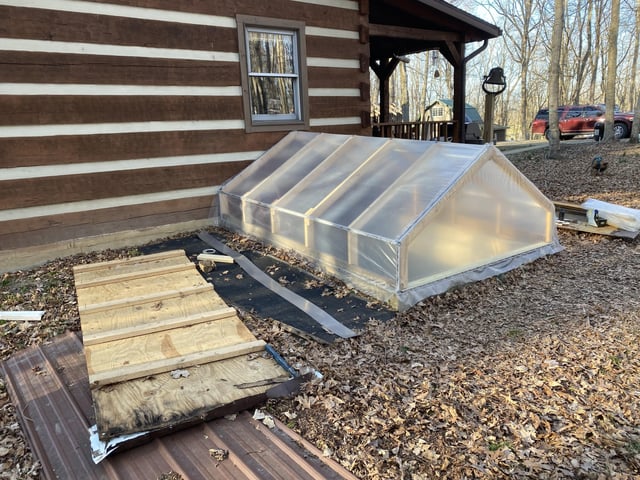
If you end up liking the results from your cold frame, you may even want to upgrade to a greenhouse!