Cozy Kitchen, Happy Home: Simple DIY Projects to Infuse Your Farmhouse Kitchen with Seasonal Charm
The scent of cinnamon hangs heavy in the air, a comforting aroma that instantly transports me back to my grandmother's farmhouse kitchen. I can almost see her now, apron dusted with flour, pulling a steaming apple pie from the oven. It wasn't just the food that made her kitchen so inviting; it was the warmth, the character, the little handmade touches that reflected the changing seasons. This year, I’m determined to recreate that cozy feeling in my own home.
In this post, I'm sharing some of my favorite, easy DIY projects to bring that same farmhouse charm into your kitchen, no matter the season. Grab a cup of herbal tea, and let’s get started!

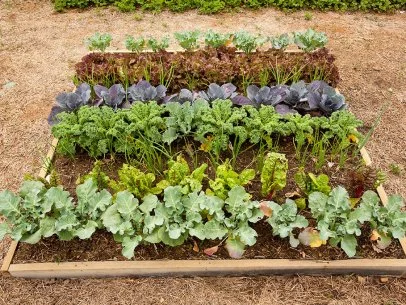
A well-prepped garden bed, ready for seasonal harvest.
1. Crafting a Dried Herb Wreath: A Sensory Delight
Nothing says "farmhouse" quite like a beautiful, fragrant herb wreath. It's a simple project that brings a touch of the garden indoors and fills your kitchen with natural aromas. Perfect for the seasonal harvest!
What You'll Need:
- A grapevine wreath form (available at most craft stores).
- An assortment of dried herbs (rosemary, thyme, oregano, lavender, sage – the possibilities are endless!). Grow your own in your organic gardening or purchase dried herbs in bulk to save money.
- Floral wire or hot glue gun.
- Ribbon (optional, for hanging).
Instructions:
- Gather your herbs: Harvest your own homegrown herbs and dry them upside down in a cool, dark place for a few weeks. Alternatively, purchase dried herbs.
- Prepare the wreath form: If using floral wire, cut several 4-inch pieces.
- Attach the herbs: Working in small sections, arrange the herbs on the wreath form. Secure them with floral wire by wrapping the wire around the stems and the wreath form. If using a hot glue gun, apply a small dab of glue to the stem of each herb and press it onto the wreath.
- Layer and repeat: Continue layering herbs until the wreath form is covered to your liking. Don't be afraid to mix and match different textures and colors for visual interest.
- Add a finishing touch: Attach a ribbon for hanging.
- Hang and enjoy: Hang your beautiful dried herb wreath on a wall, door, or above your stove to infuse your farmhouse kitchen with seasonal charm.
Pro Tip: Avoid placing your wreath in direct sunlight to prevent the colors from fading. Refresh the scent by gently crushing the herbs every few weeks.
2. Beeswax Food Wraps: Sustainable and Stylish
Ditch the plastic wrap and embrace a more sustainable home with these charming beeswax food wraps. They're easy to make, reusable, and add a touch of farmhouse flair to your kitchen. Beeswax wraps are also a great way to protect your seasonal harvest!
What You'll Need:
- Cotton fabric scraps (choose fun patterns or solid colors that complement your kitchen).
- Beeswax pellets.
- Pine rosin.
- Jojoba oil (optional, but adds pliability).
- Pinking shears.
- An old baking sheet lined with parchment paper.
- An old paintbrush.
Instructions:
- Prepare the fabric: Cut the fabric into squares or circles using pinking shears (this helps prevent fraying).
- Melt the ingredients: In a double boiler or a heat-safe bowl set over a pot of simmering water, melt the beeswax pellets, pine rosin, and jojoba oil (if using). Stir until completely melted and smooth.
- Saturate the fabric: Place a fabric square on the prepared baking sheet. Using the paintbrush, evenly coat the fabric with the melted beeswax mixture. Ensure the entire surface is covered.
- Bake: Place the baking sheet in a preheated oven at 200°F (93°C) for 2-3 minutes, or until the beeswax is fully melted and absorbed into the fabric.
- Cool and dry: Carefully remove the baking sheet from the oven and lift the beeswax wrap off the parchment paper. Hold it up for a few seconds to allow it to cool and dry slightly.
- Repeat: Repeat the process with the remaining fabric squares.
Using Your Beeswax Wraps: To use, simply wrap the food item or container with the beeswax wrap, using the warmth of your hands to mold the wrap into shape. To clean, wash with cool water and mild soap. Air dry. Avoid hot water and harsh detergents.
Common Mistakes to Avoid: Don't use too much beeswax, or the wraps will be stiff. Ensure the fabric is completely saturated with the mixture to prevent cracking.

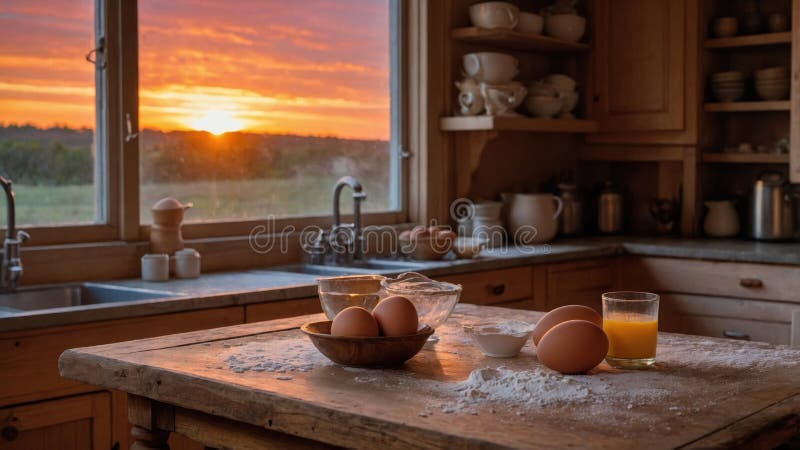
A sunlit, inviting kitchen space.
3. Building a Rustic Spice Rack: Organize with Style
Keep your spices organized and within easy reach with this charming DIY spice rack. It's a great way to showcase your favorite flavors and add a touch of rustic charm to your farmhouse kitchen. And what better way to organize the spoils of your seasonal harvest!
What You'll Need:
- Reclaimed wood or new wood (cut to your desired size).
- Mason jars (small, for spices).
- Metal hose clamps (sized to fit around the mason jars).
- Screws.
- Drill.
- Wood stain or paint (optional).
Instructions:
- Prepare the wood: Cut the wood to your desired length and width. Sand the edges smooth. Stain or paint the wood if desired and let it dry completely.
- Attach the hose clamps: Position the hose clamps on the wood where you want the mason jars to sit. Mark the screw holes and pre-drill the holes.
- Secure the hose clamps: Attach the hose clamps to the wood using screws.
- Insert the mason jars: Place the mason jars into the hose clamps and tighten the clamps until the jars are secure.
- Mount the spice rack: Mount the spice rack to your kitchen wall using screws and anchors.
Alternative: If you don't have hose clamps, you can use small metal brackets to hold the jars in place.

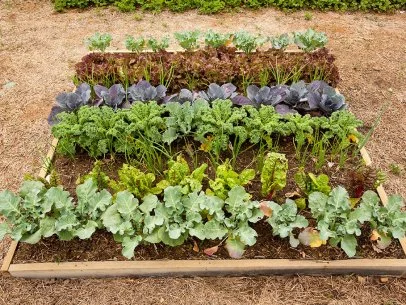
Rows of various plants and vegetables in a garden.
4. Charming Chalkboard Menu Board
Embrace the farmhouse feel with a chalkboard menu board. Repurpose an old picture frame or purchase a piece of wood from your local hardware store. Paint the back with chalkboard paint (available at any craft store), let it dry completely according to the paint instructions, then frame it or simply hang the board. Use chalk to write out your weekly menu, seasonal recipes you're eager to try, or even just a cheerful "Welcome" message. This adds a personal, ever-changing touch to your kitchen. Imagine how the chalkboard can feature recipes from your seasonal harvest.
Visual Inspiration: Picture a distressed wooden frame surrounding a chalkboard, leaning against a kitchen counter with a sprig of lavender tucked into the corner.
5. Seasonal Centerpiece with Foraged Finds
Skip the expensive store-bought decorations and create a stunning centerpiece using foraged items from your backyard or local park. Gather pinecones, colorful leaves, berries (ensure they are safe and non-toxic!), acorns, or even interesting twigs. Arrange them in a rustic wooden bowl, a vintage enamelware container, or a simple glass vase. As the seasons change, update your centerpiece with new finds to keep your kitchen feeling fresh and connected to nature.
Visual Inspiration: Envision a shallow wooden bowl filled with vibrant autumn leaves, miniature pumpkins, and a few sprigs of bittersweet berries.
These simple DIY projects are just a starting point. The key is to embrace your creativity, use natural materials, and add personal touches that reflect your own style and the spirit of cozy living. Remember, a farmhouse kitchen isn't about perfection; it's about creating a warm, welcoming space where memories are made.
As the days grow shorter, take a moment to appreciate the quiet beauty of your kitchen and the abundance it provides. What small changes can you make to infuse it with even more seasonal charm?
If you enjoyed this article, you might also like our post on "From Garden to Table: Seasonal Recipes and DIY Preserving for Your Farmhouse Kitchen."
Now, I'd love to hear from you! What are your favorite DIY projects for creating a cozy farmhouse kitchen? Share your tips and ideas in the comments below! And don't forget to subscribe to our newsletter for more seasonal tips and homesteading inspiration. We would love to hear about your organic gardening journey.

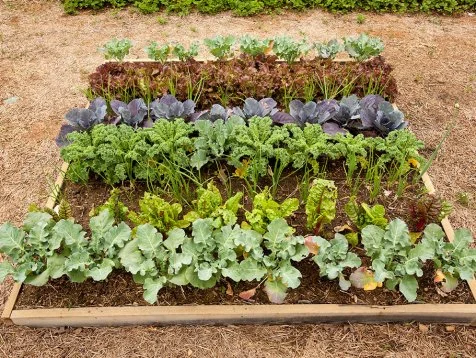
Example of container gardening.