Cozy Coop, Happy Hens: Preparing Your Backyard Chicken Coop for a Healthy Winter
The days are getting shorter, the garden's bounty is slowly fading, and that familiar chill is creeping into the air. For us homesteaders, the shift in seasons signals a change in focus, from planting and harvesting to preparing for the colder months ahead. And if you're a backyard chicken keeper, now is the time to ensure your feathered friends are ready to weather the winter in comfort and good health.
Chickens bring so much joy to our lives, from providing us with fresh eggs and natural pest control to simply offering a bit of daily entertainment with their quirky personalities. To keep them happy and productive throughout the winter, a little preparation goes a long way. This blog post will guide you through simple yet effective steps to winterize your chicken coop, ensuring your hens stay warm, healthy, and laying those delicious eggs, even when the snow is falling. Get ready to transform your coop into a cozy, winter haven for your flock!

Section 1: Deep Cleaning and Disinfection
Think of your chicken coop as your hens' winter home. Just like we deep clean our own homes before hunkering down for the winter, a thorough coop cleaning is crucial for your flock's well-being. Why is this so important? Throughout the warmer months, droppings, spilled food, and moisture can accumulate, creating a breeding ground for parasites, bacteria, and other nasties that can compromise your chickens' health. A clean coop minimizes the risk of disease outbreaks, ensuring your hens stay healthy and laying strong throughout the winter.
Here's a step-by-step guide to deep cleaning your chicken coop:
- Remove Everything: Take out all bedding, feeders, waterers, and any other removable items. This allows you to access every nook and cranny of the coop.
- Scrape and Scrub: Use a scraper or stiff brush to remove dried-on droppings and debris from the walls, floors, and roosts. A pressure washer can be helpful if you have one, but be careful not to damage the coop structure.
- Disinfect: Once you've removed the debris, it's time to disinfect. Choose a poultry-safe disinfectant – many are available at farm supply stores. You can also create your own natural disinfectant using a mixture of vinegar and essential oils (tea tree, lavender, and eucalyptus are good choices). Apply the disinfectant to all surfaces, paying particular attention to areas where droppings accumulate.
- Rinse (If Necessary): If you used a harsh disinfectant, rinse the coop thoroughly with water to remove any residue.
- Dry Completely: This is crucial! Moisture is the enemy in winter. Allow the coop to dry completely before adding fresh bedding. Open the coop doors and windows (if weather permits) to speed up the drying process.
I learned the hard way that skipping this step can lead to problems. One year, I rushed the cleaning process and didn't let the coop dry properly. The resulting dampness created a perfect environment for mold to grow, which led to respiratory issues in my flock. Now, I always ensure the coop is bone dry before winter sets in.
A clean coop is truly the foundation of a healthy winter for your chickens.
Section 2: Insulation and Ventilation
You might think insulation alone is the key to a warm coop, but the reality is a bit more nuanced. While retaining warmth is important, proper ventilation is equally critical for preventing moisture buildup.
Why is ventilation so important? Chicken droppings release moisture into the air, and when combined with the chickens' breath, this can create a damp, humid environment inside the coop. This moisture can condense on the walls and ceiling, leading to mold growth and increasing the risk of respiratory problems like ammonia build up.
Here's how to balance insulation and ventilation:
- Insulation Options:
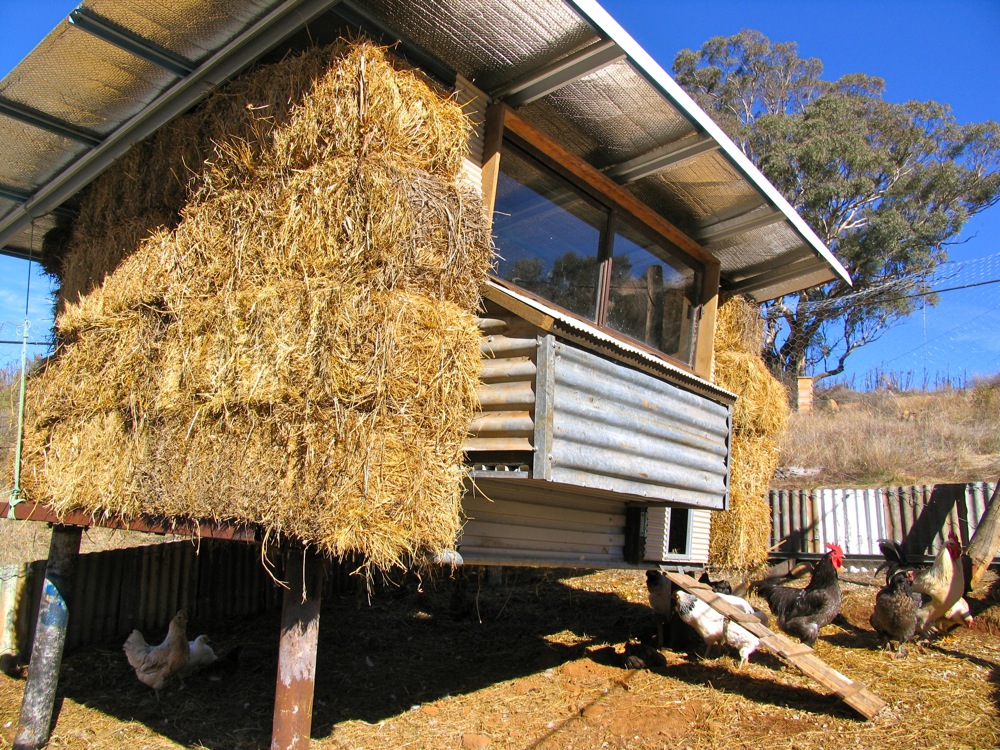
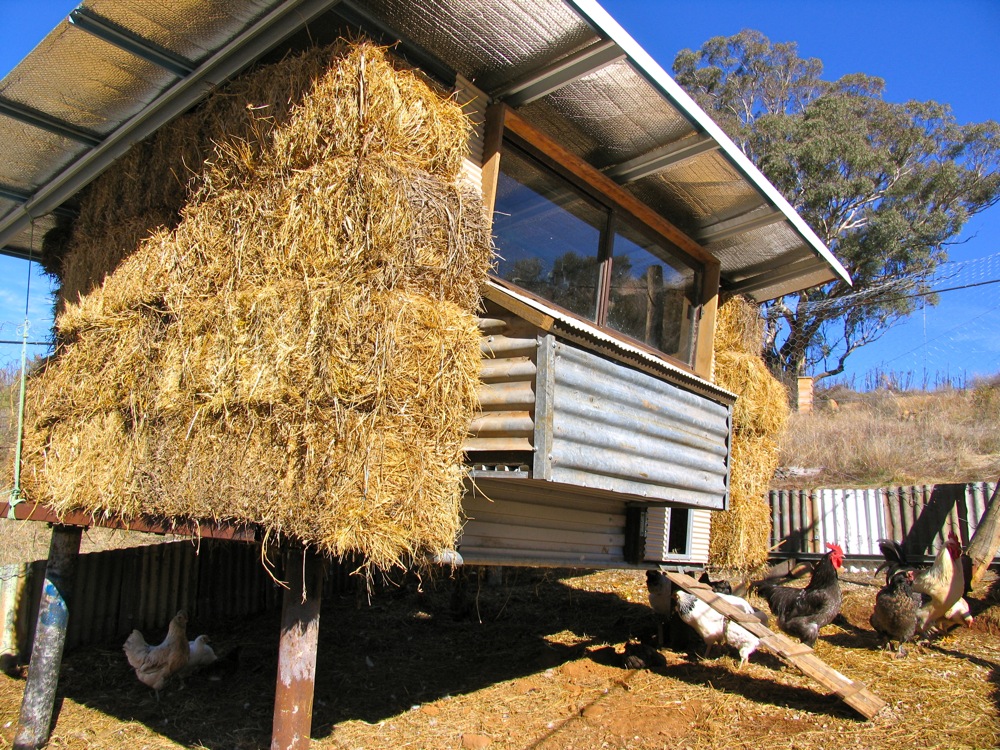
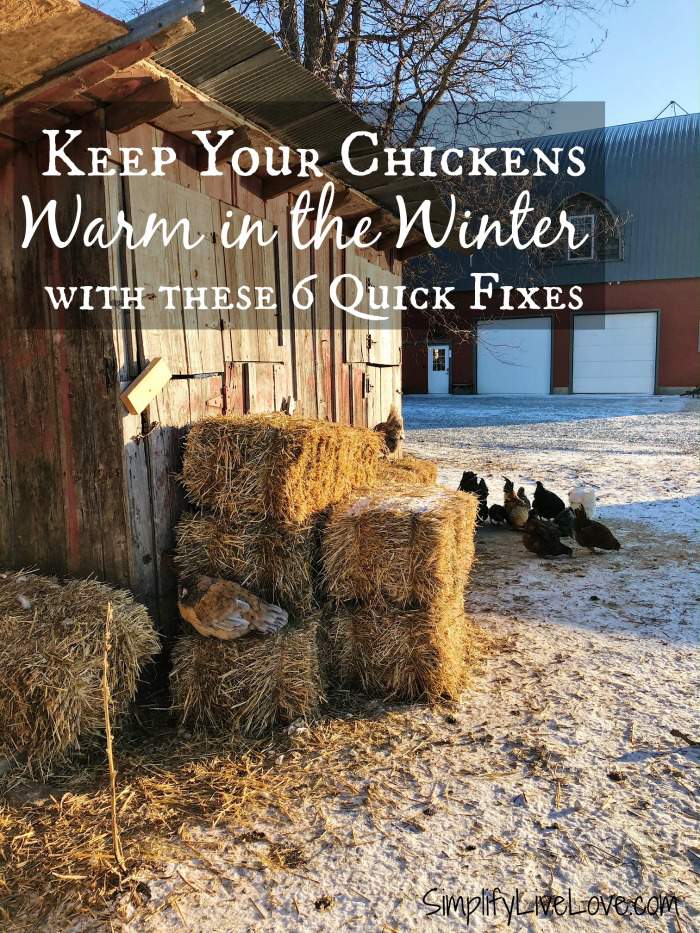
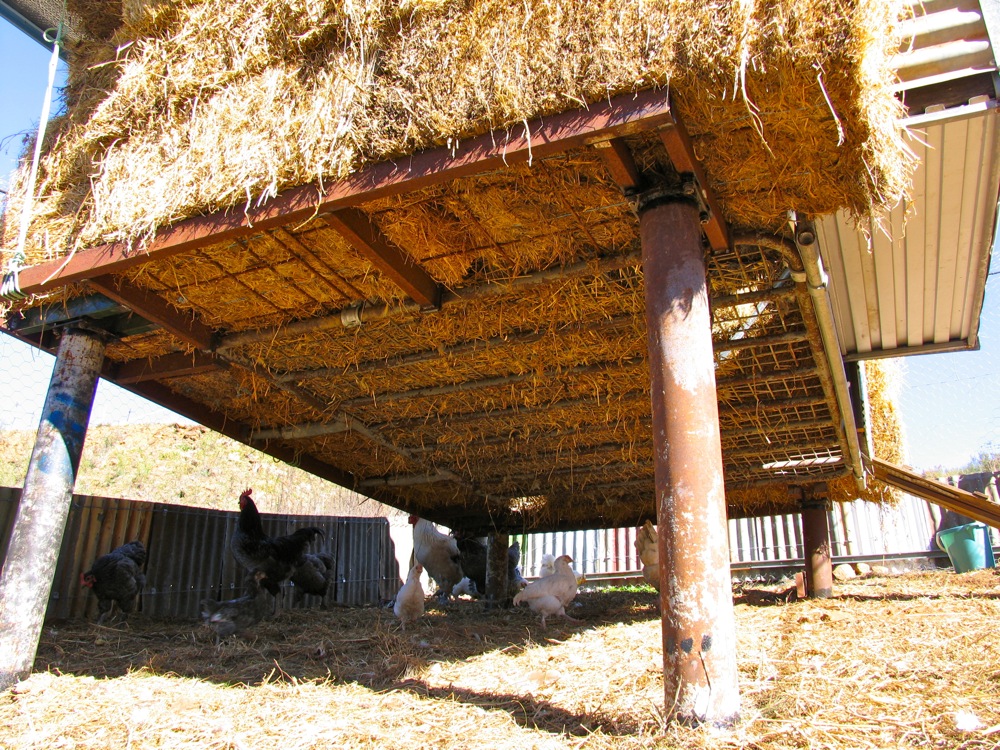
- Straw Bales: Stack straw bales around the exterior walls of the coop. This is a natural, affordable, and effective way to insulate. The bales also provide extra wind protection.
- Insulated Chicken Coop Covers: You can purchase or create your own insulated chicken coop covers. These covers fit snugly over the coop, providing an extra layer of insulation.
- Plywood or Plastic Sheeting: Use plywood or plastic sheeting to cover any cracks or gaps in the coop walls, preventing drafts.
- Ventilation:
- High Ventilation: Ensure there's adequate airflow at the top of the coop, near the roof. This allows moist air to escape without creating drafts directly on the chickens.
- Covered Vents: Consider adding a small, covered vent near the top of the coop. This will allow for continuous airflow while protecting against rain and snow.
A few years ago, I thought I was doing my chickens a favor by completely sealing up the coop for the winter. I quickly learned that this was a mistake. The coop became damp and smelly, and my chickens started showing signs of respiratory distress. Now, I always make sure there's plenty of ventilation, even on the coldest days.
Section 3: Deep Bedding for Warmth and Compost
The "deep litter method" is a fantastic way to provide extra warmth for your chickens while also creating valuable compost for your garden in the spring. This method involves layering bedding materials in the coop to create a thick, compostable base.
Here's how it works:
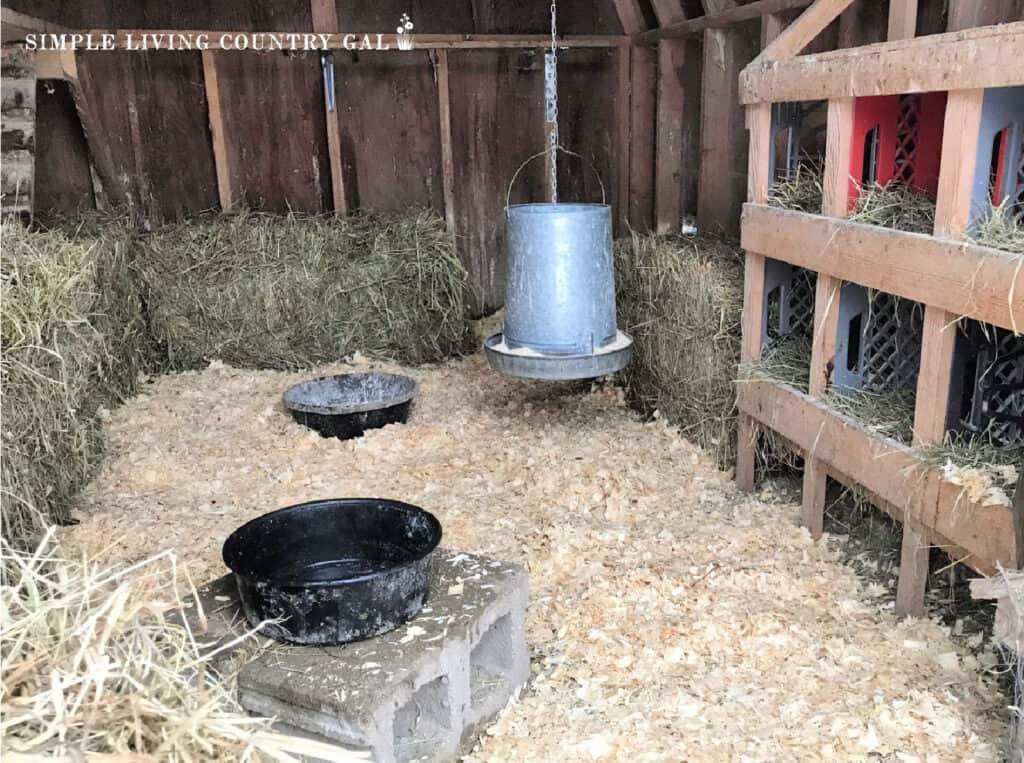
- Choose Your Bedding: Suitable bedding materials include straw, wood shavings, dried leaves, and shredded paper. I prefer a combination of straw and wood shavings, as the straw provides good insulation, and the wood shavings absorb moisture effectively.
- Layer the Bedding: Start with a layer of about 4-6 inches of bedding.
- Add More Bedding Regularly: As the bedding becomes soiled, add fresh material on top. The chickens will naturally turn and aerate the bedding as they scratch and peck.
- Maintain the Bedding: Periodically turn the bedding with a garden fork to aerate it and prevent it from becoming compacted.
- Compost in Spring: In the spring, remove the deep bedding and add it to your compost pile. It will break down into rich, nutrient-rich compost that's perfect for your garden.
The deep litter method not only provides warmth and absorbs moisture but also reduces odor and creates a sustainable system for managing chicken waste. I've been using this method for years, and I'm always amazed at how much compost it produces. It's a win-win for my chickens and my garden!
Section 4: Providing Adequate Food and Water
Just like us, chickens need more food in the winter to maintain their body temperature. Their bodies are working harder to stay warm, so they require more calories. In addition to their regular feed, consider offering a high-protein supplement to support egg production. Black oil sunflower seeds are a great option, as they're packed with energy and nutrients.
Ensuring access to fresh, unfrozen water is also crucial. Chickens need water to stay hydrated, and dehydration can quickly lead to health problems.
Here are a few tips for providing water in the winter:
- Heated Waterers: Use a heated waterer to prevent the water from freezing. These are available at most farm supply stores.
- Frequent Water Changes: If you don't have a heated waterer, change the water frequently throughout the day to prevent it from freezing.
- Warm Water: Offer warm water to your chickens in the morning. This will encourage them to drink and help them stay warm.
I live in an area with particularly harsh winters, and I've found that heated waterers are an absolute necessity. One year, I tried to get by without one, and I spent hours each day thawing frozen waterers. It was a lot of work, and my chickens weren't getting enough water. Investing in a heated waterer was one of the best decisions I've made for my flock. Supplement treats such as scratch grains offer an extra energy boost in these cold months.
Section 5: Protecting from Predators
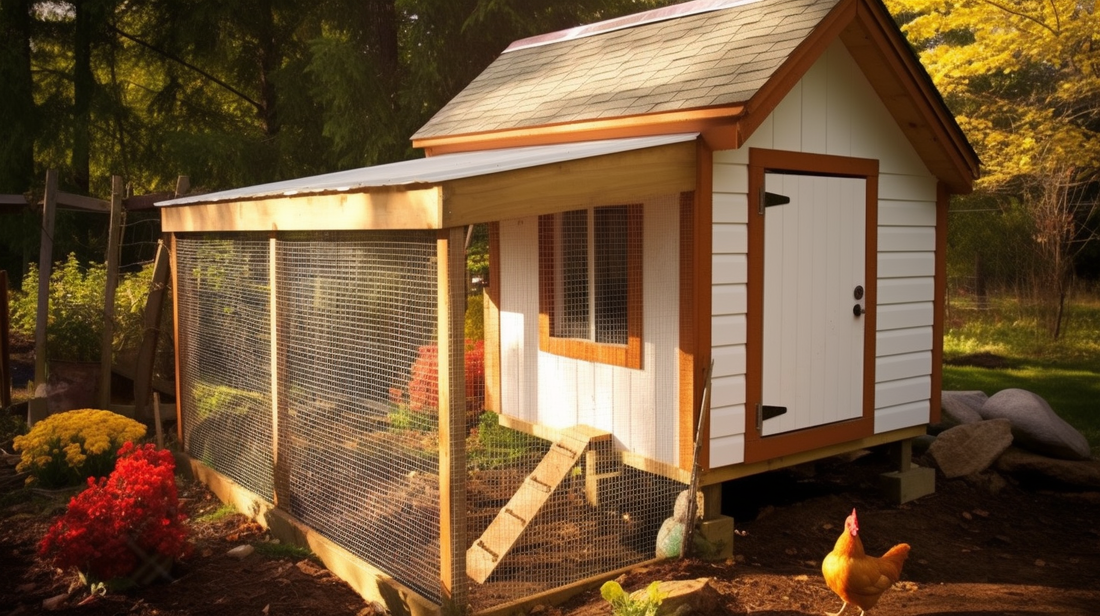
Predators can be more active in the winter due to food scarcity. Ensure your coop is securely fenced to prevent access by predators such as foxes, coyotes, and raccoons. Bury wire mesh around the perimeter of the coop to prevent digging. Consider using a motion-activated light or alarm to deter predators. Check your fence for openings weekly.
By taking these steps, you can create a safe and secure environment for your chickens, protecting them from predators and ensuring their well-being throughout the winter months.
By taking these steps, you can create a warm and inviting haven for your chickens, ensuring a season of fresh eggs and happy hens. Enjoy the beauty of winter knowing your flock is safe and comfortable. What are some of your favorite tips and tricks for winterizing your chicken coop? Share them in the comments below!
