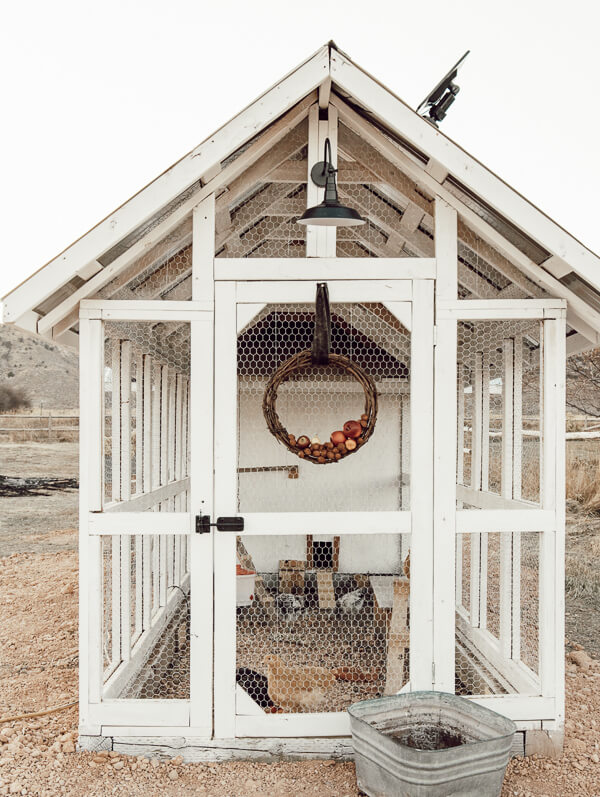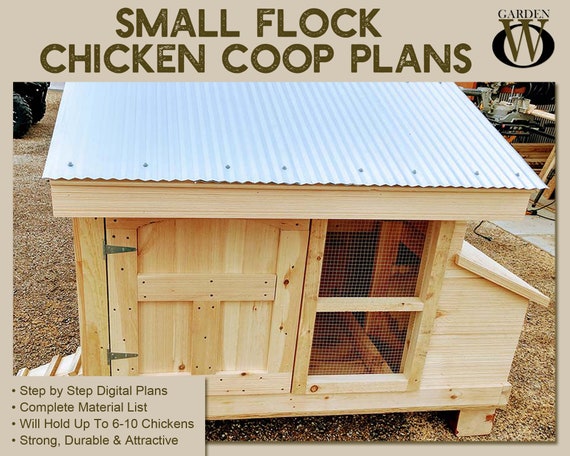
Coop Dreams on a Dime: Building an Upcycled Chicken Coop
High lumber prices got you feeling like your homestead dreams are flying the coop? Don't despair! Building a DIY chicken coop doesn't have to break the bank. In fact, you can create a functional and beautiful home for your feathered friends using upcycled materials. We're talking reclaimed wood, old pallets, and other treasures just waiting to be given a second life. Get ready to learn how to build a chicken coop for free (or close to it!), reduce waste, and add a unique touch to your backyard. Grab a cup of coffee, and let's get started!
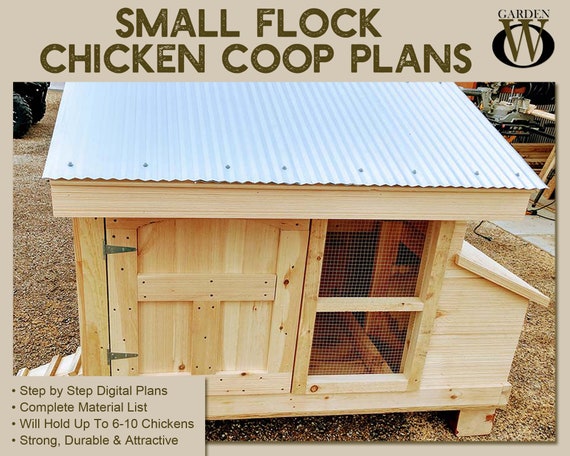
Why Upcycle for Your Chicken Coop?
Besides the obvious cost savings, building an upcycled chicken coop has a lot of other benefits:
- Sustainability: You're diverting materials from landfills, reducing your environmental impact, and giving discarded items a new purpose.
- Unique Design: No two reclaimed wood chicken coops are ever the same! You'll end up with a one-of-a-kind structure that reflects your personal style.
- Satisfaction: There's a special feeling that comes with creating something useful and beautiful with your own two hands, especially when you're saving money and being resourceful.
Finding Your Free (or Low-Cost) Materials
The key to a cheap chicken coop is sourcing materials creatively. Here are some places to look:
- Online Marketplaces: Websites like Facebook Marketplace and Craigslist often have free or very cheap building materials listed. Search for "free wood," "pallets," or "reclaimed lumber."
- Construction Sites: Ask construction sites if they have any leftover wood scraps or pallets they're willing to give away.
- Local Salvage Yards: These yards are treasure troves of reclaimed building materials at discounted prices.
- Community Bulletin Boards: Check local bulletin boards at grocery stores, community centers, and libraries for people offering free materials.
- Friends and Neighbors: Let your network know you're looking for building materials. They might have something they're willing to donate.
Tip: When sourcing pallets, look for the "HT" stamp, which means they were heat-treated and not chemically treated. Avoid pallets marked with "MB," which indicates methyl bromide fumigation.
Preparing Your Reclaimed Wood
Before you start building, it's crucial to properly clean and treat your reclaimed wood:
- Remove Nails and Staples: Use a hammer and pliers to remove any nails, staples, or other fasteners.
- Clean the Wood: Use a stiff brush and soapy water to scrub the wood clean. For stubborn dirt, you can use a pressure washer on a low setting.
- Disinfect: To kill any bacteria or fungi, spray the wood with a solution of bleach and water (1 part bleach to 10 parts water). Let it sit for 15-20 minutes, then rinse thoroughly.
- Sand: Sand the wood to remove any rough edges or splinters.
- Seal or Stain (Optional): To protect the wood from the elements, you can seal it with a water-based sealant or stain it with a non-toxic stain.
DIY Chicken Coop Plans: A Step-by-Step Guide
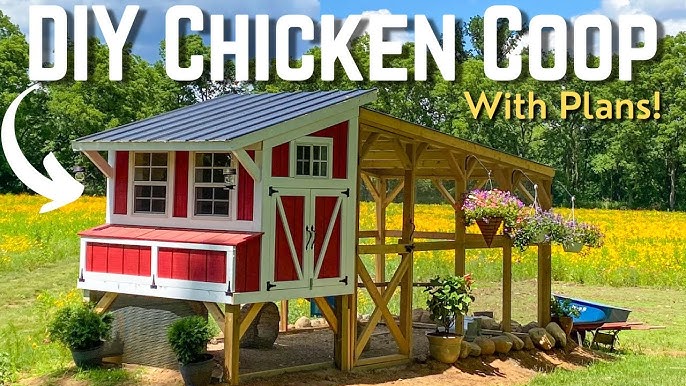
Here's a basic plan for building a small chicken coop using reclaimed wood and pallets. Adjust the measurements to fit your needs and the materials you have available. This plan is for approximately 4-6 chickens.
Materials:
- Reclaimed wood (pallets, fence boards, etc.)
- Plywood or OSB (for the roof and floor)
- Chicken wire
- Hardware cloth (for predator protection - more durable than chicken wire)
- Hinges and latches
- Screws and nails
- Roofing material (shingles, metal roofing, or reclaimed materials like old license plates)
Tools:
- Saw (circular saw or hand saw)
- Drill
- Hammer
- Staple gun
- Measuring tape
- Level
- Safety glasses
- Gloves
Step 1: Build the Base
- Choose a level location for your coop. If the ground is uneven, level it with gravel or sand.
- Build a rectangular frame using reclaimed wood. A good size for 4-6 chickens is 4 feet by 6 feet (approximately 120cm x 180cm).
- Attach plywood or OSB to the frame to create the floor.
Safety Tip: Always wear safety glasses and gloves when working with power tools.
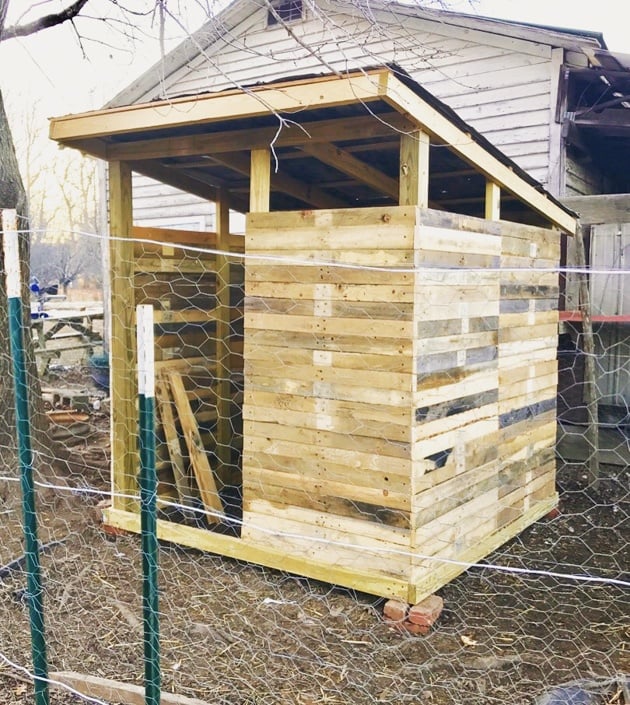
Step 2: Construct the Walls
- Use reclaimed wood or pallet boards to build the walls of the coop. You can create solid walls or leave gaps for ventilation.
- Frame a door opening on one of the walls.
- Frame a window opening on another wall for natural light.
- Securely attach the walls to the base frame using screws or nails.
Step 3: Build the Roof
- Build a rectangular frame for the roof, slightly larger than the base frame to allow for overhang.
- Attach plywood or OSB to the roof frame.
- Cover the roof with your chosen roofing material. Overlap the materials to prevent leaks.
- Attach the roof to the walls using hinges, so you can easily open it for cleaning.
Step 4: Add the Door and Window
- Build a door from reclaimed wood and attach it to the door frame with hinges.
- Install a latch to secure the door.
- Cover the window opening with chicken wire or hardware cloth to keep predators out.
Step 5: Create the Run
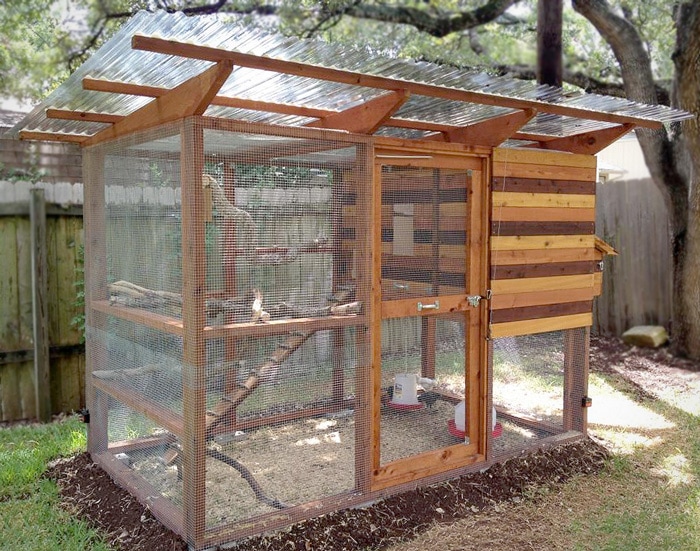
- Build a rectangular frame for the run, extending from the coop. The run should be at least twice the size of the coop.
- Enclose the run with chicken wire or hardware cloth. Be sure to bury the wire at least 12 inches (30cm) deep to prevent predators from digging under.
- Build a door for the run and install a latch.
Step 6: Add the Finishing Touches
- Install roosting bars inside the coop. These should be about 2-3 feet (60-90cm) off the ground.
- Add nesting boxes inside the coop. A good size for a nesting box is 12 inches by 12 inches (30cm x 30cm).
- Add bedding to the coop and nesting boxes. Straw, wood shavings, or shredded paper work well.
- Provide food and water for your chickens.

Addressing Real-World Concerns
- Uneven Ground: As mentioned before, level the ground or build a raised platform for your coop.
- Predator Protection: Use hardware cloth instead of chicken wire for the run, and bury it deep. Secure the coop door with a strong latch. Consider adding an electric fence around the perimeter.
- Winterizing: Insulate the coop with straw bales or blankets. Provide a heated water source. Ensure adequate ventilation to prevent moisture buildup.
- Avian Flu: It’s also extremely important to regularly clean your coop to prevent the spread of avian flu. You can learn more about avian flu and how to protect your flock here. Also ensure wild birds are not accessing your coop.
Alternative Designs & Considerations
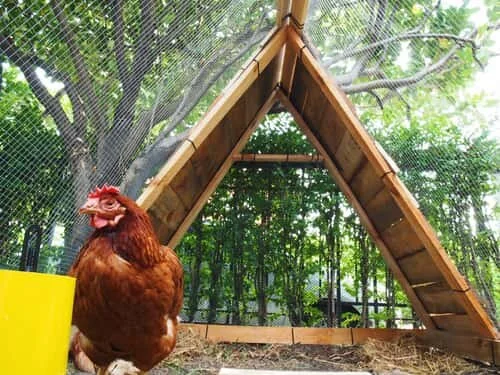
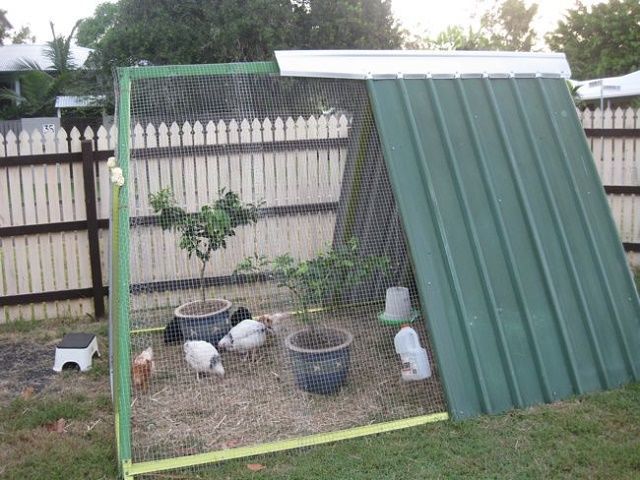
- A-Frame Coop: A simple and sturdy design that's easy to build.
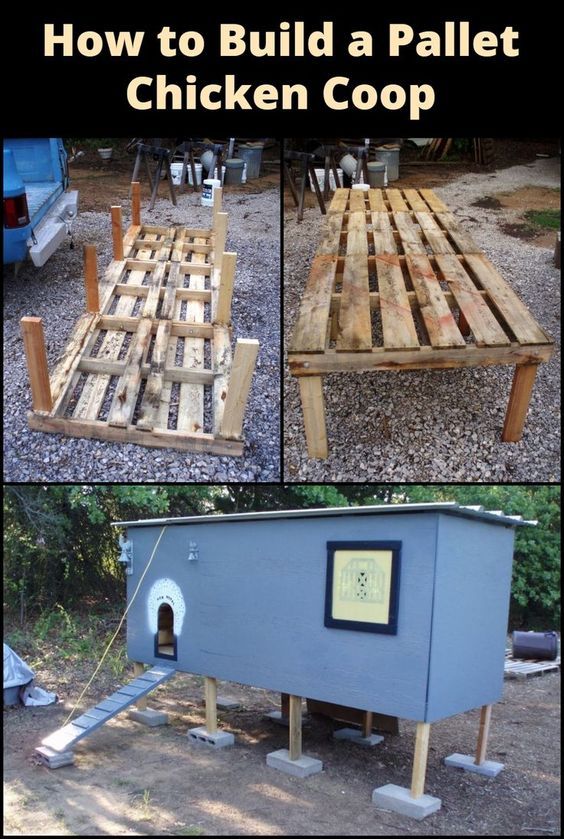
- Pallet Coop: Utilize pallets as the primary building material for a quick and affordable coop.
- Mobile Coop (Chicken Tractor): Build a coop on wheels so you can easily move it around your yard.
My Upcycling Adventure: Lessons Learned
Building my own DIY chicken coop was a rewarding, albeit challenging, experience. I learned a lot about woodworking, problem-solving, and the importance of planning. One thing I would do differently next time is to spend more time sourcing materials. I rushed the process and ended up buying more new lumber than I wanted to. However, in the end, it was amazing seeing my chickens enjoying their new upcycled home and enjoying the fresh eggs they produce.
Cost Estimates for Materials
While the goal is to build a chicken coop for free, you may need to purchase some new materials. Here’s a rough estimate:
- Fasteners (screws, nails): $10-$20
- Hardware cloth: $30-$50 (depending on size)
- Roofing material: $20-$50 (depending on the material)
- Hinges and latches: $10-$20
Total Estimated Cost: $70-$140
Remember, these are just estimates. You can significantly reduce costs by finding more free materials. If you need to purchase new lumber or materials, consider these responsibly sourced options (link TBD).
Time to Build!
Building an upcycled chicken coop is a fantastic way to save money, reduce waste, and create a unique home for your chickens. With a little planning and effort, you can build a coop that's both functional and beautiful. Don't be afraid to get creative and experiment with different designs and materials.
Now it's your turn! Share your own coop designs and upcycling projects in the comments below. What upcycled projects are you planning next? We can't wait to hear from you!
