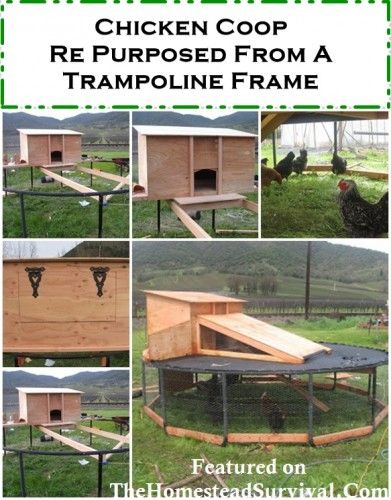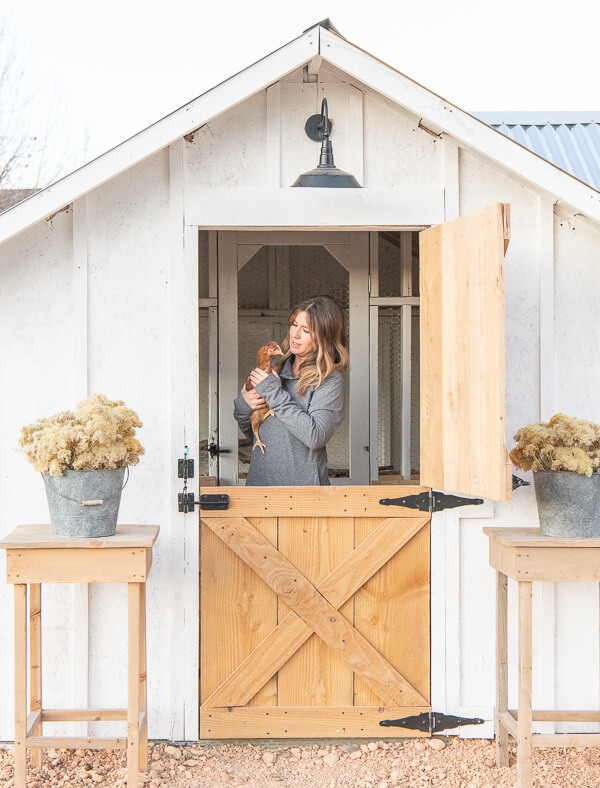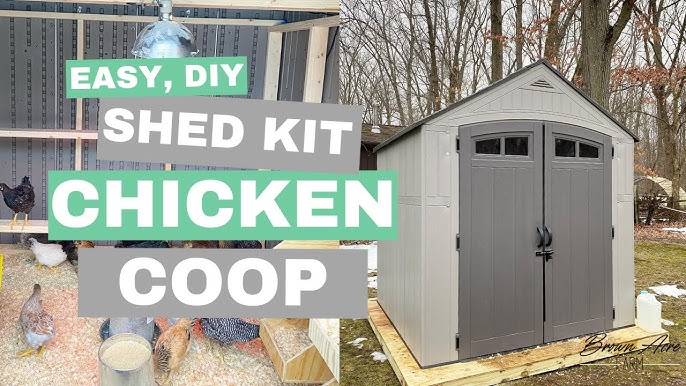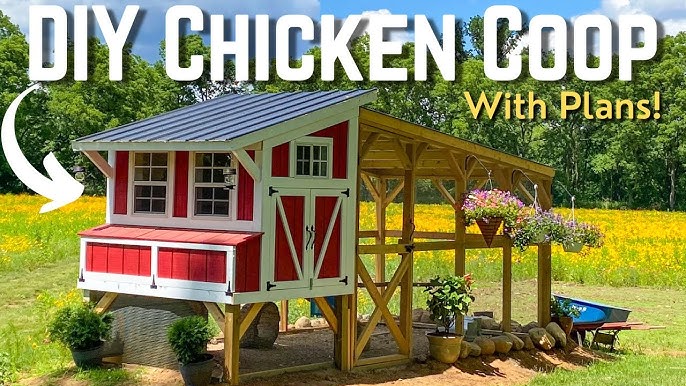
Coop Dreams: Building a Reclaimed Chicken Palace in a Weekend!
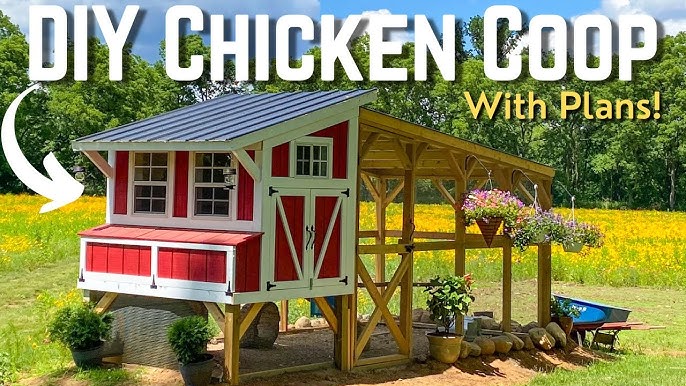
Y'all, I remember the day I decided we needed chickens like it was yesterday. The taste of those store-bought eggs just wasn't cutting it anymore – bland, lifeless things! I yearned for those rich, golden yolks, the kind my grandma used to get from her free-ranging hens. And honestly, the thought of knowing where my food comes from, giving some feathered friends a good life, and having a little less waste in the world just felt…right. Plus, let's be honest, who doesn't love the cheerful clucking of happy hens in the backyard?
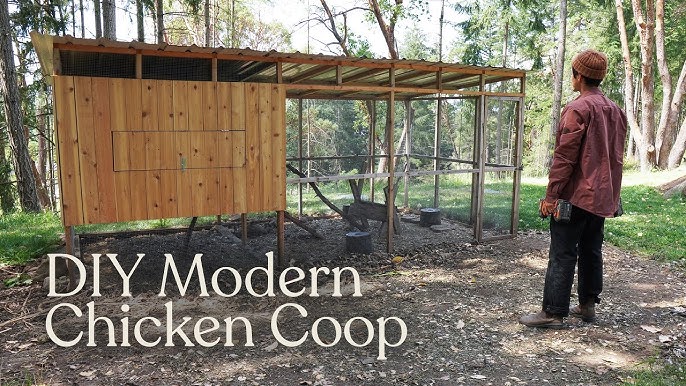
Building a DIY chicken coop seemed daunting at first, especially on a tight budget. But then I thought, "Why buy new when there's perfectly good stuff just waiting to be repurposed?" That's when the idea of a reclaimed chicken coop took root, and let me tell you, it's been one of the most rewarding projects on the homestead! A backyard chicken coop built with love (and reclaimed materials!) is not only budget-friendly but also adds a unique, rustic charm to your yard. And the best part? You can absolutely achieve this over a weekend, even if you're just dipping your toes into the world of DIY. So, grab your hammer and let's get clucking!
Materials List (Reclaimed Treasures)
The beauty of this project is its adaptability. No two reclaimed coops will be exactly alike! But here's a general list to get you started, focusing on scoring those reclaimed materials:
- Reclaimed Lumber: Pallets are your best friend here! Disassemble them carefully (wear gloves!), and you'll have a surprising amount of usable wood. Old fence boards, barn wood, or even leftover construction scraps can also work wonders. (Estimated cost: $0 - $30, depending on availability. Buying new lumber could easily cost $100 - $200!)
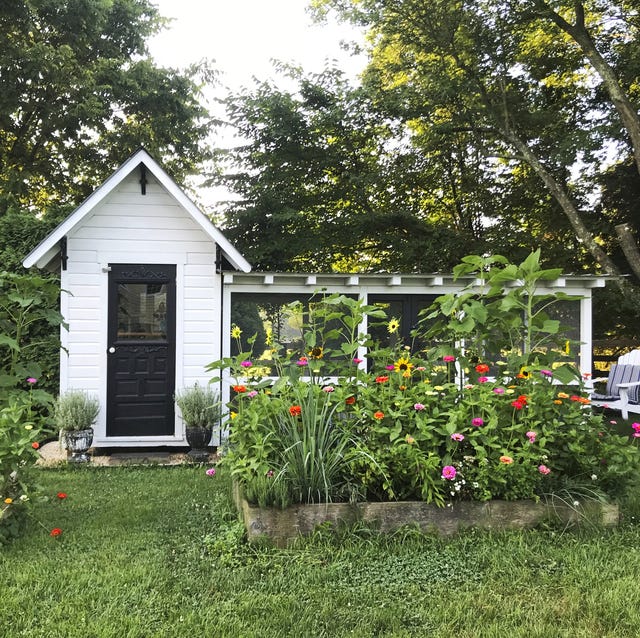
- Chicken Wire or Hardware Cloth: Check online marketplaces or local classifieds for used fencing. You might even find someone getting rid of an old dog kennel that you can repurpose. (Estimated cost: $10 - $20. New, this can easily be $50+)
- Roofing Material: Leftover shingles, corrugated metal (look for used sheets!), or even heavy-duty tarps can work. (Estimated cost: $0 - $25. New roofing can be pricey!)
- Old Hinges and Latches: Hit up garage sales, flea markets, or your own junk drawer! You'd be surprised what you can find. (Estimated cost: $0 - $5. New hardware adds up quickly!)
- Screws and Nails: A basic assortment is essential. Check your existing stash before buying new. (Estimated cost: $5 - $10 if needed.)
- Paint or Wood Stain (Optional): For weatherproofing and aesthetics. Use leftover paint from other projects! (Estimated cost: $0 - $15)
Where to Find Reclaimed Materials:
- Local Construction Sites: Ask politely if they have any scrap wood they're willing to part with.
- Online Marketplaces (Facebook Marketplace, Craigslist): Search for "free wood," "pallets," or "scrap building materials."
- Habitat for Humanity ReStore: A treasure trove of discounted building supplies!
- Friends and Neighbors: Let them know you're looking for reclaimed materials; you never know what they might have lying around.
Step-by-Step Instructions (Weekend Warrior Guide)
Alright, let's get building! Remember, safety first. Wear safety glasses, gloves, and use appropriate tools. This weekend chicken coop project is designed for simplicity. These chicken coop plans are beginner-friendly and perfect for a small chicken coop for 3-5 chickens.
Step 1: Build the Base (Friday Evening)
- Cut four pieces of lumber to create a rectangular frame for the base. A good size for 3-5 chickens is about 4ft x 6ft.
- Assemble the frame using screws or nails. Ensure it's square and sturdy.
- Consider adding a wire mesh floor to deter digging predators. Attach it securely to the frame.
Step 2: Frame the Walls (Saturday Morning)
- Cut lumber for the four walls. The height should be around 4-5 feet.
- Frame out the walls, leaving openings for a door and a window (for ventilation).
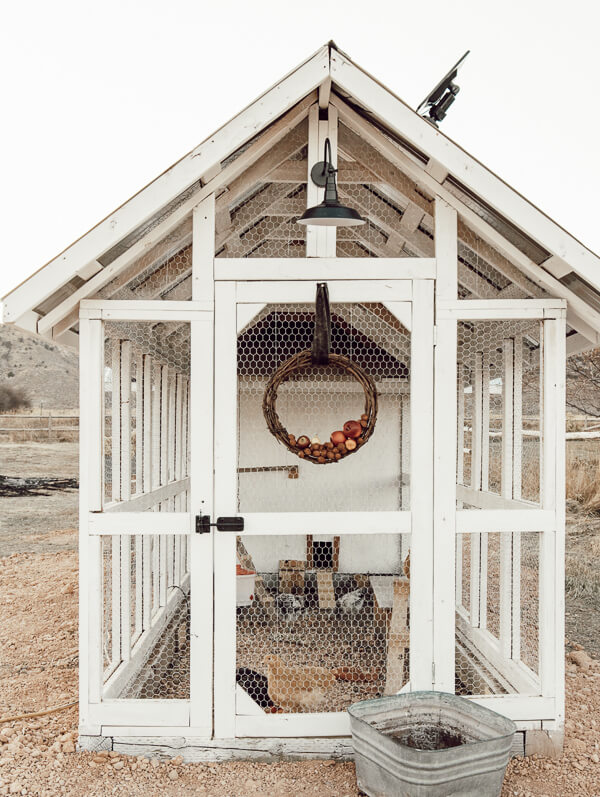
- Attach the walls to the base frame, ensuring they are plumb and square. Use screws for a strong connection.
Step 3: Cladding the Walls (Saturday Afternoon)
- Attach reclaimed wood to the outside of the wall frames. Pallet wood works great here!
- Overlap the boards slightly to provide good weather protection.
Step 4: Build the Door and Window (Saturday Evening)
- Construct a simple door from reclaimed wood. Attach hinges and a latch.
- Create a small window frame and cover it with chicken wire for ventilation. Install the window in the wall.
Step 5: Build the Roof (Sunday Morning)
- Construct a roof frame, either flat or slightly angled for water runoff.
- Attach roofing material to the frame. Overlap the edges to prevent leaks.
Step 6: Add the Nesting Boxes (Sunday Afternoon)
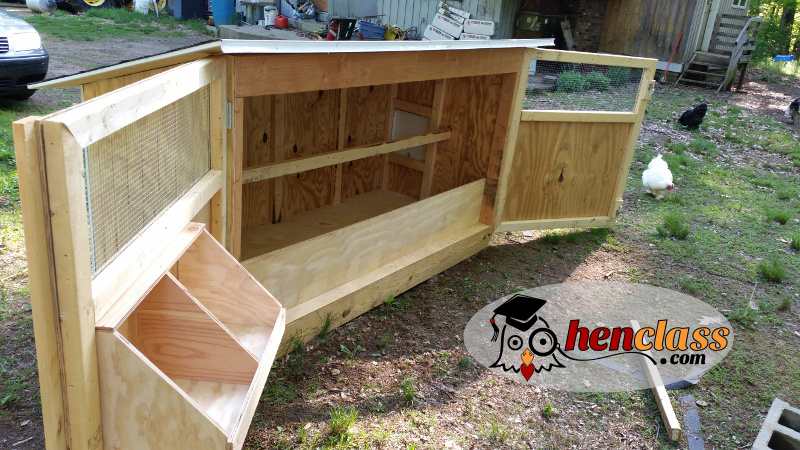
- Build a simple nesting box inside the coop using reclaimed wood. A good size is about 12x12 inches.
- Place straw or wood shavings inside the nesting box.
Step 7: Construct the Run (Sunday Afternoon)
- Enclose an area adjacent to the coop with chicken wire to create a run.
- Attach the chicken wire securely to posts or frames.

Step 8: Finishing Touches (Sunday Evening)
- Inspect the coop for any sharp edges or gaps.
- Paint or stain the coop to protect the wood and make it look pretty (optional, but recommended for longevity).
Potential Mistakes and How to Avoid Them:
- Not using pressure-treated wood for the base: This can lead to rot and a collapsing coop. If you're using reclaimed wood, consider adding a layer of gravel underneath for drainage.
- Poor ventilation: Chickens need good airflow to prevent respiratory problems. Ensure adequate ventilation with windows and vents.
- Insufficient predator protection: Raccoons, foxes, and even dogs can be a threat. Use strong hardware cloth and bury it a few inches underground around the perimeter of the run.
- **Forgetting the basics: ** Always wear safety glasses when cutting/drilling anything!
Design Considerations (Happy Hens, Happy Homesteaders)
This DIY chicken coop is designed with both the chickens and the homesteader in mind! The size is perfect for a small flock of 3-5 chickens, providing ample space to roam and roost.
- Ventilation: The window and any gaps in the cladding provide crucial ventilation to prevent moisture buildup and ammonia smells.
- Predator Protection: The wire mesh floor and secure chicken wire run keep out digging predators. A secure latch on the door prevents unwanted visitors.
- Ease of Cleaning: A removable floor (optional) makes cleaning a breeze. The nesting box is easily accessible for egg collection.
- Happy Hens: Nesting boxes provide a safe and comfortable place for laying eggs. Roosting bars (simply add a sturdy branch or piece of lumber) give the chickens a place to sleep off the ground.
Cost Breakdown (Thrifty Homesteading)
Here's a rough estimate of the costs, highlighting the savings from using reclaimed materials.
- Reclaimed Lumber: $0 - $30 (vs. $100 - $200 for new lumber)
- Chicken Wire/Hardware Cloth: $10 - $20 (vs. $50+ new)
- Roofing Material: $0 - $25 (vs. $50+ new)
- Hinges and Latches: $0 - $5 (vs. $10+ new)
- Screws and Nails: $5 - $10
- Paint/Stain: $0 - $15
Total Estimated Cost: $15 - $105
As you can see, building a cheap chicken coop from upcycled materials can save you a significant amount of money!
Bonus Tips (Homesteading Hacks)
- Chicken Care: Provide fresh water and feed daily. Clean the coop regularly to prevent disease.
- Egg Collection: Collect eggs daily to prevent breakage and encourage laying.
- Coop Maintenance: Inspect the coop regularly for damage and make repairs as needed.
- Integrating into the Homestead: Let your chickens free-range in the garden (under supervision!) to help control pests and weeds. Their droppings make excellent compost!
- Winterizing Your Coop: As fall approaches, prepare your coop for winter with these helpful tips! Ensure adequate ventilation to prevent moisture buildup, which can lead to frostbite. Insulate the coop walls with straw bales or old blankets for added warmth. Provide a heated waterer to prevent freezing, and consider adding a light source to encourage egg laying during shorter days. Keep the coop dry and clean by removing wet bedding regularly.
- Protecting from Predators: Safeguarding your flock from predators is crucial, so consider these preventative measures. Reinforce the coop with sturdy wire mesh, burying it a few inches into the ground to prevent digging. Install motion-activated lights and noisemakers to deter nighttime intruders. Secure the coop door with a reliable latch, and trim back vegetation around the coop to eliminate hiding spots for predators. Regular checks for signs of digging or damage are essential.
- Integrating a Compost System: Turn chicken coop waste into valuable garden compost! Design a simple composting system near the coop to efficiently manage bedding and droppings. Use a mix of carbon-rich materials like straw and leaves with nitrogen-rich chicken waste to create a balanced compost pile. Regular turning and moisture maintenance will speed up decomposition, providing nutrient-rich compost for your garden. This sustainable practice reduces waste and enhances soil fertility.
Join the Coop Crew!
So, what are you waiting for? Grab those reclaimed materials and start building your own DIY chicken coop! I guarantee you'll feel a huge sense of accomplishment, and your chickens (and your taste buds!) will thank you. Share your progress and finished projects in the comments below. We want to see your creativity!
Don't forget to share your chicken coop creations on social media using the hashtag #BetterHomesAndHarvestsCoop. We can't wait to see them! Happy Homesteading!
