Conquer the Cold: A Weekend DIY to Slash Your Winter Heating Bills
Remember that bone-chilling winter a few years back? The one where the wind howled like a banshee and the old farmhouse groaned in protest? I swear, the thermostat was reading higher than my actual body temperature, yet I still felt like an ice cube! We were practically bankrupting ourselves trying to keep the place warm. That's when I decided enough was enough. I needed to find a way to stop the drafts from robbing us of our hard-earned money, one icy gust at a time. And guess what? I did!

This isn't about a massive renovation or a fancy, expensive solution. We're talking about a simple, weekend-friendly DIY project that anyone can tackle. And the best part? It makes a real difference. You could reduce your heating bill by up to 10% just by insulating one window. Imagine what you could save by doing a few! This is winter homesteading at its finest: resourceful, effective, and, dare I say, even a little bit fun.
Why Insulate a Single Window? Big Impact, Small Effort
It might seem counterintuitive to focus on just one window, but trust me on this one. In older homes, windows are often the biggest culprits when it comes to heat loss. Drafty windows are like gaping holes in your wallet, letting precious warmth escape and inviting Jack Frost in for an unwanted visit.
Think of it this way: if you have a leaky faucet, you don’t ignore it, right? You fix it! The same goes for your windows. By tackling the worst offenders first, you’ll see a noticeable improvement in your home’s comfort and your energy bills. This project is a fantastic entry point into the world of DIY window insulation. It’s manageable, requires minimal skills, and delivers immediate gratification.
Our Weapon of Choice: The Quilted Window Curtain
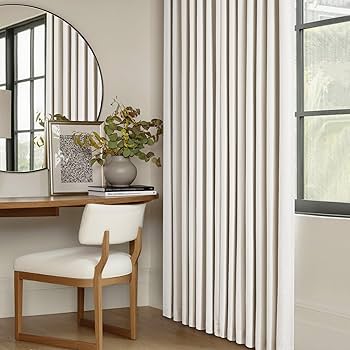
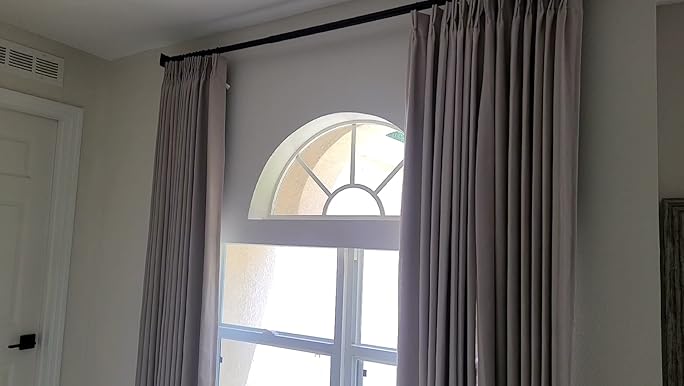
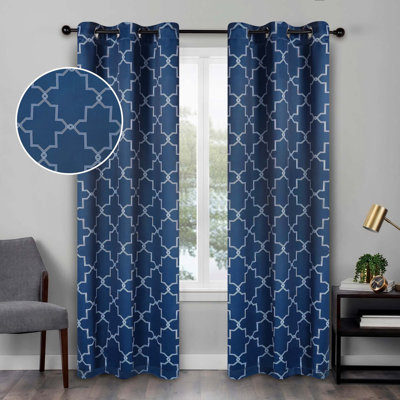
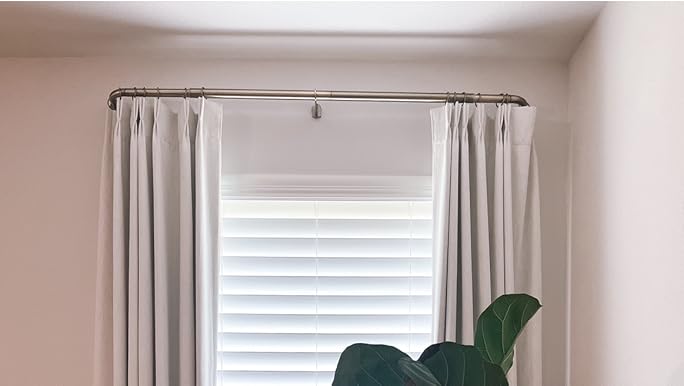
We're going to create a simple, yet effective, quilted window curtain. It's easy to customize for any window size, looks charming, and provides a substantial barrier against drafts.
The Materials You'll Need:
Here's a handy list to get you started. Don't be scared by the length – most of these items are readily available and won't break the bank.
- Fabric: Two pieces of fabric large enough to cover your window with a few extra inches on all sides. Choose a durable, attractive fabric for the outer layer and a neutral color for the inner layer. (Approx. $20-40, depending on fabric choice)
- Insulating Batting: A layer of batting (cotton, polyester, or a blend) to provide insulation. (Approx. $10-20)
- Measuring Tape: Crucial for accurate measurements. (Already have!)
- Scissors or Rotary Cutter: For cutting fabric and batting. (Already have!)
- Sewing Machine (or Needle and Thread): A sewing machine will make the process faster, but you can absolutely sew this by hand. (Already have… hopefully!)
- Thread: Matching your fabric color. (Approx. $3)
- Pins: To hold fabric and batting in place. (Already have!)
- Iron and Ironing Board: For pressing seams and creating a crisp finish. (Already have!)
- Curtain Rod (if needed): If you don't already have one. (Approx. $10-30)
- Curtain Rings or Clips (if needed): To hang the curtain. (Approx. $5-15)

Approximate Cost Breakdown: Fabric ($30), Batting ($15), Thread ($3), Curtain Rings ($10) = $58. Prices may vary.
Step-by-Step Guide: Quilting Your Way to Warmth
Ready to get started? Here's the breakdown:
- Measure Your Window: Accurately measure the width and height of your window frame. Add at least 4 inches to both measurements to ensure the curtain completely covers the window and overlaps the frame. This overlap is key to blocking drafts!
- Cut the Fabric and Batting: Cut two pieces of fabric and one piece of batting according to your measurements. Remember, measure twice, cut once!
- Layer and Pin: Layer the fabrics with the right sides facing each other. Place the batting on top of one fabric layer. Pin all layers together securely, starting from the center and working your way outwards. This will prevent the fabric from shifting while you sew.

- Sew the Perimeter: Sew around three and a half sides of the rectangle with a 1/2-inch seam allowance, leaving about 12 inches open on one of the shorter sides for turning.
- Trim the Corners: Clip the corners diagonally to reduce bulk and make them easier to turn out.
- Turn Right Side Out: Carefully turn the curtain right side out through the opening. Use a chopstick or knitting needle to gently push out the corners and create a crisp edge.
- Iron and Press: Iron the entire curtain, paying special attention to the seams. Press the edges of the opening inward to create a neat, finished edge.
- Close the Opening: Hand-stitch or machine-stitch the opening closed with a blind stitch for an invisible finish.

- Quilting: This is where the "quilted" part comes in! Quilt the layers together using a simple grid pattern, straight lines, or any design you like. This will keep the batting from shifting and add visual interest. You can use your sewing machine or hand-stitch for this step.

Add Hanging Loops (Optional): If you're using a curtain rod, you'll need a way to hang the curtain. You can create simple fabric loops and sew them to the top edge of the curtain, or use curtain clips.
Hang and Admire! Hang your beautiful, insulated window curtain and bask in the warmth and satisfaction of a job well done.

Tips and Tricks for Success:
- Window Size Variations: For wider windows, consider making two curtains instead of one large one for easier handling. For taller windows, you can adjust the fabric measurements accordingly.
- Fabric Choice: Choose a fabric that complements your home décor. Consider using heavier fabrics like denim or canvas for added insulation.
- Batting Alternatives: If you don't have batting, you can use old blankets or even multiple layers of thick felt for insulation.
- No-Sew Option: If you're not a sewer, you can use fabric glue or iron-on adhesive to create the curtain.
- Bay Windows For bay windows, you may want to create individual curtains for each pane, or one long curtain that covers the entire window.
- Temporary Solution For a truly temporary solution, you could use foam board cut to size and wrapped in fabric, creating a window plug that can be easily removed.
Time to Get Cozy!
There you have it! A simple, effective, and budget-friendly way to battle those winter drafts. I challenge you to give this project a try this weekend. You'll be amazed at how much warmer your home feels, and your wallet will thank you too.
Don’t forget to share your creations with us! Post photos of your DIY window coverings on social media using the hashtag #BHHomesteadCozy. I can't wait to see what you come up with!
Want to take your homesteading skills to the next level? Stay tuned for our next post on building a root cellar for winter food storage! Happy homesteading!