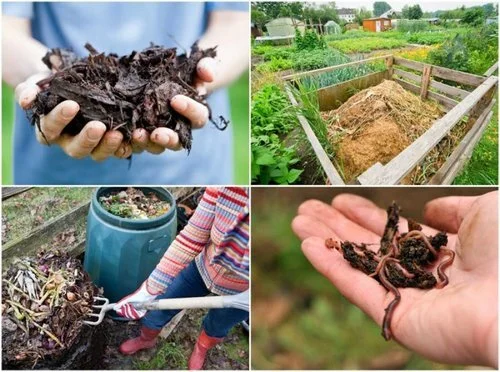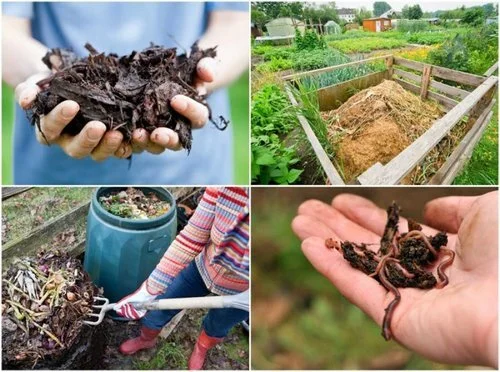
Compost SOS: Troubleshooting Common Compost Problems for Black Gold
Composting – the cornerstone of a thriving, sustainable homestead. You envision turning kitchen scraps and yard waste into rich, dark "black gold" to nourish your garden. You excitedly build your compost bin, carefully layering browns and greens, picturing vibrant vegetables and blooming flowers thriving in your compost-enriched soil. But instead of that idyllic scene, you’re met with a smelly, soggy mess, a breeding ground for unwanted pests, or a pile that seems to be stuck in slow motion. Don’t despair! Composting can sometimes be tricky, even for seasoned homesteaders.
This blog post will arm you with the knowledge to diagnose and fix common compost problems, turning your composting woes into composting wins. We'll delve into the reasons behind those unpleasant odors, sluggish decomposition rates, and pesky infestations, providing actionable solutions to transform your compost pile into a valuable resource for your regenerative garden.

The Stinky Situation: Addressing Odor Problems
One of the most common and discouraging composting challenges is the dreaded smell. A healthy compost pile should have an earthy, almost sweet aroma. A foul odor signals something is amiss. But what causes these unpleasant scents, and how can you eliminate them?
The most common culprit is anaerobic conditions, meaning a lack of oxygen within the pile. This often happens when the compost is too wet and compacted, preventing air from circulating. Decomposition then occurs through anaerobic bacteria, producing byproducts like ammonia and sulfur, which are responsible for the putrid smells.
Another cause could be an excess of nitrogen-rich "green" materials without enough "brown" carbon-rich materials to balance things out. Also, certain materials like meat, dairy, and oily foods should never be added to a backyard compost pile, as they attract pests and create strong, unpleasant odors.
Here's how to tackle the stinky situation:
- Turn, Turn, Turn: Aeration is key! Turn the pile regularly (every few days to once a week) using a pitchfork or shovel to introduce oxygen. This will encourage the growth of beneficial aerobic bacteria.
- Add More Browns: Browns provide carbon, which acts as a food source for aerobic bacteria and helps to absorb excess moisture. Add dry leaves, shredded paper, cardboard, sawdust (from untreated wood), or straw.
- Avoid Problematic Materials: Stick to plant-based materials and avoid meat, dairy, oily foods, and pet waste (unless you have a specialized hot composting system).
- Consider a Compost Activator: These products contain beneficial microbes that can help speed up the decomposition process and reduce odors.
- Troubleshooting Specific Smells:
- Ammonia smell: Indicates too much nitrogen. Add more browns.
- Sulfur smell (rotten eggs): Indicates anaerobic conditions. Aerate and add more browns.
By understanding the root cause of compost odors and implementing these simple solutions, you can eliminate unpleasant smells and create a healthy, thriving compost pile.
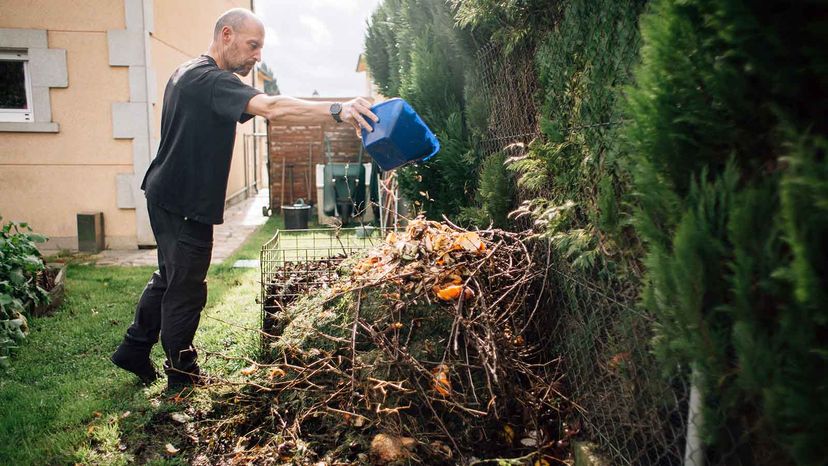
The Soggy Mess: Dealing with Excessive Moisture
Just as too little moisture can hinder decomposition, so can too much. A waterlogged compost pile is a breeding ground for anaerobic bacteria and can lead to those foul odors we just discussed. Excessive moisture can stem from poor drainage, heavy rainfall, or an imbalance in the ratio of browns to greens.
A properly moist compost pile should feel like a wrung-out sponge. If you squeeze a handful and water drips out, it's too wet.
Here's how to address the soggy mess:
- Improve Drainage: Start by ensuring your compost bin has adequate drainage. If you're using a bin directly on the ground, add a layer of coarse materials like sticks, twigs, or gravel to the bottom to facilitate drainage.
- Cover the Pile: During heavy rainfall, cover the compost pile with a tarp or lid to prevent it from becoming waterlogged.
- Add More Browns (Again!): Browns are your best friend when it comes to absorbing excess moisture. Add plenty of dry leaves, shredded paper, or cardboard.
- Build a Bin with Drainage: When constructing a compost bin, ensure it has drainage holes at the bottom to allow excess water to escape.
Proper moisture management is crucial for effective composting. Learn how to identify and correct waterlogged compost piles to promote healthy decomposition. In my experience, simply adding a thick layer of dried leaves after a heavy rain can make a world of difference.
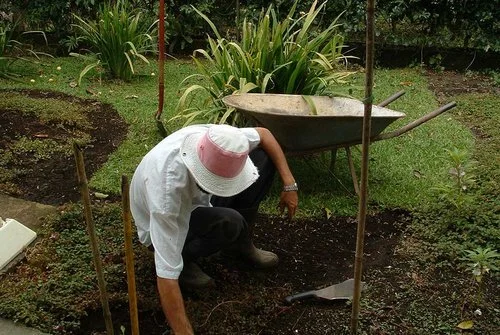
The Sluggish Slump: Reviving a Slow Compost Pile
You've diligently layered your browns and greens, maintained a reasonable moisture level, and even turned the pile occasionally, but weeks go by, and nothing seems to be happening. Your compost pile remains stubbornly unchanged. What's going on?
Several factors can contribute to a slow decomposition rate. Lack of moisture, an improper ratio of browns to greens, insufficient aeration, and cold temperatures are all common culprits.
Here's how to jumpstart a sluggish compost pile:
- Add Water (If Needed): If the pile feels dry, moisten it with a hose until it reaches that "wrung-out sponge" consistency.
- Adjust the Brown-to-Green Ratio: Ensure you have a good balance of carbon-rich browns and nitrogen-rich greens. Aim for a ratio of roughly 2:1 or 3:1 (browns to greens).
- Turn the Pile Regularly: Aeration is essential for decomposition. Turn the pile frequently to introduce oxygen and encourage microbial activity.
- Add a Compost Activator: Compost activators contain beneficial microbes that can help speed up the decomposition process.
- Reduce Particle Size: Smaller pieces of material decompose faster. Chop or shred larger items before adding them to the pile.
- Consider Hot Composting: Hot composting involves maintaining a higher internal temperature (130-160°F) to accelerate decomposition. This requires careful monitoring of moisture and aeration.
One year, I struggled with a particularly slow-moving compost pile. Frustrated, I started chopping all my materials into smaller pieces before adding them. The difference was remarkable! The pile heated up quickly, and within a few weeks, I had beautiful, usable compost.
The Pest Patrol: Protecting Your Compost from Unwanted Guests
A compost pile is a buffet for all sorts of creatures, both beneficial and unwanted. Rodents, insects, and larvae can invade your compost, turning it into a nuisance.
Here's how to protect your compost from unwanted guests:
- Build a Secure Bin: Use a compost bin with a secure lid and fine mesh screen to prevent rodents and insects from entering.
- Avoid Problematic Materials (Again!): As mentioned earlier, avoid adding meat, dairy, and oily foods, as these attract pests.
- Bury Food Scraps Deep: When adding food scraps, bury them deep within the pile to prevent them from being easily accessible to pests.
- Use Natural Pest Repellents: Sprinkle wood ash around the compost bin to deter rodents and insects.
- Diatomaceous Earth (DE): Food-grade diatomaceous earth can be used to control insect infestations. Sprinkle it lightly on the pile.
- Identify Beneficial Insects: Learn to recognize beneficial insects like soldier fly larvae, which help with decomposition. These are generally welcome in the compost pile.
The Weed Seed Worry: Minimizing Weed Seeds in Compost
One of the biggest concerns for gardeners using compost is the potential for introducing weed seeds into their gardens. While compost can be a wonderful soil amendment, it can also become a source of unwanted weeds if not properly managed.
Here's how to minimize weed seeds in your compost:
- Hot Composting (The Key!): Achieving a high compost temperature (130-160°F) is the most effective way to kill weed seeds. Hot composting requires careful monitoring of moisture and aeration.
- Avoid Composting Seed Heads: Do not compost seed heads from weeds. Dispose of them separately to prevent spreading weed seeds.
- "Seed-Safe" Composting Methods: Research methods like Bokashi composting, which utilize anaerobic fermentation to break down materials, including weed seeds.
- Sifting Compost: After the composting process is complete, sift the compost to remove larger particles and any remaining weed seeds.
- Tumbling Composter: A tumbling composter can help speed up the composting process and allow you to better control the temperature, thus killing any weeds.
By implementing these strategies, you can minimize the risk of spreading weed seeds in your garden and enjoy the benefits of weed-free compost.
Composting is a journey, not a destination. It's a continuous learning process that requires patience, observation, and a willingness to experiment. Don't get discouraged by setbacks. Even experienced composters encounter challenges along the way. The long-term benefits for your garden and the environment are well worth the effort. Remember, composting is also a fundamental part of regenerative agriculture, helping to improve soil health and reduce waste, creating a more sustainable homestead.
As we head into fall, now is the perfect time to bulk up your compost pile with fallen leaves!
What are your biggest composting challenges? Share your experiences and tips in the comments below! And don't forget to sign up for our newsletter to receive weekly homesteading tips and inspiration.