Cold Frame Dreams: Extending Your Homestead Harvest with a Simple DIY
Have you ever watched the last tomato of the season slowly ripen on the vine, knowing a frost is just around the corner? Or longed for fresh greens in the dead of winter, only to be met with a landscape of snow and barren soil? As homesteaders, we’re constantly battling the elements, striving to extend our growing season and feed our families nourishing, homegrown food year-round. For years, I felt like I was throwing away precious seedlings, cut short by the fickle whims of Mother Nature. That's until I discovered the power of the humble cold frame.
The Problem: A Short and Frustrating Growing Season
Our homestead is nestled in a region with a notoriously short growing season. Spring frosts lingered late into May, and the first hard freeze of autumn often arrived by October. This limited window left me scrambling to start seeds indoors, only to transplant them into a garden that felt perpetually behind schedule. Early frosts snatched away crops just as they were reaching their peak. It was disheartening, expensive (think wasted seeds and seedlings!), and frankly, a little demoralizing. I knew there had to be a better way.
The "Aha!" Moment: Researching Cold Frames
I started researching season extension techniques, devouring every article I could find on hoop houses, greenhouses, and, eventually, cold frames. While hoop houses and greenhouses were tempting, the cost and complexity felt overwhelming. That's when I stumbled upon cold frames – simple, low-cost structures that could provide a protected microclimate for my plants. They seemed perfectly suited to my small-scale homestead and limited budget. The idea of creating a warm, sunny haven for my seedlings, shielding them from frost and wind, sparked a flame of hope.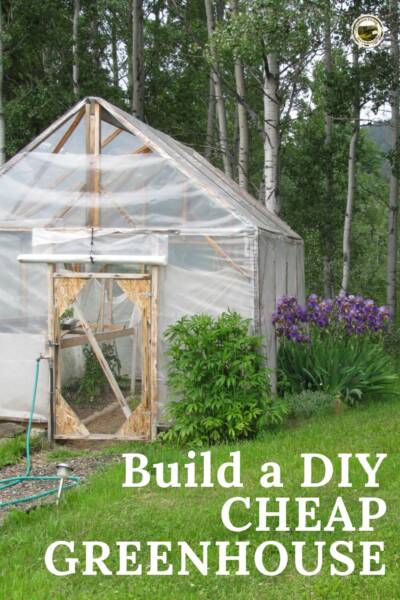
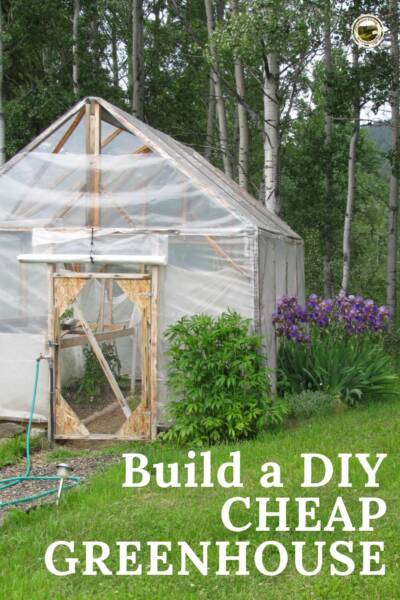
This image depicts a small DIY greenhouse, a similar concept to a cold frame but on a larger scale. Cold frames are essentially miniature greenhouses for extending the growing season.
Building Our DIY Cold Frame: A Step-by-Step Guide
After hours of online research and sketching out a few designs, I settled on a simple, sturdy cold frame built from reclaimed lumber and an old window. Here’s how we built it:
Step 1: Gather Your Materials
You'll need:
- Reclaimed lumber (we used old fence posts and pallet wood)
- An old window (ours was salvaged from a neighbor's renovation)
- Screws or nails
- Drill or hammer
- Saw
- Measuring tape
- Sandpaper
- Hinges
- Handles or latches (optional)
Step 2: Build the Frame
Cut the lumber to size, creating a rectangular box with a slanted roof. The back of the frame should be taller than the front to allow for sunlight to enter at an angle. Our dimensions were approximately 4 feet wide, 3 feet deep, 18 inches tall at the back, and 12 inches tall at the front.
This image shows a raised garden bed structure. You can visualize your cold frame with wood sides instead of logs
Step 3: Assemble the Box
Use screws or nails to assemble the rectangular box. Ensure the corners are square for stability. Sand down any rough edges to prevent splinters.
This images depicts plants growing inside a raised garden bed. Envision this raised bed with a hinged window over it.
Step 4: Attach the Window
Attach hinges to the top of the back frame and the window. This will allow you to easily open and close the cold frame for ventilation and access to your plants.
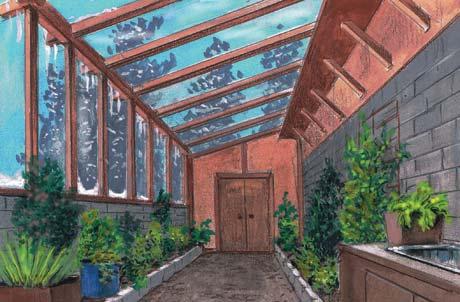
This images demonstrates what the cold frame should look like with the window attached
Step 5: Add Finishing Touches
Attach handles or latches to the front of the cold frame to secure the window in place. You can also paint or stain the wood for added protection and aesthetic appeal.
Step 6: Choose a Location
Select a sunny, south-facing location for your cold frame. This will maximize sunlight exposure, especially during the colder months. Make sure the location is also sheltered from strong winds.
Step 7: Prepare the Soil
Loosen the soil inside the cold frame and amend it with compost or other organic matter. This will provide your plants with the nutrients they need to thrive.
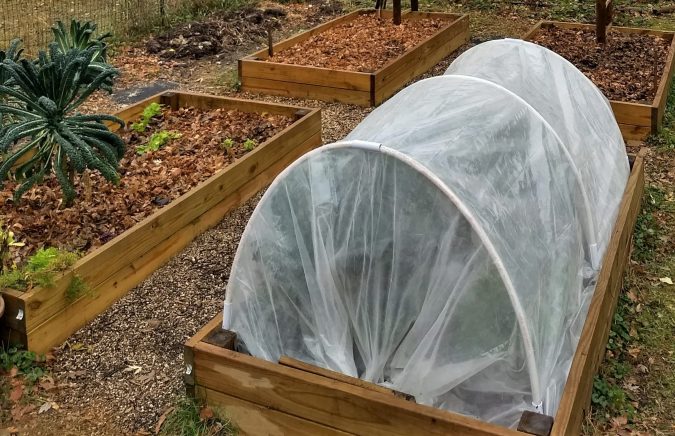
This image portrays plants protected by a row cover. This is similar to the cold frame but on a smaller scale.
Troubleshooting Tips: Learning from Our Mistakes
We definitely had our share of "learning experiences" during this project. Here are a few tips we picked up along the way:
- Ventilation is Key: We learned the hard way that overheating can be a major problem, even on cold days. Always remember to vent the cold frame on sunny days to prevent your plants from cooking!
- Use the Right Materials: While reclaimed lumber is a great way to save money, make sure it's not treated with harmful chemicals.
- Consider the Angle: We initially made our cold frame with a steeper angle for the window, thinking it would capture more sunlight. However, this made it more susceptible to wind damage. A shallower angle is more stable.
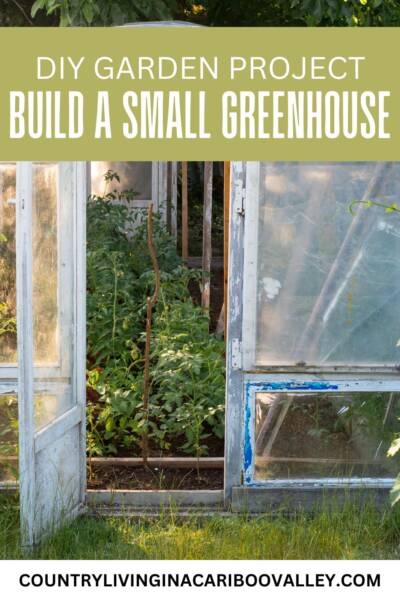
This image demonstrates one concept for attaching the window to the top of the cold frame.
The Impact: Extending Our Growing Season and Boosting Self-Sufficiency
Building our DIY cold frame was a game-changer for our homestead. We were able to:
- Start seeds earlier: We could start our tomato, pepper, and eggplant seedlings weeks before the last frost, giving them a head start.
- Extend the harvest: We harvested lettuce, spinach, and kale well into December, providing us with fresh greens throughout the winter months.
- Protect tender plants: The cold frame provided a safe haven for our herbs and other tender plants during unexpected cold snaps.
- Save money: We reduced our reliance on store-bought produce, saving us money and increasing our self-sufficiency.
Your Personal Touch: The Joys of Homesteading
Building the cold frame wasn't just about extending our growing season; it was about connecting with the land and taking control of our food supply. It was about the satisfaction of creating something with our own hands, using reclaimed materials to build a sustainable solution.
The entire process felt like a hands-on classroom. Working with wood, learning about angles and construction, adjusting for mistakes – these are invaluable skills that translate into other areas of homesteading. And, of course, the joy of harvesting fresh lettuce in December is a reward that makes all the effort worthwhile.
Ready to Build Your Own?
Are you facing a short growing season on your homestead? What plants would you love to protect with a cold frame? Share your thoughts and questions in the comments below! We'd love to hear about your experiences with season extension techniques. Building a cold frame is a simple yet impactful project that can significantly improve your homestead's self-sufficiency and resilience. Take the plunge and start extending your harvest today!
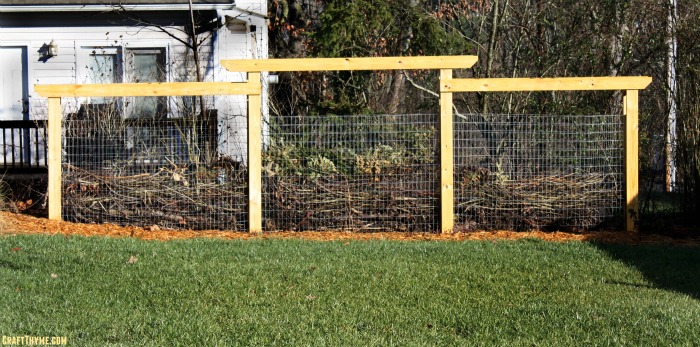
This image is of a compost bin made of fence posts, which are a key structural element of a cold frame.
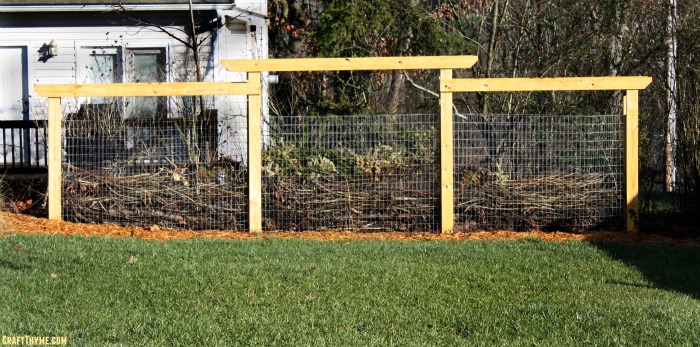
This image is another view of compost bins made out of fence posts.