Cluckingham Palace: Building a Reclaimed Chicken Coop for Self-Sufficiency
Here at "Better Homes and Harvests," we're passionate about empowering families to embrace a more self-sufficient lifestyle. And what better way to achieve that than by raising your own chickens? Fresh eggs every morning, natural pest control for your garden, and the satisfaction of providing for your family – it's a win-win-win! But before you bring home those fluffy little chicks, you'll need a safe and secure place for them to call home.
Today, we're diving into a rewarding DIY project: building a small, backyard chicken coop from reclaimed materials. This project is perfect for beginner to intermediate homesteaders with some basic carpentry skills. Not only will you be providing a comfortable haven for 4-6 hens, but you'll also be saving money and contributing to a more sustainable lifestyle by giving discarded materials a new purpose. We'll cover everything from sourcing reclaimed wood pallets and repurposing old windows to building the coop's frame, adding nesting boxes and a roost, and creating a secure run. Get ready to roll up your sleeves, because we're about to embark on a journey of sawdust, resourceful creativity, and ultimately, the joyful clucking of happy hens!
Why Build a Reclaimed Chicken Coop?
Before we dive into the "how," let's talk about the "why." Building a reclaimed chicken coop offers several compelling advantages:
- Cost Savings: Purchasing new lumber can be expensive. Using reclaimed materials like pallets and old windows dramatically reduces material costs. You could easily save 50-75% compared to buying new. Imagine diverting those savings into high-quality chicken feed or other homesteading essentials!
- Sustainability: Reusing materials reduces waste and lowers your carbon footprint. You're giving discarded items a new life, preventing them from ending up in a landfill.
- Unique Character: A chicken coop built from reclaimed wood has a rustic charm and character that a store-bought coop simply can't match. Each piece of wood tells a story, adding a unique touch to your backyard.
- Self-Reliance: Building your own coop empowers you to be more self-reliant. You'll gain valuable carpentry skills and the satisfaction of knowing you created a safe and functional home for your chickens.
- Fresh Eggs: Of course, the ultimate reward is the abundance of fresh, delicious eggs your hens will provide! Raising chickens allows you to reduce dependence on store-bought food and control the quality of your eggs.
Sourcing Your Reclaimed Materials: The Treasure Hunt Begins!
The first step is to gather your reclaimed materials. This is where the fun begins! Here are some excellent sources:
- Pallets: Check with local businesses like grocery stores, construction sites, and landscaping companies. Many are happy to give away their used pallets. Be sure to ask if they have been treated with any harmful chemicals. Look for HT stamped pallets (heat treated) for safe use.
- Old Windows: Keep an eye out for discarded windows during home renovations or construction projects. Architectural salvage yards and online marketplaces like Craigslist and Facebook Marketplace are also great resources.
- Scrap Lumber: Check with local lumber yards or construction sites for scrap lumber they're willing to part with.
- Reclaimed Metal Roofing: This can often be sourced from demolition sites or roofing companies. It's durable and provides excellent protection from the elements.
- Hardware: Save old nails, screws, and hinges from previous projects. You might be surprised at how much usable hardware you already have on hand.
Safety First! Always wear gloves and safety glasses when handling reclaimed materials. Be cautious of splinters, nails, and other potential hazards.
Chicken Coop Plans: Design is Key
Before you start building, it's essential to have a solid plan. Here's a basic design for a small chicken coop suitable for 4-6 hens:
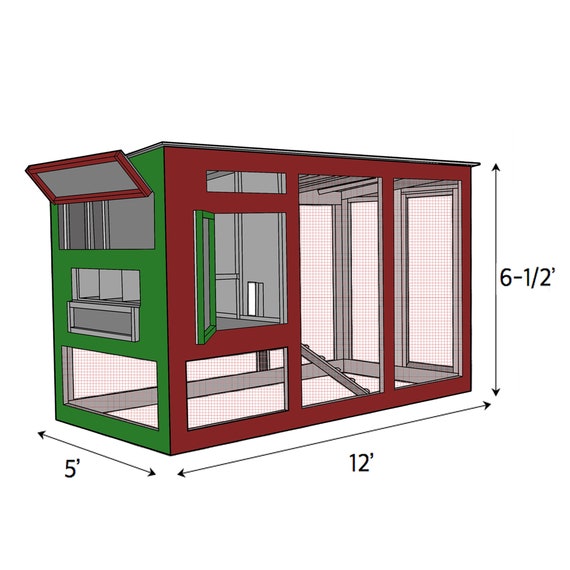
- Dimensions: Aim for a coop that is approximately 4 feet wide, 6 feet long, and 4 feet high. This provides adequate space for your hens to move around comfortably.
- Frame: A sturdy frame is crucial for the coop's structural integrity. Use 2x4 lumber for the frame, ensuring it's square and level.
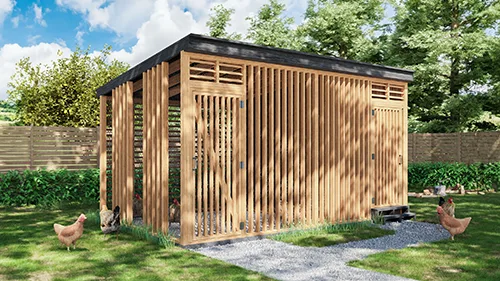
- Walls: Use reclaimed wood planks or pallet wood to create the walls. Leave gaps for ventilation and cover them with wire mesh to prevent predators from entering.
- Roof: A sloped roof is ideal for shedding rain and snow. Use reclaimed metal roofing or wooden shingles for weather protection.
- Nesting Boxes: Provide one nesting box for every 2-3 hens. A 12x12x12 inch box is a good size.
- Roost: A roosting bar made from a sturdy branch or 2x4 lumber allows your hens to sleep comfortably off the ground.
- Chicken Run: An enclosed run attached to the coop provides your hens with outdoor space to forage and exercise safely.
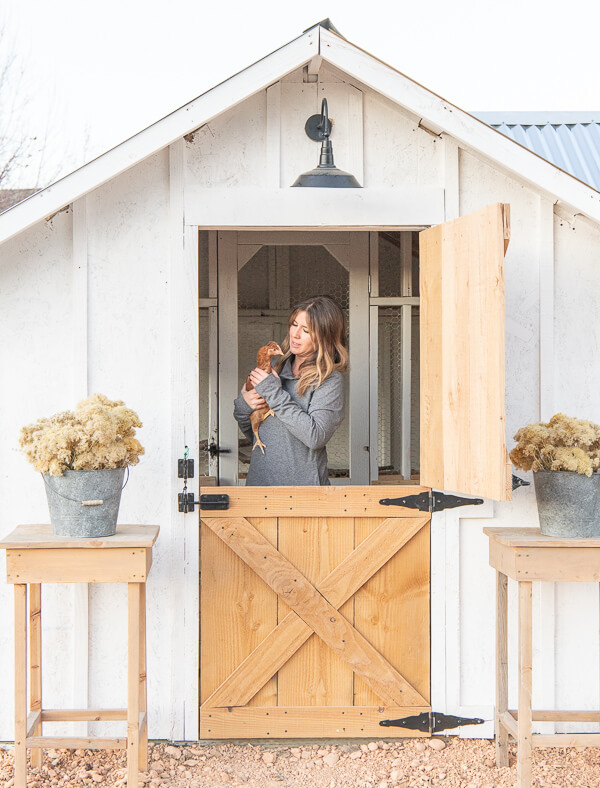
- Door: Install a secure door for easy access to the coop for cleaning and egg collection.
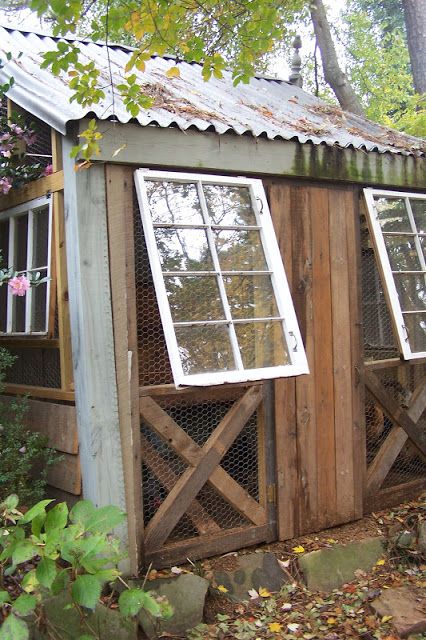
Ventilation is Vital! Ensure adequate ventilation by leaving gaps in the walls near the roofline and covering them with wire mesh. This prevents moisture buildup and keeps your chickens healthy.
Building Your Reclaimed Chicken Coop: Step-by-Step
Here's a detailed guide to building your reclaimed chicken coop:
Step 1: Building the Frame
- Cut the 2x4 lumber to the desired lengths for the frame.
- Assemble the frame using screws or nails, ensuring it's square and level.
- Add cross braces for added stability.
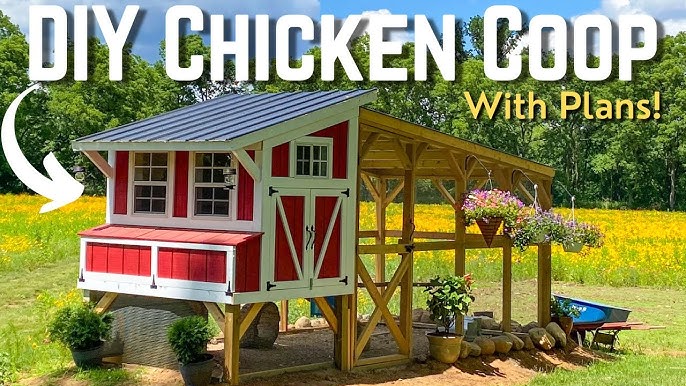
Step 2: Adding the Walls
- Cut the reclaimed wood planks or pallet wood to the desired lengths.
- Attach the planks to the frame using screws or nails, leaving gaps for ventilation.
- Cover the gaps with wire mesh to prevent predators from entering.
Step 3: Constructing the Roof
- Build a sloped frame for the roof using 2x4 lumber.
- Attach the reclaimed metal roofing or wooden shingles to the frame.
- Ensure the roof is watertight to protect your chickens from the elements.
Step 4: Installing the Nesting Boxes and Roost
- Build the nesting boxes using reclaimed wood.
- Attach the nesting boxes to the inside of the coop.
- Install the roosting bar at a comfortable height for your chickens.
Step 5: Creating the Chicken Run
- Build a frame for the chicken run using 2x4 lumber.
- Enclose the run with wire mesh, ensuring it's buried at least 6 inches deep to prevent predators from digging underneath.
- Attach the run to the coop.

Step 6: Adding the Finishing Touches
- Install a secure door for easy access to the coop.
- Add a latch to the door to keep predators out.
- Consider painting or staining the coop for added protection and aesthetic appeal.
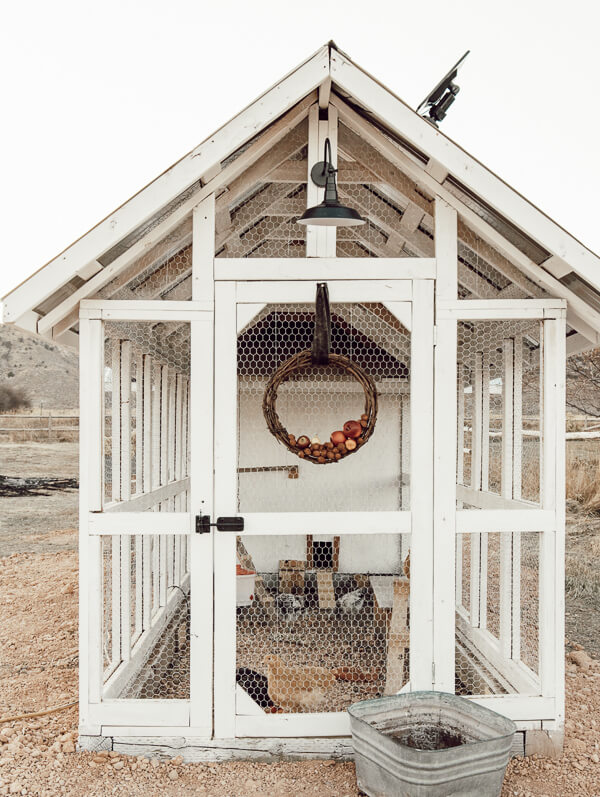
Protecting Your Chickens from Predators
Predator proofing is crucial for the safety of your chickens. Here are some essential measures:
- Secure Wire Mesh: Use heavy-gauge wire mesh (hardware cloth) for the walls and run, ensuring it's buried at least 6 inches deep.
- Solid Roof: A solid roof prevents predators from entering from above.
- Secure Door: A strong door with a reliable latch keeps predators out.
- Motion-Activated Lights: Install motion-activated lights to deter nocturnal predators.
- Guardian Animals: Consider getting a livestock guardian dog or cat to protect your chickens.
Calculate Your Savings!
Let's estimate the cost savings of using reclaimed materials. A new chicken coop of similar size and quality could easily cost $500-$1000. By using reclaimed wood pallets and other repurposed materials, you could potentially reduce your material costs to $100-$300. That's a significant savings!
Here's a breakdown:
- New lumber: $300-$600
- Reclaimed lumber: $0-$50 (for screws, nails, and other hardware)
- New roofing materials: $100-$200
- Reclaimed roofing materials: $0-$50
Total savings: $400-$700!
Beyond the Basics: Customizing Your Coop
Once you have the basic structure in place, you can customize your coop to suit your specific needs and preferences. Here are some ideas:
- Automatic Chicken Door: Install an automatic chicken door that opens and closes at dawn and dusk.
- Rainwater Collection System: Collect rainwater from the roof to provide your chickens with fresh drinking water.
- Dust Bath Area: Create a dust bath area for your chickens to keep their feathers clean and healthy.
- Planter Boxes: Add planter boxes to the sides of the coop to grow herbs and vegetables for your chickens.
Time to Build!
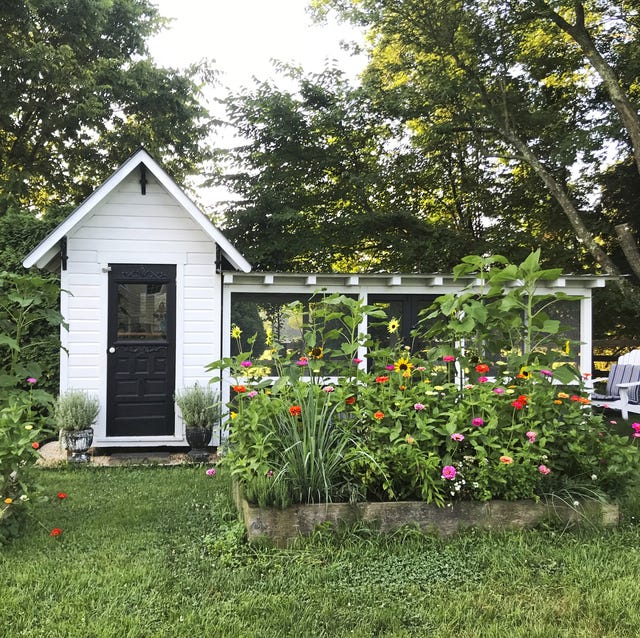
Building a reclaimed chicken coop is a rewarding project that will provide your chickens with a safe and comfortable home while saving you money and reducing your environmental impact. So, gather your reclaimed materials, dust off your carpentry skills, and get started! We can't wait to see what you create.
Call to Action:
Are you ready to build your own reclaimed chicken coop? Share your experiences in the comments below! What reclaimed materials have you used for homesteading projects? Do you have any tips or tricks to share? Let's build a community of resourceful homesteaders!
Helpful Resources:
- Local lumber yards and hardware stores for additional materials and advice.
- Online forums and communities dedicated to chicken keeping and homesteading.
- Better Homes and Harvests for more tips and inspiration on sustainable living.
Happy homesteading!
