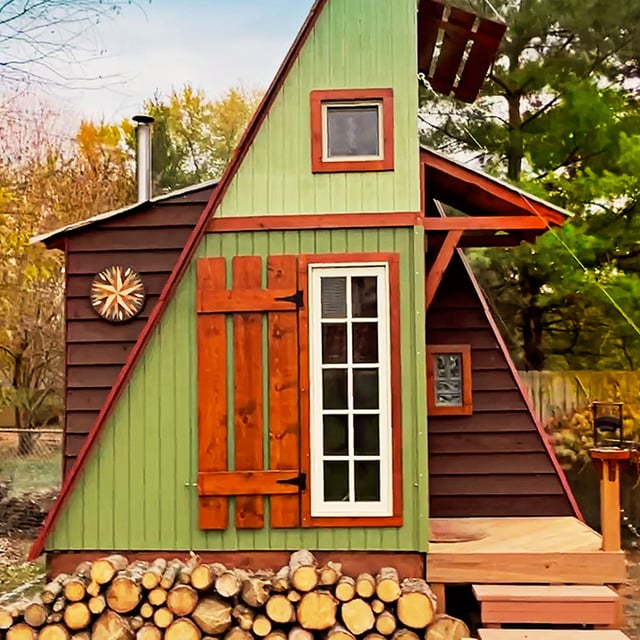
Cluckingham Palace: Build Your Own DIY Insulated Chicken Coop for a Cozy Winter
As the leaves turn vibrant shades of red and gold and a crispness fills the air, it's a clear sign that fall is upon us. For homesteaders, this means preparing our properties for the colder months ahead. While we're busy harvesting the last of our crops and stocking up on firewood, let’s not forget about our feathered friends! A well-insulated chicken coop is crucial for ensuring your chickens stay healthy and productive throughout the winter. This blog post will guide you through building a DIY insulated chicken coop, step-by-step, empowering you to embrace self-sufficiency and provide a comfortable haven for your flock all winter long. So, let's get started!
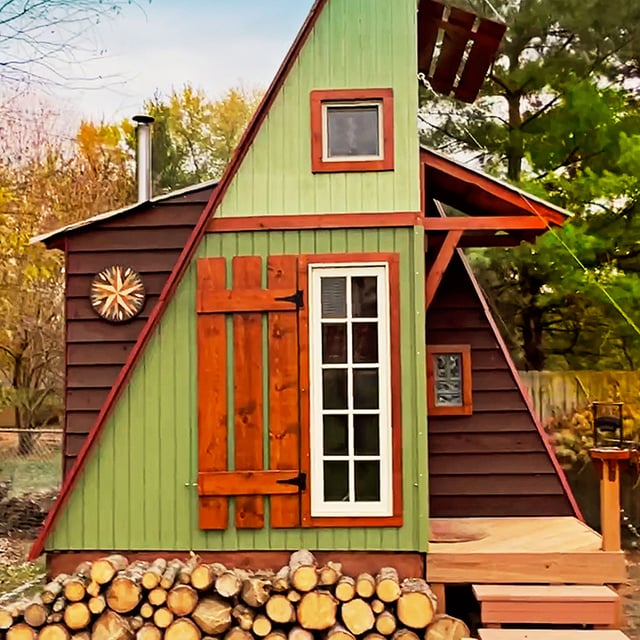
Why an Insulated Chicken Coop is Essential for Winter
Chickens are surprisingly resilient creatures, but they're not immune to the harsh realities of winter. An uninsulated coop can lead to:
- Reduced egg production: Cold temperatures can significantly impact egg-laying.
- Increased feed consumption: Chickens need more energy to stay warm, leading to higher feed costs.
- Frostbite: Combs, wattles, and feet are susceptible to frostbite in freezing temperatures. Preventing frostbite in chickens during winter is essential.
- Health problems: Cold stress can weaken the immune system, making chickens more vulnerable to diseases.
- Unhappy chickens: Just like us, chickens are more comfortable and content in a warm, dry environment.
Building a DIY insulated chicken coop provides a cost-effective solution to these challenges. It allows you to control the environment inside the coop, ensuring your chickens stay warm, healthy, and productive throughout the winter months. This project is a fantastic example of homestead winter preparation.
Step-by-Step Guide to Building Your DIY Insulated Chicken Coop
This guide assumes you already have a basic chicken coop structure. If not, you'll need to build one first. There are plenty of free chicken coop plans winter available online. We'll focus on the insulation process.
Materials You'll Need:
- Insulation: Rigid foam insulation boards (e.g., XPS or EPS) are a great choice. Consider using reclaimed or repurposed insulation for a more sustainable and affordable option. What is the best insulation for a chicken coop? Rigid foam is a great option!
- Lumber: For framing around the insulation and reinforcing the coop structure.
- Fasteners: Screws, nails, or staples.
- Hardware cloth: To protect the insulation from pecking chickens.
- Caulk or sealant: To seal gaps and prevent drafts.
- Tools: Saw, drill, measuring tape, utility knife, staple gun, safety glasses, and gloves.
Step 1: Assess Your Coop and Plan Your Insulation
Carefully inspect your existing chicken coop. Identify areas where heat is likely to escape, such as gaps, cracks, and thin walls. Measure the dimensions of the walls, floor, and roof to determine the amount of insulation you'll need. Consider chicken coop insulation ideas that fit your coop's design.
Step 2: Insulating the Walls
- Cut the insulation: Using a utility knife, carefully cut the rigid foam insulation boards to fit snugly between the framing studs of your coop walls.
- Install the insulation: Press the insulation boards into place. Secure them with screws or construction adhesive.
- Protect the insulation: Cover the insulation with hardware cloth to prevent your chickens from pecking at it. Staple the hardware cloth to the framing.
Step 3: Insulating the Floor
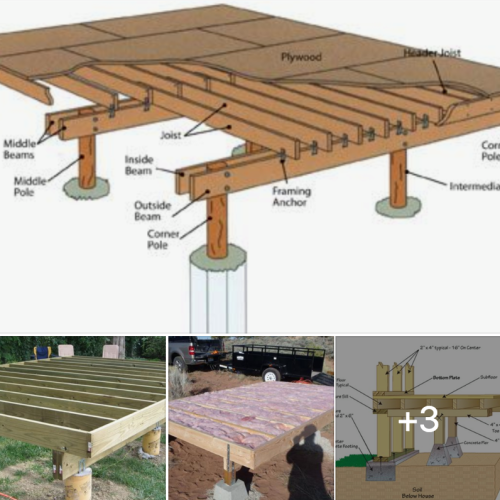
An insulated floor can significantly reduce heat loss.
- Prepare the floor: Clean the coop floor and remove any debris.
- Cut the insulation: Cut the insulation boards to fit the floor area.
- Install the insulation: Place the insulation boards on the floor. Consider adding a layer of plywood on top of the insulation for added durability.
Step 4: Insulating the Roof
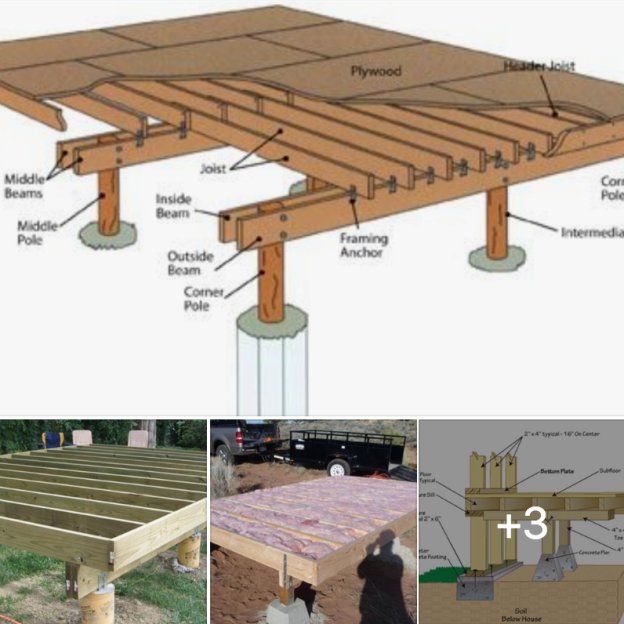
The roof is another major source of heat loss.
- Cut the insulation: Cut the insulation boards to fit between the roof rafters.
- Install the insulation: Secure the insulation boards to the rafters with screws or construction adhesive.
- Protect the insulation: Cover the insulation with hardware cloth to prevent pecking.
Step 5: Sealing Gaps and Cracks
Use caulk or sealant to seal any gaps or cracks around windows, doors, and seams. This will prevent drafts and further improve insulation. Draft proofing is crucial!
Step 6: Ventilation is Key
While insulation is essential, proper ventilation is equally important. Chickens produce moisture, and a poorly ventilated coop can lead to respiratory problems. Ensure your coop has adequate ventilation to allow for airflow without creating drafts directly on the chickens.
Addressing Challenges and Finding Solutions
- Moisture buildup: Ensure adequate ventilation to prevent moisture buildup inside the coop.
- Pecking chickens: Protect the insulation with hardware cloth to prevent damage.
- Cost: Consider using reclaimed or repurposed materials to reduce costs.
- Complexity: Break down the project into manageable steps and don't be afraid to ask for help.
Cost Breakdown (Approximate)
- Insulation: $50 - $100
- Lumber: $20 - $50
- Fasteners: $10 - $20
- Hardware cloth: $20 - $40
- Caulk/sealant: $5 - $10
Total: $105 - $220
This is just an estimate, and the actual cost will vary depending on the size of your coop and the materials you choose. This is an affordable DIY insulated chicken coop guide, especially if you use reclaimed materials.
Alternatives to Heating:
While a well insulated coop helps regulate temperature, you can also consider these alternatives to heating:
- Deep litter method: Allows natural composting to generate heat.
- Strategic Coop Placement: Maximize sun exposure.
- Chicken sweaters: Yes, they exist!
Beyond the Coop: Winter Chicken Care Checklist
Remember that keeping your chickens happy and healthy in winter goes beyond just insulating the coop. Here’s a quick checklist for cold weather chicken care:
- Provide plenty of fresh water. Consider using a heated waterer to prevent freezing.
- Offer a balanced diet, including supplemental feed if necessary.
- Ensure adequate roosting space.
- Keep the coop clean and dry.
- Monitor your chickens for signs of frostbite or illness.
- Provide enrichment activities to prevent boredom.
Time for a Fall Garden?
While you're thinking about winterizing, consider if you have time to plant a fall garden. Extend your garden harvest with some cold hardy vegetables.
Conclusion: Embrace Self-Sufficiency and a Happy Flock
Building a DIY insulated chicken coop is a rewarding project that empowers you to embrace self-sufficiency and provide a comfortable and healthy environment for your chickens throughout the winter. By following this step-by-step guide, you can create a "Cluckingham Palace" that will keep your flock warm, productive, and happy all season long. Don’t forget the ventilation! Remember to add your own personal touch and adapt the design to fit your specific needs and resources. Happy homesteading!
Now it's your turn! Have you built an insulated chicken coop? What tips and tricks can you share with fellow homesteaders? Ask questions or share your experiences in the comments below. And be sure to subscribe to the Better Homes and Harvests newsletter for more homesteading tips, tricks, and DIY projects!