Cluck Yeah! Building Your Dream Backyard Chicken Coop from Reclaimed Materials
Imagine stepping out into your backyard, the morning sun warming your face, to collect a basketful of fresh, golden-yolked eggs. No more trips to the store for overpriced, mass-produced eggs! Raising chickens is a fantastic way to boost your homestead's self-sufficiency, and building their coop yourself? That’s the ultimate DIY satisfaction. Plus, using reclaimed materials adds a layer of resourcefulness and sustainability that truly aligns with the homesteading spirit. This isn't just about chickens; it's about taking control of your food supply and reducing your environmental footprint. Ready to get started? Let's build a coop!
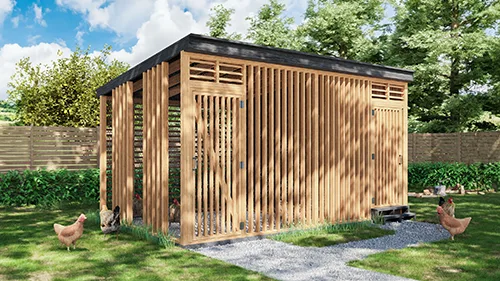
Why Reclaimed? The Benefits of a Resourceful Coop
Besides the obvious cost savings, using reclaimed materials for your DIY chicken coop is a win-win. You're diverting usable materials from landfills, reducing the demand for new lumber, and giving old items a new life. Plus, reclaimed wood often has a unique character and charm that you just can't get with new materials.
Gathering Your Materials: A Treasure Hunt!
Here’s a list of materials you can reclaim, along with estimated costs if you need to supplement with new supplies:
- Pallets: Free! (Check local businesses, construction sites – always ask permission first!). Pallets will form the main structure of your coop.
- Scrap Lumber: Free - $50 (Depending on quantity and need for new lumber). Look for discarded lumber from construction projects, demolition sites, or even your own garage. This will be used for framing, roosts, and trim.
- Discarded Roofing Material: Free - $75 (Depending on source and need for new materials). Old corrugated metal, asphalt shingles, or even sturdy plastic sheeting can be repurposed. Check with roofing contractors for discarded materials.
- Old Windows or Doors: Free - $30 (If you need to purchase a used one). These can provide ventilation and natural light. Habitat for Humanity ReStores are a great source.
- Chicken Wire or Hardware Cloth: $20 - $50 (Essential for a predator-proof run). Purchase this new for the best protection. You can find this at your local hardware store or online at places like Tractor Supply Co.
- Fasteners (Screws, Nails, Bolts): $10 - $20. A mix of sizes will be needed.
- Hinges and Latches: $5 - $15. For the coop door and nesting boxes.
- Optional: Paint or Wood Stain: $15 - $30. To protect the wood and make it look pretty!
- Optional: Bedding Material (Straw, Wood Shavings): $10 - $20. For the coop floor and nesting boxes.
- Tools: You'll likely have most of these, but here’s a basic list: Saw (circular or hand saw), Drill, Hammer, Measuring Tape, Level, Staple Gun, Safety Glasses, Gloves.
Sourcing Tips:
- Local Businesses: Ask businesses if they have unwanted pallets or scrap wood.
- Construction Sites: Check for discarded lumber after projects are completed (always ask permission!).
- ReStores and Salvage Yards: These are goldmines for discounted building materials.
- Online Marketplaces: Check Craigslist, Facebook Marketplace, and Freecycle for free or low-cost materials.
Step-by-Step Guide: Building Your Chicken Palace
Safety First: Always wear safety glasses and gloves when working with wood and tools. Be mindful of sharp edges and protruding nails. If you're working with power tools, be sure you know how to use them safely.
Step 1: Planning and Design
Before you start hacking away at pallets, take some time to plan your coop. Consider:
- Number of Chickens: A general rule of thumb is 4 square feet per chicken inside the coop and 8-10 square feet per chicken in the run.
- Coop Style: Will it be a simple A-frame, a shed-style coop, or something more elaborate?
- Location: Choose a well-drained area with partial shade.
- Predator Protection: Think about how you’ll keep your chickens safe from foxes, raccoons, and other predators. A secure run and a coop with a solid floor (or buried wire mesh) are essential.
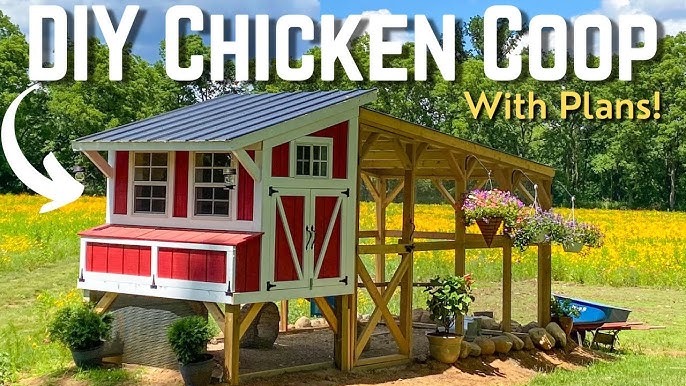
Step 2: Preparing the Pallets
- Carefully inspect the pallets for loose nails, staples, or broken boards. Remove these and make any necessary repairs.
- Consider sanding the pallets to remove splinters and create a smoother surface.
- Important: Avoid using pallets that have been treated with harmful chemicals. Look for the IPPC stamp, which indicates how the pallet was treated. HT (heat treated) is generally safe, while MB (methyl bromide) should be avoided.
Step 3: Building the Frame
- Arrange the pallets to form the walls of your coop.
- Use screws or nails to securely attach the pallets to each other. Reinforce the corners with extra lumber for added stability.
- Ensure the frame is level and square before proceeding.
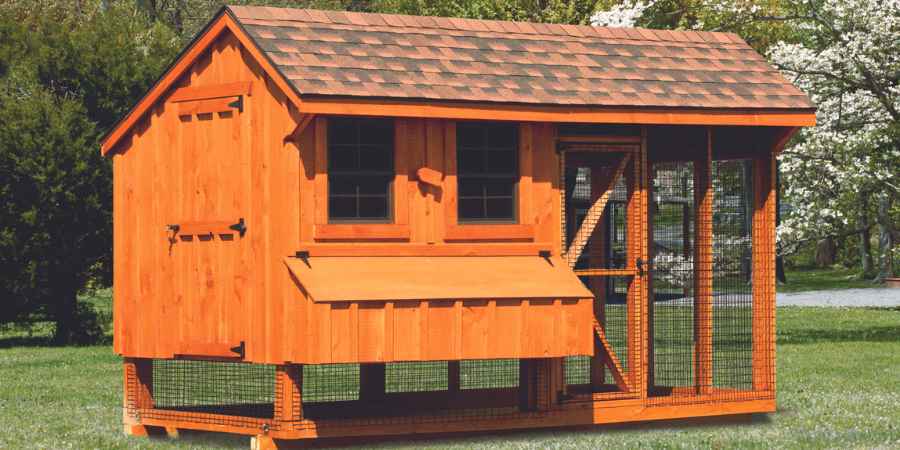
Step 4: Creating the Roof
- Build a simple frame for the roof using scrap lumber. Slightly angle the roof for water runoff.
- Attach your reclaimed roofing material to the frame, overlapping the pieces to prevent leaks. Secure with screws or roofing nails.
- Proper ventilation is crucial to avoid moisture build-up. Add vents near the top of the coop.
Step 5: Adding the Floor (Optional but Recommended)
- A solid floor will help protect your chickens from predators and keep the coop cleaner.
- You can use plywood, reclaimed lumber, or even a concrete slab.
- If you choose a wire mesh floor (for droppings to fall through), bury it at least 12 inches deep around the perimeter to prevent digging predators.
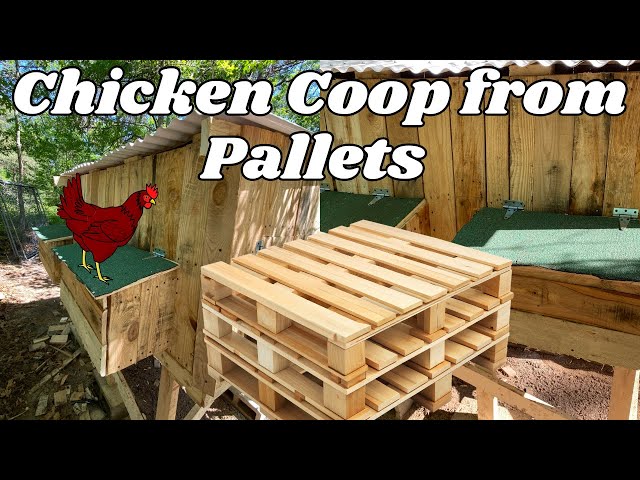
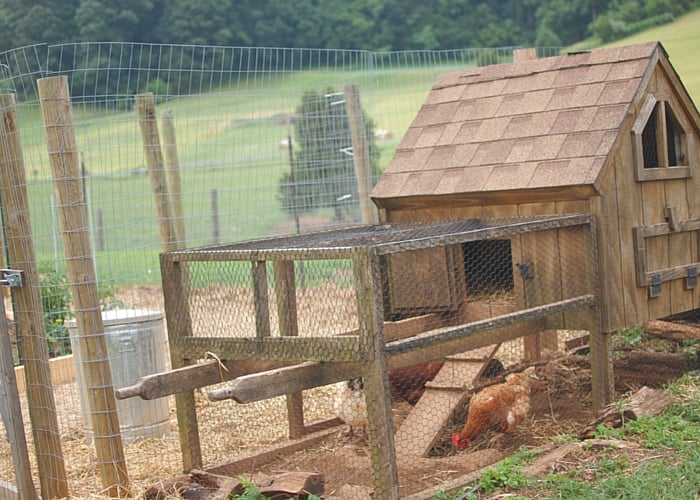
Step 6: Building the Run
- The run provides your chickens with a safe outdoor space to roam and forage.
- Use chicken wire or hardware cloth to enclose the run, making sure to bury the wire at least 6 inches deep to prevent digging predators.
- Attach the run to the coop, creating a seamless transition for your chickens.
Step 7: Adding the Finishing Touches
- Build nesting boxes inside the coop. A good size is about 12x12x12 inches. Provide one nesting box for every 3-4 hens.
- Install roosts for your chickens to sleep on. These should be about 2-3 feet off the ground.
- Add a door to the coop for easy access.
- Paint or stain the coop to protect the wood and give it a finished look.
- Add bedding material to the coop floor and nesting boxes.
Step 8: Predator Proofing
- Skirt the coop and run with hardware cloth at least 12 inches deep to deter digging predators.
- Cover the top of the run with netting or hardware cloth to prevent aerial attacks.
- Use strong latches on all doors.
- Regularly inspect the coop and run for any signs of damage.
Step 9: Chicken Time
- Once everything is finished you can introduce your chickens into their new home.
- Make sure they have food and water.
Connecting to the Homesteading Philosophy
Building a chicken coop from reclaimed materials isn't just a construction project; it's a tangible expression of the homesteading ethos. It embodies self-reliance, resourcefulness, and a commitment to sustainable living. By reducing waste, creating your own food source, and connecting with the land, you're contributing to a more resilient and fulfilling lifestyle.
Share Your Coop Story!
We'd love to see your DIY chicken coop creations! Share your photos and experiences in the comments below. Do you have any tips or tricks for building with reclaimed materials? What challenges did you face, and how did you overcome them? Let's learn from each other and build a stronger, more sustainable homesteading community!
