Cluck Yeah! Building a Budget-Friendly Chicken Coop for Cold Climates
Dreaming of farm-fresh eggs and a more sustainable lifestyle, Sarah? You're not alone! Many beginner homesteaders, especially those in colder climates like Wisconsin (USDA Zones 3-6), are intimidated by the thought of building a chicken coop. But fear not! This guide will walk you through building a simple, budget-friendly, and incredibly practical chicken coop using primarily repurposed materials – perfect for a weekend project and costing no more than $150. Get ready to say "cluck yeah!" to your backyard chicken adventure!
Why Backyard Chickens? More Than Just Fresh Eggs
Besides the obvious perk of having delicious, nutritious, and always fresh eggs, raising backyard chickens offers a wealth of benefits:
- Reduced Food Waste: Chickens are omnivores and will happily gobble up kitchen scraps, reducing your landfill contribution.
- Natural Pest Control: They love to forage for bugs in your garden, keeping unwanted pests at bay (just supervise them around your prized plants!).
- Fertilizer Gold: Chicken manure is an excellent source of nitrogen and other nutrients for your garden.
- Educational Opportunity: Raising chickens is a fantastic way to teach children about responsibility, animal care, and the food cycle.
- Stress Relief: There's something incredibly therapeutic about watching chickens scratch and peck around the yard.
I remember the first time our hens started laying. My daughter, then five, ran inside yelling, "Mommy, they made breakfast!" That connection to our food source and the joy it brought her was priceless.
The Pallet Coop: Budget-Friendly and Beginner-Approved
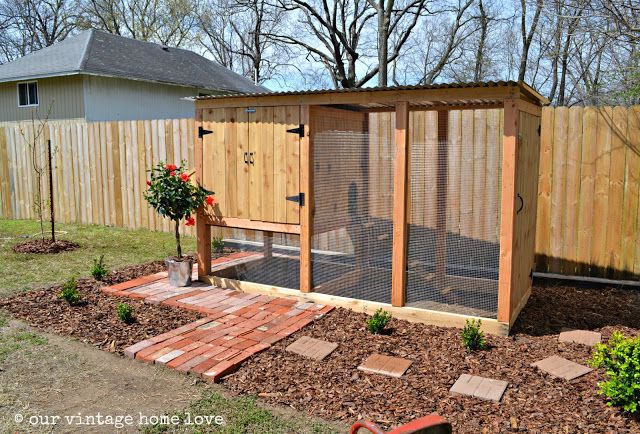
This coop design utilizes readily available and often free materials like pallets and scrap wood. It’s small enough to be manageable for beginners but large enough to comfortably house 2-4 chickens.
Estimated Cost: Under $150 (depending on material availability)
Tools You'll Need:
- Hammer
- Saw (circular or hand saw)
- Drill/Driver
- Measuring tape
- Level
- Staple gun
- Wire cutters
- Safety glasses
- Gloves
Materials List:
- 4-6 Pallets (untreated, heat-treated pallets are best)
- Scrap wood (for framing, roosting bars, and trim)
- Chicken wire or hardware cloth (for the run)
- Roofing material (corrugated metal, asphalt shingles, or repurposed materials like old signs)
- Hinges and latches
- Screws and nails
- Wood glue
- Bedding (straw or pine shavings)
- Paint or sealant (optional, but recommended for weatherproofing)
Step-by-Step Construction Guide:
1. Prepare Your Materials:
- Source Pallets: Check with local businesses, construction sites, or online marketplaces. Make sure they are untreated (look for the "HT" stamp, which indicates heat treatment, rather than chemical treatment).
- Disassemble Pallets (Optional): Depending on your design, you may need to disassemble some pallets to use the wood for framing or other structural elements. A reciprocating saw makes this easier.
- Gather Scrap Wood: Raid your garage, ask friends or neighbors, or check with local lumberyards for discounted or scrap pieces.
2. Build the Frame:
- Choose a Location: Select a level spot in your backyard that gets partial sun and is protected from strong winds.
- Create a Base: Use pallets or build a simple rectangular frame from scrap wood to elevate the coop off the ground. This helps with drainage and prevents rodents from burrowing underneath.
- Construct the Walls: Stand the pallets on their edges to form the walls of the coop. Secure them to the base and to each other using screws, nails, and wood glue. Ensure the structure is square and level.

3. Add the Roof:
- Build a Simple Frame: Create a slightly slanted roof frame using scrap wood. This will allow rainwater and snow to run off easily.
- Attach Roofing Material: Secure your chosen roofing material to the frame using screws or roofing nails. Overlap the edges to prevent leaks.
4. Create the Run:
- Enclose the Area: Use chicken wire or hardware cloth to create an enclosed run adjacent to the coop. Bury the wire at least 12 inches deep to prevent predators from digging under.
- Build a Door: Create a simple door for the run using scrap wood and hinges. Secure it with a latch.
5. Interior Design for Happy Hens:
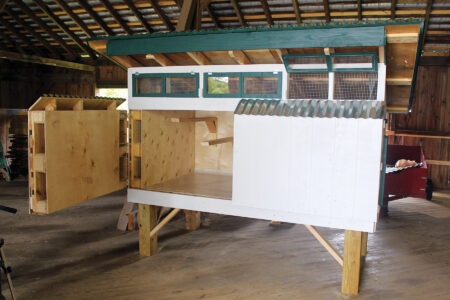
- Roosting Bars: Install roosting bars at different heights inside the coop. Chickens prefer to roost off the ground.
- Nesting Boxes: Provide nesting boxes in a dark, quiet corner of the coop. One nesting box is usually sufficient for 2-3 hens.
- Ventilation: Ensure adequate ventilation to prevent moisture buildup, especially in winter. A small opening near the top of the coop, covered with hardware cloth, will suffice.
6. Finishing Touches:
- Add a Door: Cut an opening in one of the pallet walls for the chicken door and create a ramp for easy access.
- Paint or Seal: Paint or seal the coop to protect it from the elements and extend its lifespan. Use non-toxic paint or sealant.
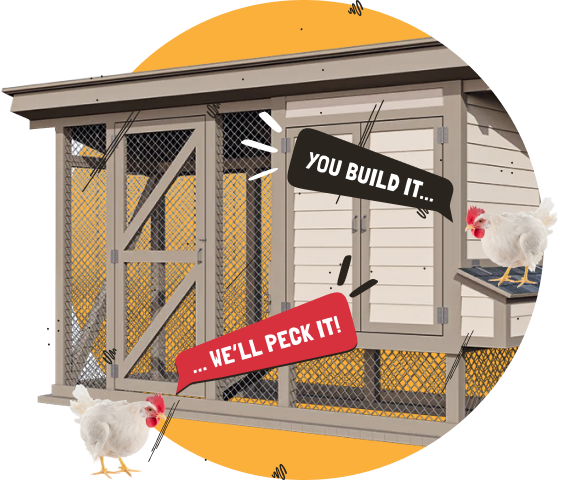
Cold Climate Considerations: Winterizing Your Coop
Living in USDA Zones 3-6 means winters can be harsh. Here's how to prepare your coop for the cold:
- Insulation: Insulate the coop walls with straw bales, rigid foam insulation, or even old blankets.
- Ventilation: Maintain adequate ventilation to prevent moisture buildup, which can lead to frostbite.
- Deep Litter Method: Use the deep litter method to generate heat inside the coop. Add fresh bedding regularly and allow it to decompose naturally.
- Heated Waterer: Provide a heated waterer to prevent the water from freezing.
- Extra Food: Provide extra food during the winter months to help your chickens stay warm.
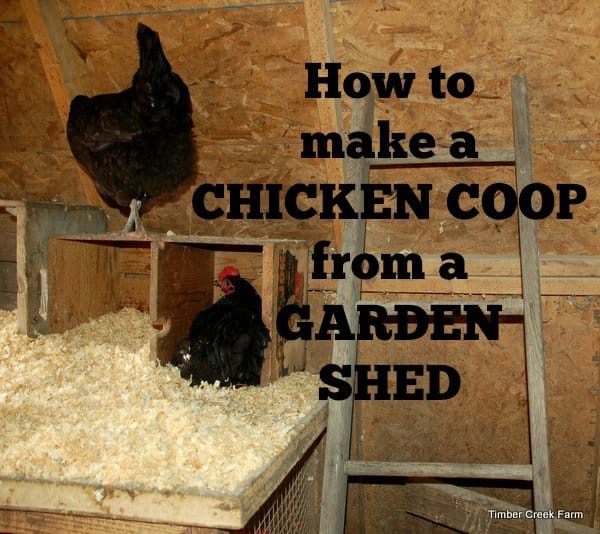
Predator Protection: Keeping Your Chickens Safe
Protecting your chickens from predators is crucial. Here are some tips:
- Secure the Coop: Use hardware cloth instead of chicken wire for the run, as it's more resistant to predators.
- Bury the Wire: Bury the wire at least 12 inches deep to prevent digging.
- Cover the Run: Cover the top of the run with netting or hardware cloth to protect against avian predators.
- Install a Motion-Activated Light: A motion-activated light can deter nocturnal predators.
- Lock Up at Night: Always lock your chickens in the coop at night.
Coop Cleaning: Maintaining a Healthy Environment
Regular coop cleaning is essential for maintaining a healthy environment for your chickens.
- Clean Regularly: Clean the coop at least once a week, removing soiled bedding and droppings.
- Deep Clean Periodically: Do a deep clean of the coop every few months, removing all bedding and disinfecting the surfaces.
- Compost the Manure: Chicken manure is a valuable fertilizer for your garden. Compost it properly before using it.
Adapting the Design: Making It Your Own
The beauty of this project is its adaptability! Feel free to modify the design based on your available materials and personal preferences.
- Roofing Options: Use repurposed metal roofing, old signs, or even heavy-duty tarps if you're on a tight budget.
- Run Size: Adjust the size of the run based on the number of chickens you plan to keep.
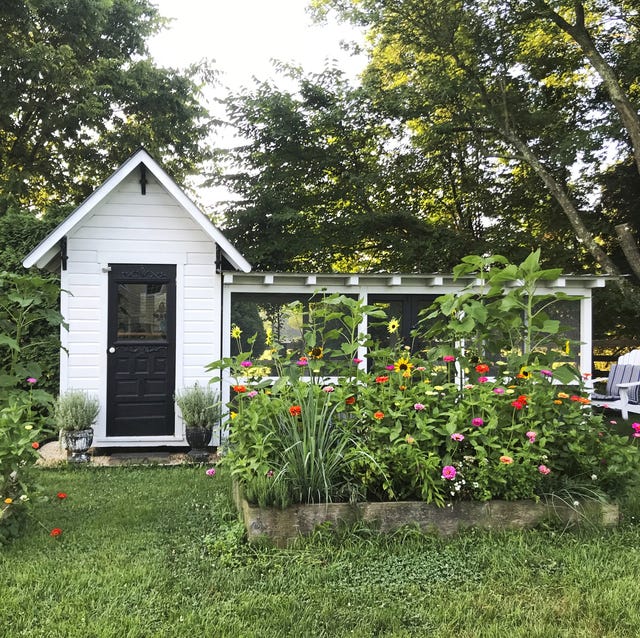
- Aesthetic Touches: Add decorative trim, paint the coop in bright colors, or create a charming garden around it.
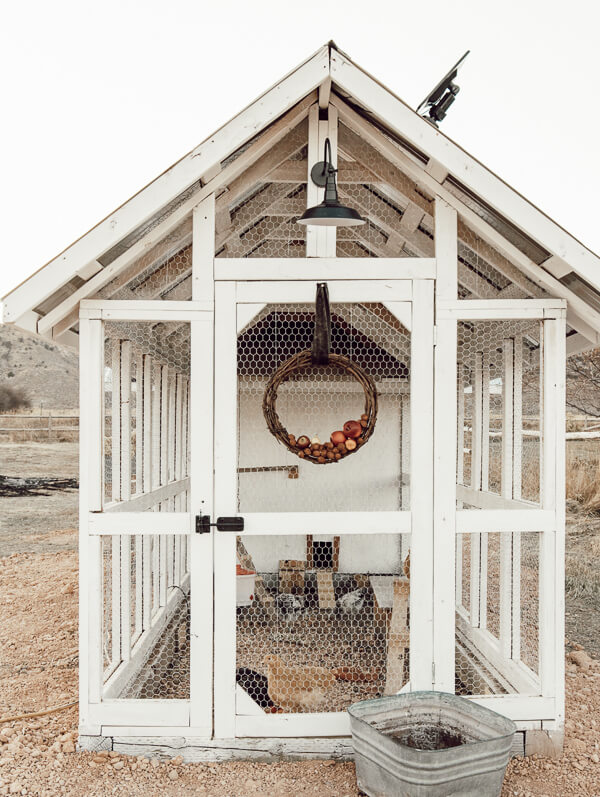
Choosing Your Flock: Cold-Hardy Breeds for the Win!
Not all chicken breeds are created equal when it comes to cold tolerance. Consider these cold-hardy breeds for your Wisconsin coop:
- Rhode Island Reds: Excellent egg layers and very hardy.
- Wyandottes: Dual-purpose breed known for their hardiness and beautiful plumage.
- Australorps: Another excellent egg layer and very cold-hardy.
- Plymouth Rocks: A heritage breed that's both hardy and friendly.
- Orpingtons: Gentle giants that are well-suited to cold climates.
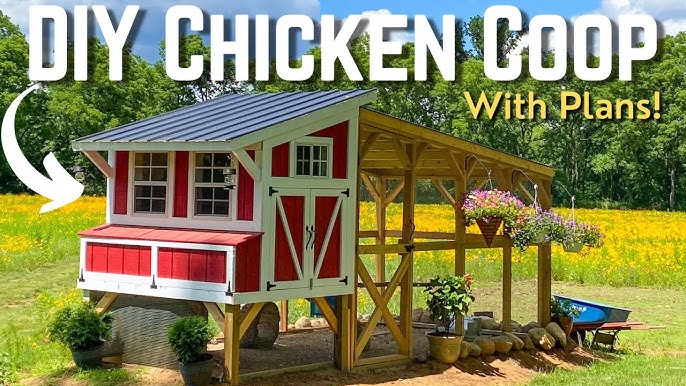
Beyond the Eggs: The Joy of Backyard Chickens
Backyard chickens offer so much more than just fresh eggs. They bring joy, connection to nature, and a sense of self-sufficiency. Embrace the experience, learn as you go, and enjoy the many rewards of raising your own flock. With a little creativity and elbow grease, you can create a thriving backyard chicken operation that benefits both you and your feathered friends.
Get Started Today!
Building a budget-friendly chicken coop is an achievable goal for any beginner homesteader. With repurposed materials, a little planning, and this guide, you can create a safe and comfortable home for your flock while enjoying all the benefits of backyard chickens. So, gather your materials, put on your gloves, and get ready to build your dream coop!
Social Media Snippets:
- 🐔 Calling all beginner homesteaders in cold climates! Learn how to build a DIY chicken coop for under $150 using recycled materials. Fresh eggs are just a weekend away! #DIYChickenCoop #BudgetHomesteading #BackyardChickens
- 🥚 Dreaming of farm-fresh eggs? Our step-by-step guide makes building a chicken coop easy, even for beginners! Perfect for cold climates & using repurposed pallets. #ColdClimateCoop #ChickenCoopPlans #DIYProjects
- ❄️ Winter is coming! Is your chicken coop ready? Check out our tips for winterizing your coop and keeping your flock happy and healthy all season long. #WinterChickenCoop #BackyardChickensWisconsin #HomesteadingLife
