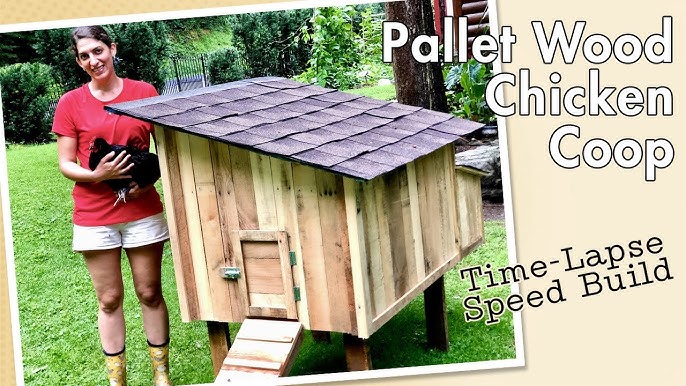
Calling All Resourceful Homesteaders! Build a Beginner-Friendly Chicken Coop with Better Homes and Harvests!
Dreaming of fresh eggs and the gentle clucking of happy hens in your backyard? A chicken coop is the cornerstone of any successful backyard chicken venture. But the thought of building one yourself can seem daunting, especially if you're new to homesteading and DIY projects. Fear not! This step-by-step guide will empower even the most novice builder to construct a simple, sturdy, and predator-proof chicken coop using reclaimed and readily available materials. Get ready to roll up your sleeves and create a comfortable and safe haven for your feathered friends!

Why Build Your Own Chicken Coop?
Before we dive into the how-to, let's talk about why building your own coop is a fantastic idea.
- Save Money: Pre-built coops can be expensive. Building your own using reclaimed materials can save you a significant amount of money. This makes it a very "Cheap Chicken Coop" option.
- Customize to Your Needs: You can design the coop to perfectly fit your space, the number of chickens you plan to keep, and your personal aesthetic.
- Learn New Skills: Building a coop is a great way to learn basic carpentry skills and gain confidence in your DIY abilities.
- Sustainable Homesteading: Using reclaimed materials is an environmentally friendly way to build, reducing waste and giving new life to old materials.
This is an "Easy Chicken Coop" to build and is great as a "Beginner Chicken Coop."
Planning Your Coop: Size and Location
Before you start swinging a hammer, you need a plan! A coop for 4-6 chickens doesn’t need to be massive, but adequate space is crucial for their health and happiness.
- Size: Aim for at least 4 square feet of coop space per chicken. For 4-6 chickens, a coop that’s roughly 4ft x 6ft or 6ft x 6ft is a great size.
- Run: In addition to the coop, your chickens will need an enclosed run where they can scratch, dust bathe, and forage. Plan for at least 8-10 square feet of run space per chicken.
- Location: Choose a location that's relatively flat, well-drained, and offers some protection from the elements. Consider shade in the summer and sun in the winter. Also, check local ordinances regarding keeping chickens in your area.
Materials List: Keeping it Budget-Friendly
The beauty of this project is its reliance on reclaimed and affordable materials. Here's a general list; adjust based on your design and what you can find:
- Pallets: These can often be sourced for free from local businesses. Look for heat-treated (HT) pallets, which are safer than those treated with chemicals. (Use for walls and framing)
- Scrap Wood: Leftover lumber from other projects, fencing, or even old furniture can be repurposed for framing, roosts, and nesting boxes.
- Chicken Wire or Hardware Cloth: Hardware cloth (1/2 inch mesh) is more durable and predator-resistant than chicken wire, but chicken wire can work if secured well.
- Roofing Material: Corrugated metal roofing, asphalt shingles (reclaimed is great!), or even heavy-duty tarps can be used.
- Hinges and Latches: For doors, nesting boxes, and run access.
- Screws and Nails: Choose exterior-grade fasteners to withstand the elements.
- Wood Preservative (Optional): To extend the life of your wood, especially if using untreated lumber. Look for poultry-safe options.
- Sand/Pine Shavings: For bedding inside the coop.
Estimated Costs: Depending on how much you can reclaim, you can potentially build this coop for under $150 - $300.
Where to Find Materials:
- Local Businesses: Ask for discarded pallets, lumber scraps, and other materials.
- Construction Sites: Check with contractors for leftover wood.
- Online Marketplaces: Look for used building materials on Facebook Marketplace, Craigslist, and other online platforms.
- Habitat for Humanity ReStore: These stores often have discounted building materials.
- Farm Supply Stores: For chicken wire, hardware cloth, feeders, and waterers.
Step-by-Step Building Guide: From Zero to Coop Hero!
Safety First! Always wear safety glasses, gloves, and appropriate footwear when working with tools and materials. If you're unsure about any step, consult with someone experienced in carpentry.
Step 1: The Foundation
While a concrete foundation isn't necessary, raising the coop slightly off the ground is highly recommended. This helps prevent rot and makes cleaning easier.
- Option 1: Simple Skids: Use pressure-treated 4x4 lumber or large, sturdy branches as skids. Place them parallel to each other and ensure they are level.
- Option 2: Concrete Blocks: Place concrete blocks at each corner and in the middle for support. Ensure they are level.
Step 2: Framing the Coop Walls
This is where your pallets come in handy!
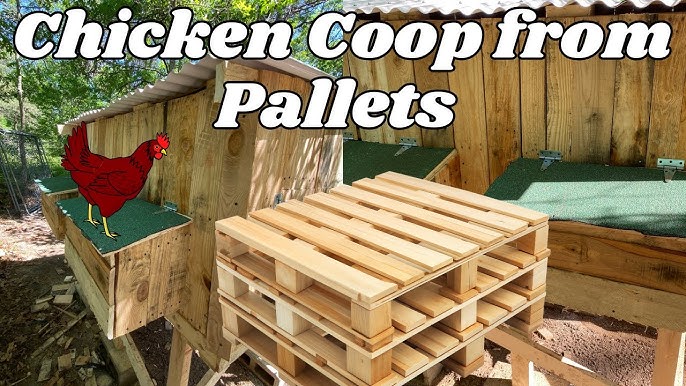
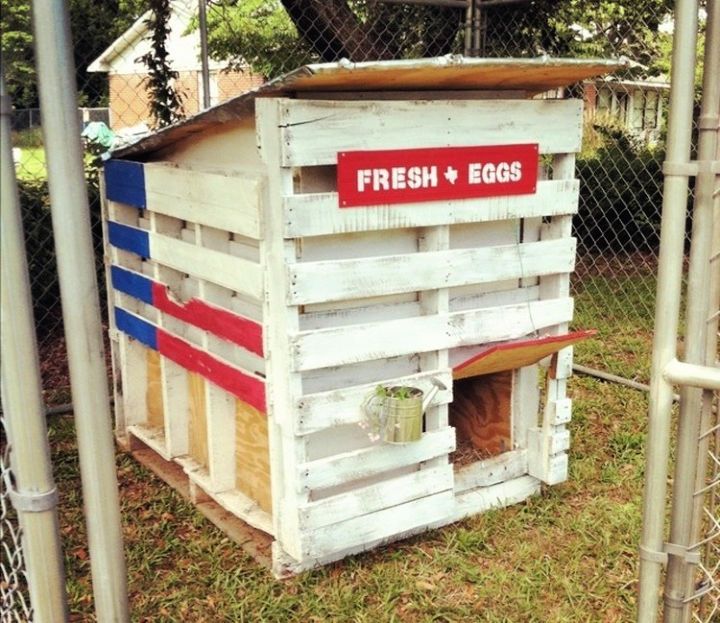
- Pallet Walls: If using pallets, disassemble them carefully, salvaging as much wood as possible. Alternatively, use whole pallets for the walls, reinforcing them with additional framing.
- Cut Lumber: Cut lumber to create a rectangular frame based on your desired coop size. A basic frame consists of a bottom plate, top plate, and vertical studs.
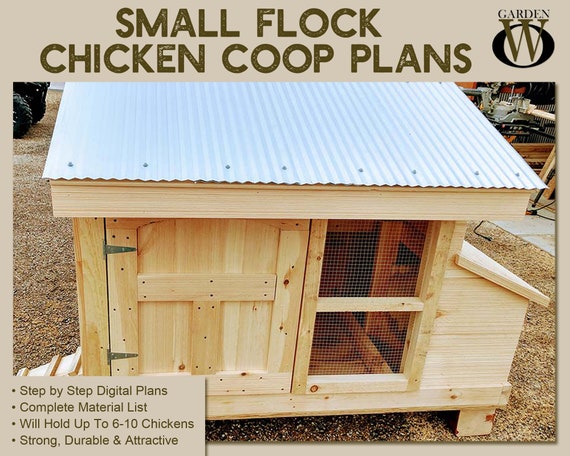
- Attach the Walls: Secure the pallet wood or lumber to the frame using screws. Ensure the walls are square and plumb.
Step 3: Building the Roof
The roof is crucial for protecting your chickens from the elements. A simple sloped roof is the easiest to build.
- Rafters: Cut rafters from lumber and attach them to the top plates of the walls. Create a slight slope for water runoff.
- Sheathing: Cover the rafters with plywood or OSB board.
- Roofing Material: Install your chosen roofing material, overlapping the edges to prevent leaks. Secure with roofing nails or screws.
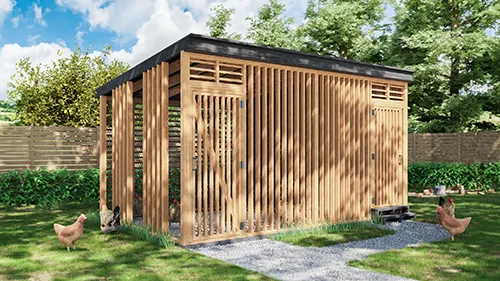
Step 4: Creating the Chicken Run
The run provides a safe outdoor space for your chickens to roam.
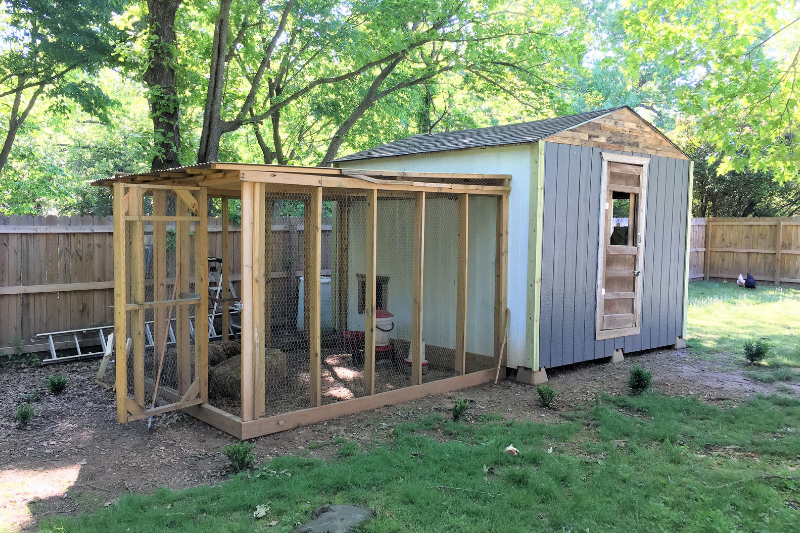
- Framing: Build a frame around the coop using lumber or pallets.
- Wire Mesh: Attach chicken wire or hardware cloth to the frame, burying it a few inches into the ground to prevent predators from digging under.

Step 5: Adding Doors and Nesting Boxes
- Chicken Door: Cut a small opening in one of the coop walls for the chickens to enter and exit. Build a simple door with hinges and a latch.
- Human Door: Create a larger door for easy access to the coop for cleaning and egg collection.
- Nesting Boxes: Build or repurpose boxes for nesting. A good size is about 12x12x12 inches. Place them inside the coop in a dark, quiet area. One nesting box for every 3-4 hens is sufficient.
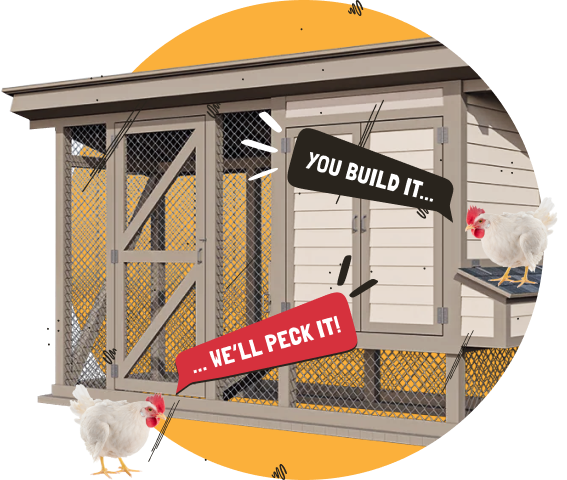
Step 6: Roosting Bars
Chickens naturally roost (sleep) on elevated perches.
- Install Roosts: Place smooth, round roosting bars inside the coop, about 18-24 inches off the ground. Provide at least 8-10 inches of roosting space per chicken.
Step 7: Ventilation
Proper ventilation is crucial for keeping the coop dry and preventing respiratory problems.
- Ventilation Openings: Create small openings near the top of the coop walls, covering them with hardware cloth to keep out predators.
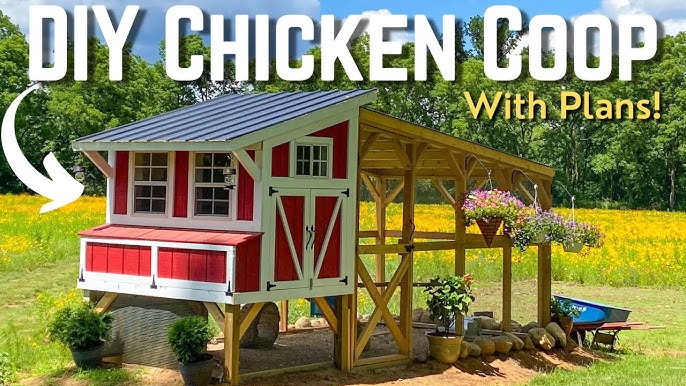
Step 8: Finishing Touches
- Seal Gaps: Seal any gaps or cracks in the coop with caulk or wood filler to prevent drafts and keep out rodents.
- Bedding: Add a thick layer of bedding (sand, pine shavings, or straw) to the floor of the coop.
- Food and Water: Place feeders and waterers inside the coop and run.
Personal Touch: My Chicken Coop Journey
When I built my first chicken coop, I was definitely a beginner! I chose a simple A-frame design using mostly reclaimed pallets. My biggest hurdle was definitely disassembling the pallets – it took a lot of patience and a good crowbar! I also underestimated how much hardware cloth I would need for the run. I learned the hard way that predators are persistent and will find any weak spot. Despite the challenges, the satisfaction of seeing my chickens happily settling into their new home was incredibly rewarding.
Customization Ideas
- Climate: In colder climates, insulate the coop walls with straw bales or rigid foam insulation. In hotter climates, ensure ample ventilation and provide shade for the run.
- Aesthetics: Paint the coop to match your home or add decorative trim.
- Automatic Door: Install an automatic chicken door for convenience and added security.
Introducing Chickens to Their New Home
Once your coop is complete, it's time to introduce your chickens!
- Evening Introduction: Place your chickens in the coop at night, when they are sleepy.
- Confine Them Initially: Keep them confined to the coop for a few days so they can learn where their food, water, and roosting spots are.
- Gradually Introduce the Run: After a few days, open the door to the run and allow them to explore.
- Observe Their Behavior: Monitor their behavior to ensure they are adjusting well and not being bullied.
Common Mistakes to Avoid
- Not Enough Space: Overcrowding can lead to stress and disease.
- Poor Ventilation: Lack of ventilation can cause respiratory problems.
- Inadequate Predator Protection: Use hardware cloth and bury it to prevent digging.
- Neglecting Cleaning: Regularly clean the coop to prevent the buildup of ammonia and bacteria.
Conclusion: Your Homesteading Adventure Awaits!
Building your own chicken coop is a rewarding and empowering experience. By using reclaimed materials and following these simple steps, you can create a safe and comfortable home for your chickens while saving money and learning new skills. So, gather your materials, grab your tools, and get ready to embark on your homesteading adventure! Remember to prioritize safety, plan carefully, and don't be afraid to ask for help when you need it. Happy building!
What's the one thing you wish you'd known before building your coop? Share your own chicken coop building experiences in the comments section below!
