Calling All Homestead Heroes! Share Your Wisdom: Building a DIY Root Cellar for a Bountiful Harvest!
Imagine biting into a crisp apple in the dead of winter, the taste a vibrant reminder of your fall harvest. Or perhaps you’re roasting potatoes in February, their earthy flavor a welcome change from the bland offerings of the grocery store. For years, I dreamed of extending the life of my garden's bounty far beyond the traditional harvest season. Canning and freezing are helpful, but there's something special about the fresh taste and nutrient retention that a root cellar provides. That’s why I embarked on building my own DIY root cellar, and let me tell you, it's been a game-changer for our homesteading life. Today, I'm sharing my journey and guiding you through the steps to build your own!
This isn't just about building a structure; it's about embracing self-sufficiency, reducing food waste, and connecting with the natural rhythms of the seasons. If you're ready to take control of your food storage and enjoy the fruits (and vegetables!) of your labor all winter long, let's dive in! We’ll be covering a small, DIY root cellar project achievable by intermediate DIYers with basic carpentry skills. We'll explore different designs, step-by-step instructions, and practical tips for success. Get ready to build your own piece of homesteading paradise!
Choosing the Right Root Cellar Design for Your Needs
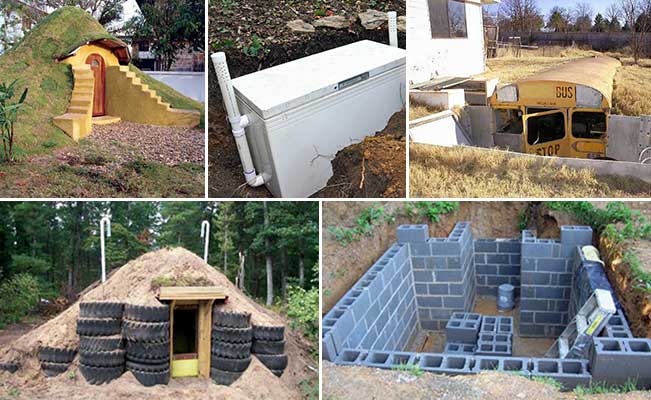
Before you even think about picking up a shovel, you need to decide what kind of root cellar best suits your property and your needs. There are three main types: basement, hillside, and standalone. Each has its own set of pros and cons.
Basement Root Cellar:
- Pros: Convenient (already under your house!), relatively inexpensive to build, takes advantage of existing insulation.
- Cons: Can be difficult to control temperature and humidity if your basement is too warm or dry, requires careful insulation to prevent freezing, may require some modification to your existing basement layout.
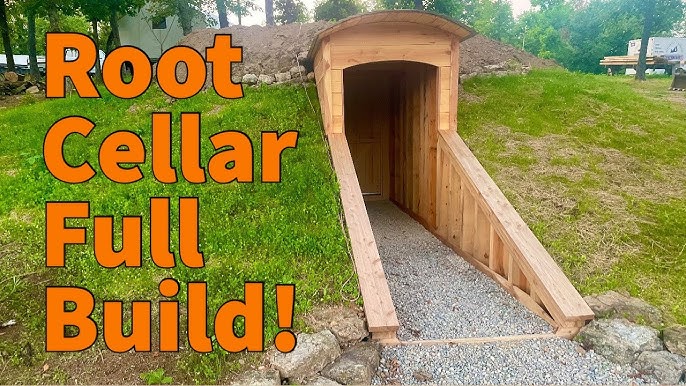
Hillside Root Cellar:
- Pros: Excellent natural insulation from the earth, good temperature stability, aesthetically pleasing.
- Cons: Requires a suitable hillside, more labor-intensive to build (lots of digging!), drainage can be an issue.
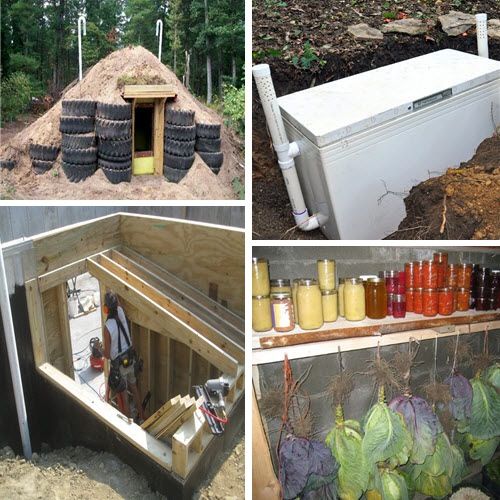
Descriptive alt text: The stone entrance of a hillside root cellar, showcasing a sturdy wooden door and earth covering.
Standalone Root Cellar:
- Pros: Can be built anywhere on your property, customizable design, good temperature control (if built properly).
- Cons: Most expensive option, requires the most construction effort, needs excellent insulation to maintain consistent temperature.
For this guide, we'll focus on a basement root cellar as it's generally the most accessible and cost-effective option for many homesteaders. However, the principles of insulation, ventilation, and temperature control apply to all three designs. I built mine in my basement, and with a few tweaks, I've managed to create the perfect environment for my winter veggies.
Step-by-Step Guide to Building a Basement Root Cellar
Here's a breakdown of the process. Remember to always consult local building codes and obtain any necessary permits before starting construction.
Step 1: Planning and Preparation
- Choose a Location: Select a cool, dark corner of your basement that's away from the furnace, water heater, or any other heat sources. Ideally, it should have an exterior wall for easier ventilation.
- Assess Moisture: Check the area for excessive moisture. If you have water problems, address them before building your root cellar. A dehumidifier can help, but fixing the source of the moisture is essential.
- Design Your Space: Determine the size of your root cellar based on your storage needs. A small, 6' x 8' space can be sufficient for a typical family. Sketch out a plan, including the location of shelves, ventilation, and the door.
- Gather Your Materials: You'll need:
- Lumber (for framing and shelves)
- Insulation (rigid foam board is ideal)
- Vapor barrier (plastic sheeting)
- Fasteners (screws, nails)
- Ventilation pipe (4-6 inch diameter)
- Door (solid wood or insulated metal)
- Weather stripping
- Concrete blocks (optional, for leveling the floor)
- Gravel (for drainage, if needed)
Step 2: Construction
- Frame the Walls: Build a stud wall frame around your designated space. Use pressure-treated lumber for the bottom plate if it will be in contact with the concrete floor. Ensure the walls are square and plumb.
Descriptive alt text: A partial wooden frame for a root cellar wall with exposed stud construction - Insulate the Walls: Install rigid foam board insulation between the studs. Seal all the seams with foil tape to prevent air leaks. The R-value of the insulation will depend on your climate, but aim for at least R-13.
- Install a Vapor Barrier: Cover the insulation with a layer of plastic sheeting to prevent moisture from entering the walls. Overlap the seams and seal them with tape.
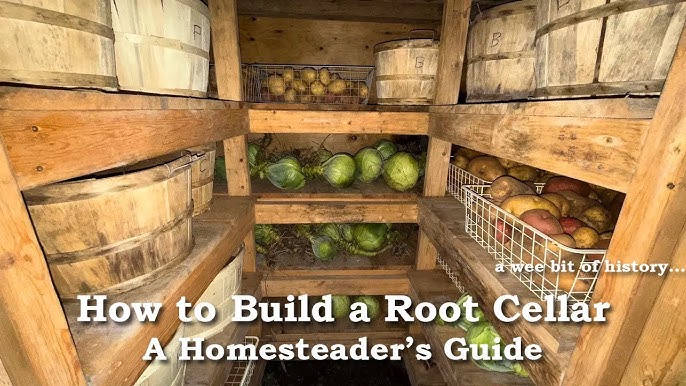
- Build Shelving: Construct sturdy shelving units from lumber. Leave space between the shelves for air circulation. Consider using different shelf depths to accommodate various sizes of produce.
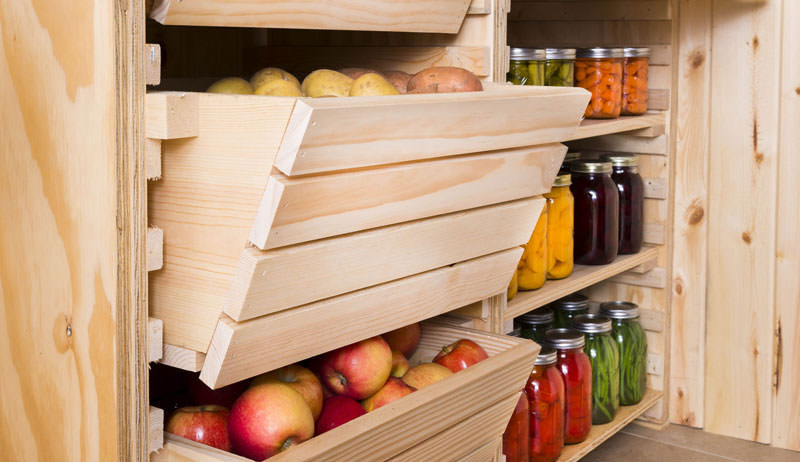
Descriptive alt text: A well-organized root cellar interior with layered wooden shelves and various fruits and vegetables displayed. - Install the Door: Hang a solid wood or insulated metal door with tight-fitting weather stripping to create an airtight seal.
Step 3: Ventilation
Ventilation is crucial for maintaining the proper temperature and humidity levels in your root cellar. Stagnant air can lead to mold and spoilage.
- Install Inlet and Outlet Vents: Install a low inlet vent near the floor and a high outlet vent near the ceiling, ideally on opposite walls. This will create natural convection, drawing cool air in and pushing warm, moist air out.
Descriptive alt text: Various produce stored inside a root cellar with visible ventilation pipes running along the back wall. - Use Adjustable Dampers: Install adjustable dampers on the vents so you can control the airflow. In cold weather, you'll want to close the vents partially to prevent freezing.
- Consider a Fan: In some cases, you may need to install a small fan to improve air circulation, especially during warmer months.
Step 4: Temperature and Humidity Control
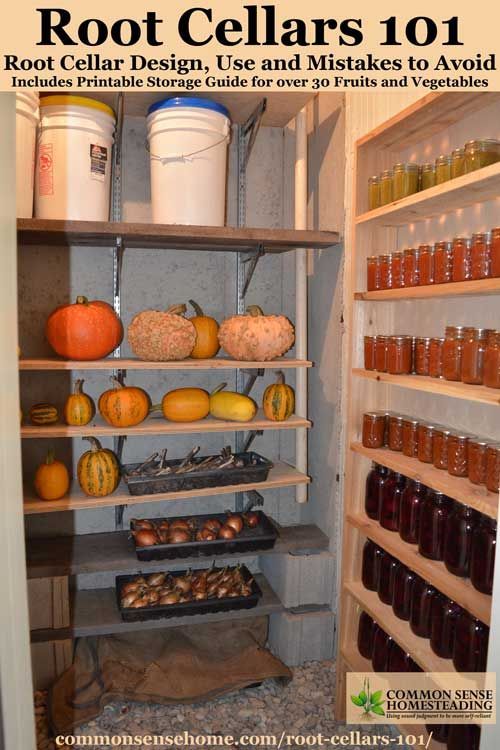
- Monitor Temperature and Humidity: Use a thermometer and hygrometer to monitor the temperature and humidity levels in your root cellar. The ideal temperature range is 32-40°F (0-4°C), and the ideal humidity range is 80-95%.
- Adjust Ventilation: Adjust the dampers on your vents to maintain the proper temperature and humidity levels.
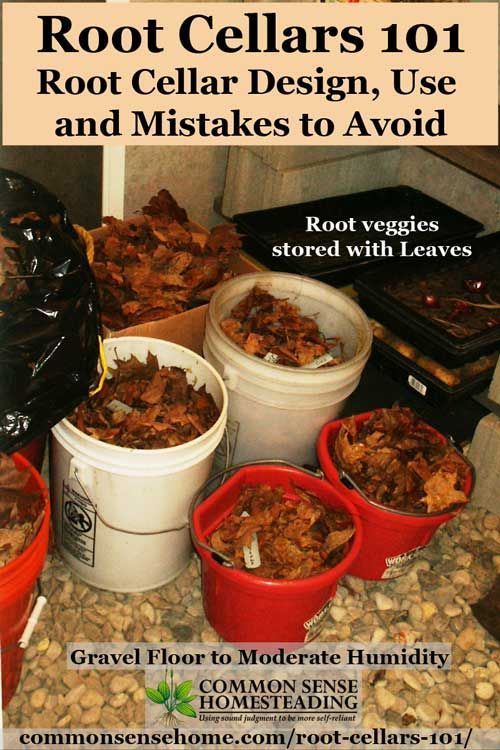
- Use Moisture Barriers: Cover the floor with gravel or sand to help regulate humidity. You can also dampen the floor occasionally to increase humidity.
- Insulate as Needed: Add more insulation if your root cellar is too warm or too cold.
Practical Tips and Tricks for Root Cellar Success
- Don't Store Damaged Produce: Only store healthy, undamaged fruits and vegetables. Any damaged produce can rot and spoil the rest of your harvest.
- Sort and Inspect Regularly: Check your produce regularly for signs of spoilage. Remove any rotting items immediately.
- Provide Air Circulation: Make sure there's adequate air circulation around your produce. Don't overcrowd the shelves.
- Store Fruits and Vegetables Separately: Some fruits, like apples, emit ethylene gas, which can cause vegetables to ripen and spoil more quickly.
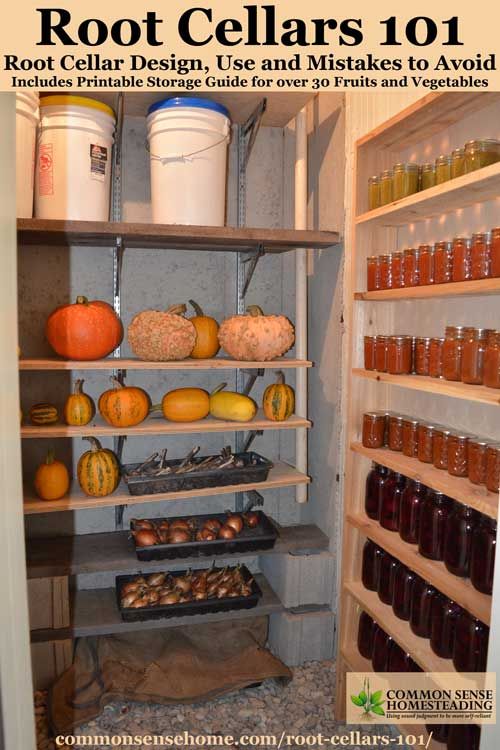
*Descriptive alt text: Inside a well-stocked root cellar. Produce is organized into baskets and shelves. Lighting is minimal. * - Label Everything: Label your produce with the date it was harvested so you can use it in the order it was stored.
- My Biggest Mistake: Initially, I didn't properly seal the vapor barrier, and I ended up with moisture buildup inside the walls. I had to tear down the drywall, fix the vapor barrier, and rebuild the walls. It was a pain, but it taught me the importance of doing things right the first time!
What to Store in Your Root Cellar
Not all fruits and vegetables are created equal when it comes to root cellaring. Here's a guide to some of the best candidates:
- Apples: Store best at 32-40°F and 90-95% humidity. Wrap individual apples in newspaper to prevent them from touching and spreading rot.
- Potatoes: Store best at 35-40°F and 85-90% humidity. Keep them in a dark place to prevent them from turning green.
Descriptive alt text: Potatoes piled in storage boxes within a root cellar setting. - Carrots: Store best at 32-40°F and 90-95% humidity. Bury them in damp sand or sawdust to keep them from drying out.
- Onions: Store best at 32-40°F and 65-70% humidity. Hang them in mesh bags to allow for good air circulation.
- Garlic: Store best at 32-40°F and 65-70% humidity. Hang them in braids or mesh bags.
- Root Vegetables (Beets, Turnips, Parsnips): Similar to carrots, store best buried in damp sand or sawdust.
- Cabbage: Store best at 32-40°F and 90-95% humidity. Wrap individual heads in newspaper.
My Homestead Story: From Garden to Table, All Winter Long
Building a DIY root cellar was one of the best decisions I've made for my homestead. Not only has it allowed me to enjoy fresh, homegrown produce throughout the winter, but it's also reduced my reliance on store-bought food and helped me connect with the natural rhythms of the seasons. It's incredibly satisfying to walk into my root cellar in the middle of winter and see rows of vibrant, healthy fruits and vegetables, knowing that I grew them myself and preserved them using sustainable methods. The taste is incredible!
Building a DIY root cellar is an investment in your self-sufficiency, your health, and your connection to the land. While it may seem like a daunting task, with careful planning, attention to detail, and a little bit of elbow grease, you can create a food storage solution that will provide you with fresh, delicious produce all winter long. So, roll up your sleeves, gather your tools, and get ready to build your own homestead haven! Happy harvesting and happy building!