Buzzing Backyards: DIY Insect Hotels for a Thriving Homestead
Have you noticed fewer bees buzzing around your zinnias lately? It’s a worry shared by gardeners everywhere. I remember a few years ago, my tomato crop was noticeably smaller than usual. After some research, I realized the lack of pollinators was the culprit. It was a wake-up call that spurred me to take action.

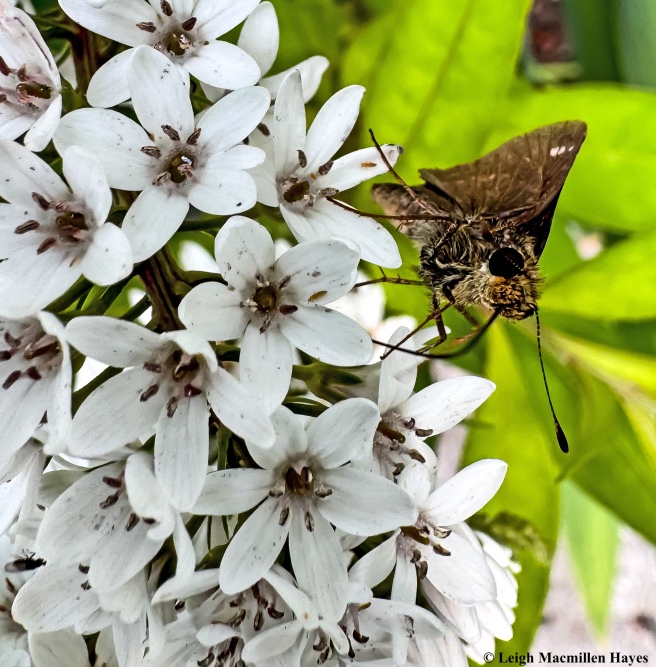
The truth is, our buzzing buddies are facing a crisis. Habitat loss, pesticide use, and climate change are all taking a toll on pollinator populations worldwide. According to recent studies, many bee species are declining at an alarming rate, threatening the delicate balance of our ecosystems and the future of our food supply. But there's good news: we can make a difference right in our own backyards.
This post is all about a simple, charming, and incredibly effective way to lend a helping hand: building an insect hotel. More than just a decorative addition to your garden, an insect hotel provides shelter and nesting sites for a variety of beneficial insects, boosting pollination rates and promoting a healthier, more sustainable homestead. We'll explore what insect hotels are, why they're so important, how to design and build your own, and how to seamlessly integrate it into your existing garden. Let’s get buzzing!
What are Insect Hotels and Why Should You Care?
An insect hotel, also known as a bug hotel or insect house, is an artificial structure designed to provide shelter and nesting sites for various beneficial insects. Think of it as a cozy apartment complex specifically designed to attract bees, wasps, ladybugs, beetles, and other six-legged friends.

[Please note: I am unable to generate actual images so I have replaced the url with this text.]
What sets insect hotels apart from traditional beehives is that they cater to a wider range of insects, especially solitary bees. While honeybees are vital, solitary bees, which don't live in colonies and don't produce honey, are often even more efficient pollinators. They are gentle and less likely to sting, making them perfect for family gardens.
But the benefits extend beyond pollination. Insect hotels contribute to overall biodiversity, creating a more resilient and balanced garden ecosystem. They also attract beneficial insects that prey on common garden pests, reducing the need for harmful pesticides – a cornerstone of any sustainable home. Ladybugs, for example, are voracious aphid eaters, while lacewings feast on a variety of soft-bodied insects.
And let's not forget the educational value. An insect hotel provides a fascinating opportunity to observe insect behavior up close, sparking curiosity and fostering a deeper appreciation for the natural world, especially for children. It is a great project for teaching about nature and the importance of insects.
In short, insect hotels are more than just a pretty face. They’re vital tools for supporting a healthy, balanced garden ecosystem and combating pollinator decline, contributing to a thriving homestead.
Designing Your Insect Hotel: Functionality Meets Farmhouse Flair
Before you start hammering and sawing, take some time to consider the design of your insect hotel. The goal is to create a welcoming and functional habitat that also complements your farmhouse aesthetic.
First, think about location, location, location! The ideal spot is a sunny, sheltered location that faces south or southeast. This provides warmth and protection from harsh weather. Place the hotel near a source of nectar and pollen-rich plants to provide a readily available food source for your insect residents.
The size and structure of your insect hotel will depend on your available space and the types of insects you want to attract. Even a small hotel can make a big difference. You can build a single-story structure for a compact garden or create a multi-story masterpiece for a larger homestead.
Material matters! Opt for natural, untreated materials like wood, bamboo, straw, pine cones, and clay. Avoid pressure-treated wood or materials treated with chemicals, as these can be harmful to insects. Repurposed materials, like old wooden pallets or scrap lumber, add character and reduce waste.

[Please note: I am unable to generate actual images so I have replaced the url with this text.]
The secret to attracting a diverse range of insects is to provide varied “room service.” Different insects have different needs, so offer a variety of nesting materials and hole sizes. Here are a few ideas:
- Drilled wood blocks: Drill holes of varying sizes (3-10mm) and depths into untreated wood blocks. These are ideal for solitary bees.
- Bamboo canes: Cut bamboo canes to different lengths and bundle them together. Again, these attract solitary bees.
- Pine cones: These create a cozy habitat for overwintering insects like ladybugs.
- Straw or hay: Pack straw or hay loosely into compartments to provide nesting material for certain bee species.
- Clay pots: Turn clay pots upside down and fill them with straw or leaves.
When thinking about aesthetics, balance functionality with visual appeal. Choose materials and designs that complement your farmhouse style. Rustic wood, natural colors, and repurposed materials blend seamlessly into a farmhouse setting. Consider adding a pitched roof for weather protection and a touch of charm. You can also incorporate decorative elements like painted details or climbing vines.
By carefully considering the design, you can create an insect hotel that is both functional and beautiful, attracting the right insects and enhancing the overall appeal of your garden.
Step-by-Step: Building Your DIY Insect Hotel
Ready to roll up your sleeves and build your own insect hotel? Here’s a simple step-by-step guide:
Materials List:
- Wood scraps (for the frame)
- Bamboo canes
- Untreated wood blocks
- Pine cones
- Straw or hay
- Chicken wire
- Nails or screws
- Wood glue (optional)
Tools Required:
- Saw
- Drill with various sized drill bits
- Hammer or screwdriver
- Wire cutters
- Measuring tape
- Safety glasses

[Please note: I am unable to generate actual images so I have replaced the url with this text.]
Construction Steps:
- Build the Frame: Construct a sturdy frame from wood scraps. The size will depend on your desired dimensions. A simple rectangular frame is a good starting point.
- Create the "Rooms": Divide the frame into compartments using smaller pieces of wood. These compartments will house the different nesting materials.
- Fill the Frame: Fill each compartment with the appropriate nesting material: drilled wood blocks, bamboo canes, pine cones, straw, etc. Pack the materials tightly to prevent them from falling out.
- Add Protection: Cover the front of the hotel with chicken wire to protect the nesting materials from birds and other predators. Secure the chicken wire with nails or staples.
- Finishing Touches: Add a roof to protect the hotel from rain. You can use a piece of scrap wood or roofing material. Attach the roof securely to the frame.
Safety Considerations:
- Always wear safety glasses when using power tools.
- Use caution when handling sharp objects like saws and wire cutters.
- Supervise children closely when they are helping with the project.
Building an insect hotel is a manageable DIY project that yields significant benefits for your garden and the environment. Don't be afraid to get creative and personalize your hotel to reflect your own style.
Integrating Your Insect Hotel into Your Homestead
Building the insect hotel is just the first step. To ensure its success, you need to integrate it into your overall garden ecosystem.
Placement Considerations: Optimize placement for specific insect needs. Place the hotel in a sunny spot that is sheltered from strong winds. Position it near a source of nectar and pollen-rich plants.
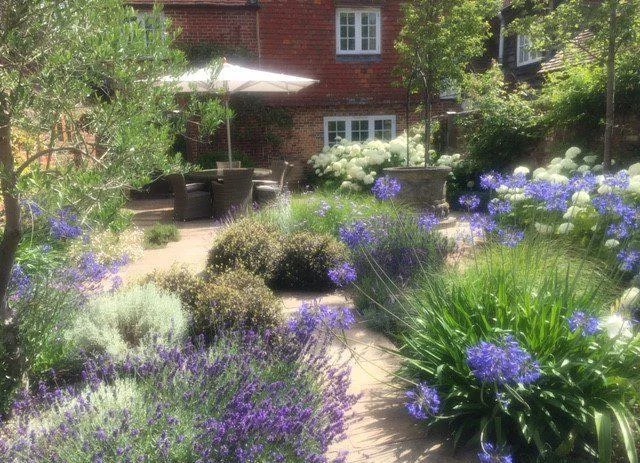
Planting for Pollinators: Select native plants that attract pollinators. Some excellent choices include coneflowers, milkweed, asters, sunflowers, and bee balm. These plants provide a valuable source of nectar and pollen for insects. Remember to prioritize organic gardening practices, avoiding the use of pesticides and herbicides that can harm pollinators.

Water Source: Provide a shallow dish of water with pebbles or stones for insects to drink from. Place the dish near the insect hotel.
Maintenance: Check the insect hotel regularly for damage or debris. Replace old nesting materials as needed. Clean the hotel annually to prevent the buildup of pests or diseases.
Seasonal Considerations: The use of your insect hotel will change with the seasons. In the spring and summer, insects will use the hotel for nesting and breeding. In the fall and winter, they will use it for shelter. Provide appropriate nesting materials and ensure that the hotel is protected from the elements.
By integrating your insect hotel into a holistic garden ecosystem that provides food, water, and shelter, you can create a thriving habitat for pollinators and beneficial insects.
A Buzzing Future
Creating a pollinator-friendly garden is an act of hope. By building and integrating an insect hotel, you are taking a tangible step towards supporting pollinators and creating a more sustainable world. Small actions, multiplied across countless backyards and homesteads, can have a profound impact on the health of our planet.
Remember to inspect your insect hotel regularly and make adjustments as needed to support the changing needs of pollinators throughout the year. Clean it out in the early spring before nesting season begins, and provide fresh nesting materials.
Building an insect hotel perfectly embodies the farmhouse values of simple living, sustainability, and respect for nature. It's a project that connects us to the natural world and reminds us of the importance of working in harmony with the environment.
Ready to create your own buzzing backyard haven? We'd love to hear your experiences! Share your insect hotel building stories and photos in the comments section or on social media using #BetterHomesInsectHotel. Do you have any questions about insect hotels? Ask away in the comments below! For more information on organic gardening, native plants, and pollinator conservation, check out the related articles on the Better Homes and Harvests blog. Happy building!