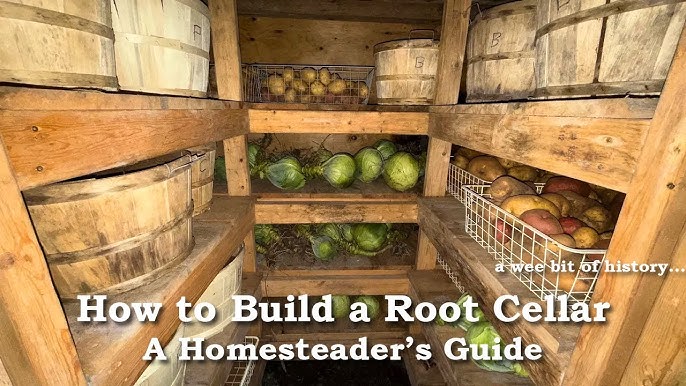
Building a Budget-Friendly Root Cellar: Extend Your Harvest All Winter Long
Imagine biting into a crisp apple in January, freshly pulled from your own root cellar. Or serving up potatoes grown in your garden last summer, still firm and flavorful months later. This isn't a fantasy; it's the reality a root cellar can bring to your homestead. For centuries, root cellars have been the cornerstone of sustainable living, providing a natural way to store fruits, vegetables, and other perishables without relying on electricity-guzzling appliances. Here at Better Homes and Harvests, we're passionate about empowering you to become more self-sufficient. That's why we're excited to guide you through building your very own budget-friendly root cellar, perfect for beginners and designed with reclaimed and locally sourced materials in mind. This DIY root cellar project will not only extend your harvest but also shrink your grocery bill! We estimate that storing your own produce this way can save you hundreds of dollars each winter.
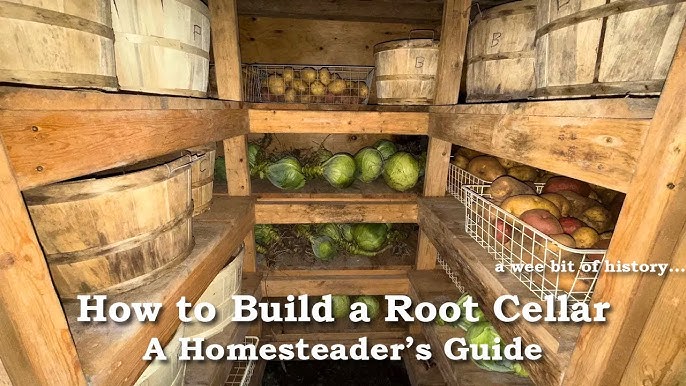
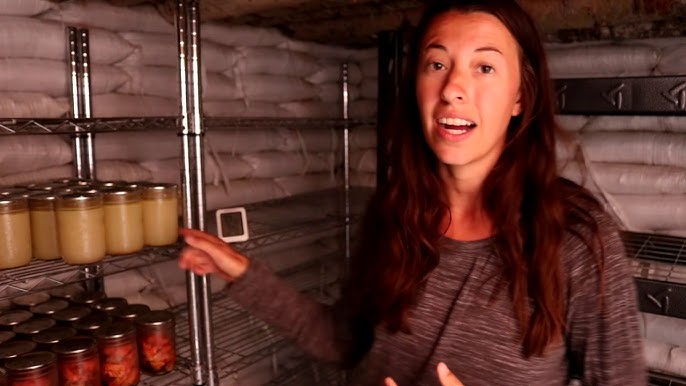
A well-stocked root cellar ensures fresh, homegrown produce is available throughout the winter.
My Root Cellar Journey
I remember my grandmother's root cellar. The cool, earthy smell, the rows of gleaming jars, and the promise of delicious meals throughout the winter were magical. She taught me the importance of preserving the harvest, not just for sustenance but for connection to the land and a sense of self-reliance. It’s a tradition I’m thrilled to share with you.
Why Build a Root Cellar?
Before we dive into the how-to, let's talk about the why. A root cellar offers a multitude of benefits:
- Reduced Food Waste: Prevent spoilage and keep your hard-earned harvest fresh for months.
- Cost Savings: Minimize trips to the grocery store during the off-season.
- Self-Sufficiency: Gain greater control over your food supply.
- Environmental Friendliness: Reduce your carbon footprint by avoiding energy-intensive refrigeration.
- Preserve Nutrients: Root cellaring naturally preserves the nutritional value of your produce better than many other storage methods.
Step 1: Site Selection - Location, Location, Location!
Choosing the right location is crucial for a successful root cellar design. The ideal spot should be:
- Cool: Aim for a consistently cool temperature, ideally between 32-40°F (0-4°C).
- Dark: Sunlight can degrade produce and raise the temperature.
- Humid: Most root vegetables thrive in high humidity (80-90%).
- Well-Drained: Avoid areas prone to flooding or standing water.
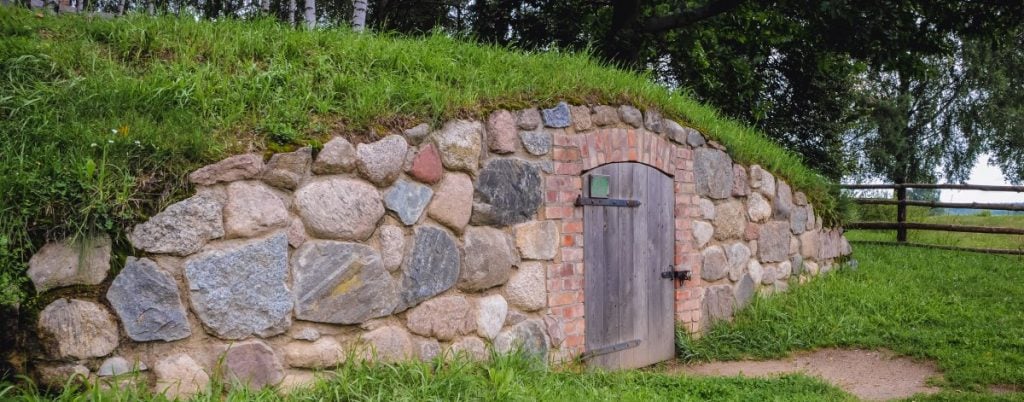
A north-facing slope is often a good choice, as it receives less direct sunlight. A partially buried or fully underground structure will naturally maintain a more consistent temperature. A corner of your basement can also work, provided you can control the temperature and humidity.
Safety First: Always check for underground utilities before digging. Call your local "Call Before You Dig" service. Wear safety glasses and gloves when working with tools and materials.
Careful site selection is essential for maintaining optimal root cellar conditions.
Step 2: Gathering Your Materials - Budget-Friendly Sourcing
One of the best things about building a budget root cellar is that you can often use reclaimed or locally sourced materials. Here are some ideas:
- Foundation: Concrete blocks, reclaimed bricks, or pressure-treated lumber.
- Walls: Reclaimed lumber, cinder blocks, straw bales, or even earthbags.
- Roof: Corrugated metal roofing, wood planks covered with earth, or a combination.
- Insulation: Straw bales, packed earth, or recycled denim insulation.
- Door: A solid wood door, ideally insulated.
- Ventilation: PVC pipes or metal ducts.
Safety First: When working with reclaimed materials, wear gloves and a dust mask. Inspect materials carefully for damage or rot before using them.
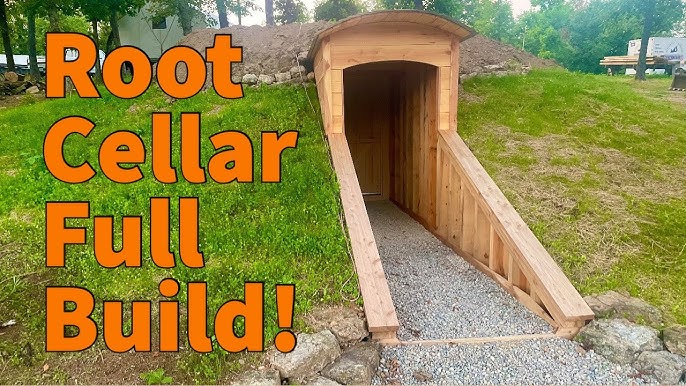
Using reclaimed materials significantly reduces the cost and environmental impact of your root cellar.
Step 3: Construction - Building Your Root Cellar (Step-by-Step)
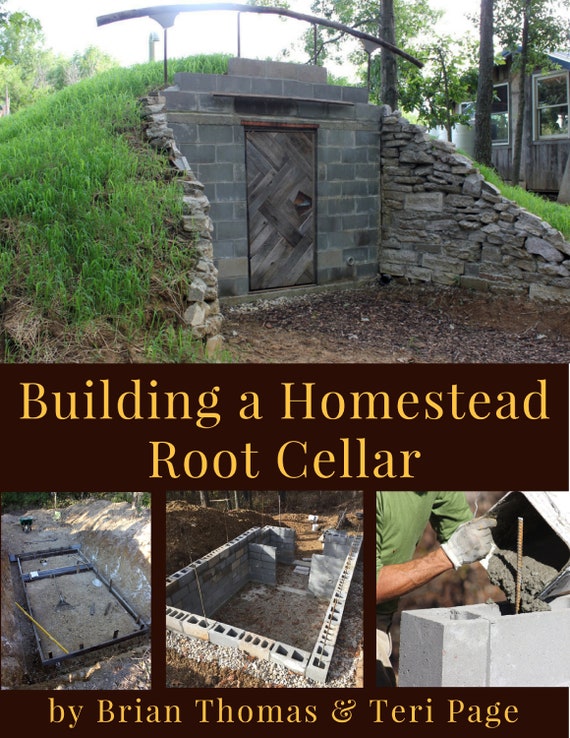
For this guide, we'll focus on a simple, partially buried root cellar design using reclaimed lumber and concrete blocks. Adapt these instructions to your specific materials and site.
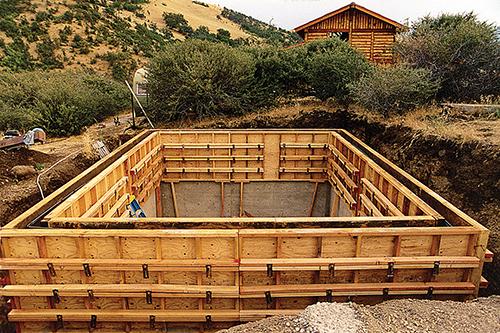
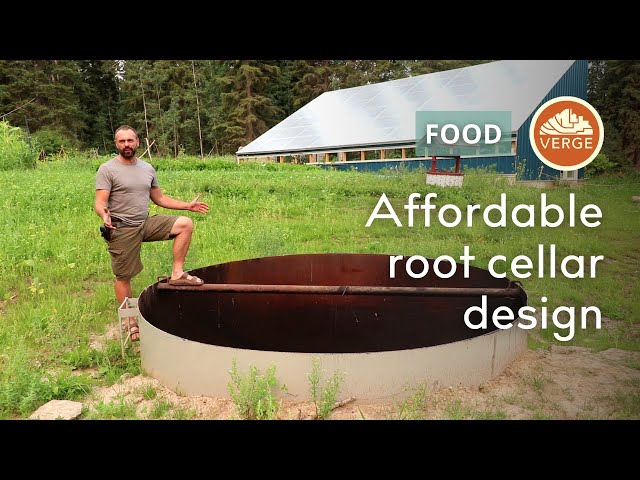
- Excavation: Dig a pit to the desired depth and size. A 6ft x 8ft structure is a good starting point for a small homestead. Make sure the walls of the pit are stable.
Safety First: Wear a hard hat and ensure the excavation site is properly shored to prevent collapse. - Foundation: Lay a foundation of concrete blocks or pressure-treated lumber. Ensure the foundation is level and square.
A solid, level foundation is essential for the stability of your root cellar. - Walls: Construct the walls using reclaimed lumber. Frame the walls with sturdy posts and beams. Ensure the walls are plumb and square. You can use cinder blocks or straw bales for the walls, but the process will vary.
Safety First: Wear safety glasses when cutting wood. Use appropriate fasteners for the type of wood you are using. - Roof: Build a roof frame using lumber. Cover the frame with wood planks, then a layer of roofing felt, followed by a layer of soil. This will provide insulation and help maintain a consistent temperature. Consider a corrugated metal roof for simpler construction, but ensure it's well-insulated.
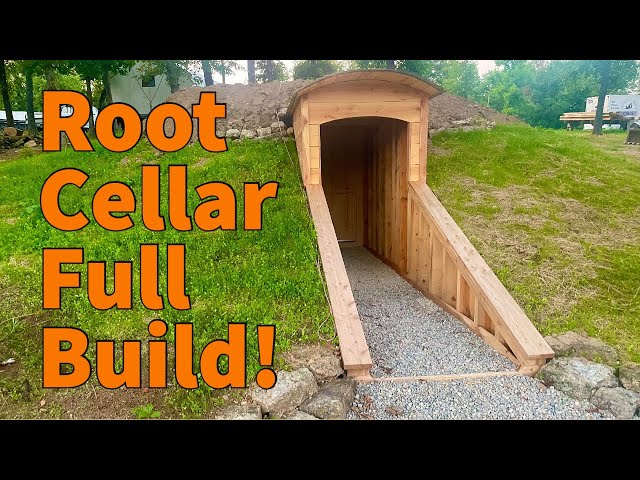
A sturdy, well-insulated roof is crucial for maintaining the correct temperature in your root cellar. - Door: Install a solid, insulated door. Ensure the door seals tightly to prevent drafts.
Safety First: Use appropriate hinges and latches to ensure the door is secure. - Ventilation: Install two ventilation pipes – one near the floor and one near the ceiling. This will allow for air circulation and prevent moisture buildup. Install dampers to regulate airflow.
Proper ventilation is key to maintaining optimal humidity and temperature. - Interior: Build shelves using lumber or reclaimed materials. Organize the shelves for easy access to your produce.
Step 4: Finishing Touches - Optimizing for Storage
- Insulation: Insulate the walls and roof with straw bales, packed earth, or recycled denim insulation.
- Humidity Control: Place a container of water in the root cellar to increase humidity. Monitor the humidity levels with a hygrometer. You might need a dehumidifier if your cellar gets too damp.
- Temperature Monitoring: Use a thermometer to monitor the temperature. Adjust ventilation as needed to maintain the ideal temperature range.
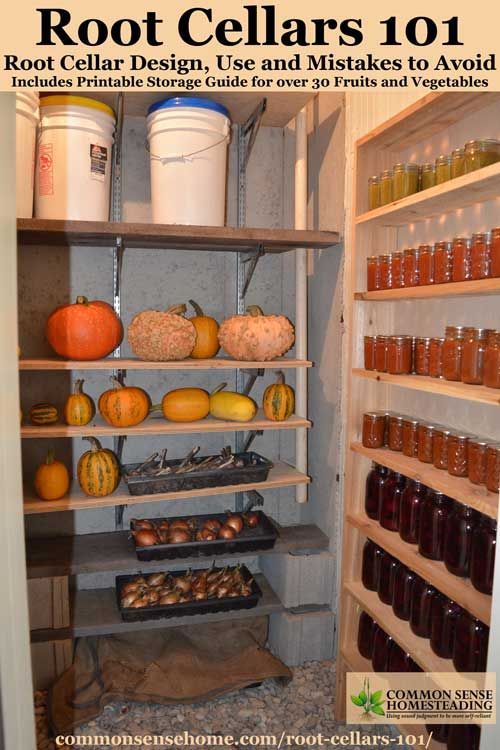
Organized shelving makes it easy to store and access your produce.
Step 5: Storing Your Harvest - What to Store and How
Different vegetables require different storage conditions. Here are some general guidelines:
- Cool and Moist: Potatoes, carrots, beets, turnips, parsnips, apples, and pears. Store these in bins or crates with damp sand or sawdust to maintain humidity.
- Cool and Dry: Onions, garlic, and pumpkins. Hang onions and garlic in mesh bags.
Onions and garlic thrive in cool, dry conditions.
Tips for Maintaining Optimal Conditions
- Regularly check your produce for signs of spoilage. Remove any damaged or rotting items to prevent them from affecting the rest of your harvest.
- Monitor temperature and humidity levels and adjust ventilation as needed.
- Consider adding a layer of gravel to the floor to improve drainage.
- Keep the root cellar clean to prevent mold and pests.
Estimated Cost Savings
The cost of building a root cellar can vary depending on the materials you use. However, by utilizing reclaimed and locally sourced materials, you can significantly reduce the cost. We estimate that you can build a functional root cellar for under $500. This investment can pay for itself within a few years through reduced grocery bills and decreased food waste. Think of all the fresh produce you'll enjoy throughout the winter!
Ready to Get Started?
Building a DIY root cellar is a rewarding project that will empower you to become more self-sufficient and extend your harvest all winter long. Don't be intimidated by the process. Take it one step at a time, and remember to utilize the resources available to you. Check out these other helpful articles on Better Homes and Harvests: [Gardening Tips for Beginners](insert gardening tips url here), [The Ultimate Guide to Composting](insert composting guide url here), and [DIY Projects for a Sustainable Homestead](insert diy projects url here).
A variety of vegetables can be successfully stored in a well-maintained root cellar.
We encourage you to start planning your own homesteading root cellar today! Share your progress or questions in the comments below. What are you hoping to store in your root cellar? Share this post with your fellow homesteaders!