Build Your Own Homestead Compost Bin: A Beginner's Guide to Black Gold
Are you ready to take your homesteading journey to the next level? One of the most rewarding – and surprisingly simple – ways to boost your self-sufficiency is through composting. Not only does it reduce your waste stream, but it also creates nutrient-rich "black gold" to supercharge your garden. I remember when I first started composting. Honestly, I was intimidated. I thought it would be messy, complicated, and frankly, smelly. But after a little research and a whole lot of determination, I built my first compost bin, and I haven't looked back since. The difference in my garden's health and yield was astounding. Now, I'm excited to share what I’ve learned with you, so you can create your own compost bin system for efficient waste management. Let's get started!
Why Compost? The Benefits of Turning Trash to Treasure
Before we dive into the how-to, let's talk about the why. Composting offers a multitude of benefits for the beginner homesteader:
- Reduces Waste: Diverts food scraps and yard waste from landfills, shrinking your environmental footprint.
- Enriches Soil: Creates a natural fertilizer packed with nutrients, improving soil structure and water retention.
- Saves Money: Reduces the need for expensive chemical fertilizers.
- Promotes Sustainability: Closes the loop in your homestead ecosystem.
- Improves Plant Health: Healthier soil leads to healthier, more productive plants.
Choosing the Right Compost Bin: A System for Success
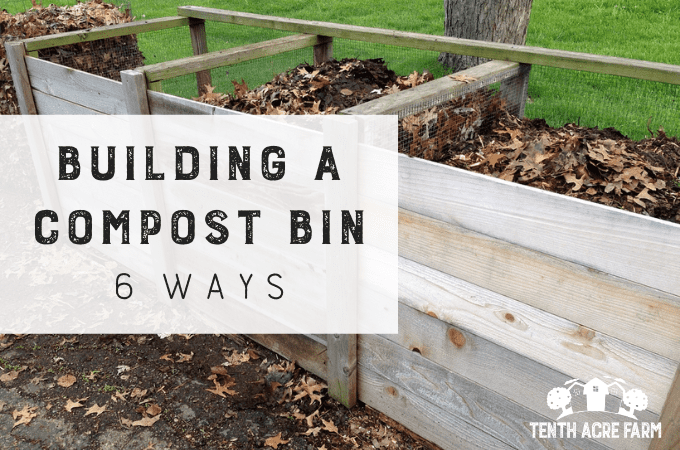
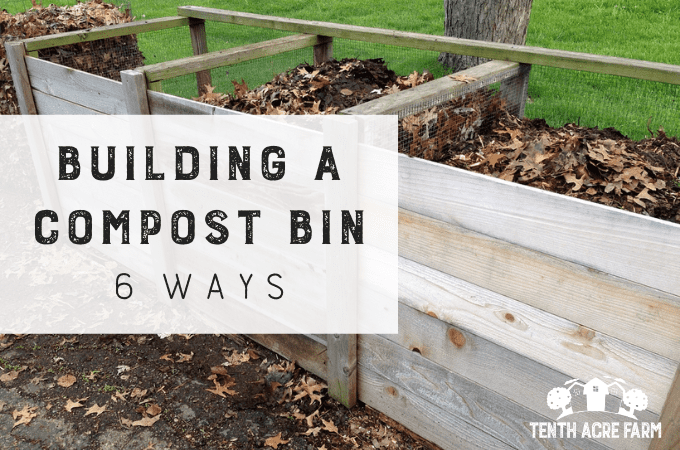
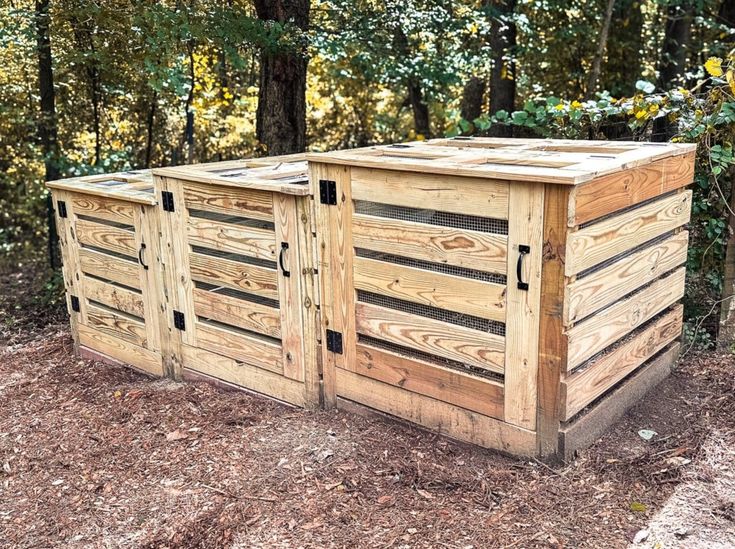
There are several types of compost bins to choose from, but for the motivated beginner, a simple three-bin system is an excellent choice. This method allows for continuous composting, ensuring you always have a batch of "black gold" ready for your garden. Don't worry, it's easier than it sounds! We’ll be building three separate bins side-by-side.
Materials List: Keeping it Budget-Friendly
Here’s what you’ll need to construct your three-bin compost system. This design uses readily available lumber and is designed to be as budget-friendly as possible. Prices are estimates and may vary depending on your location.
- Lumber:
- Twelve 2x4 boards (8 feet long): Approximately $60
- Nine 1x6 boards (8 feet long): Approximately $50
- Hardware:
- 3-inch exterior wood screws: Approximately $15
- 2-inch exterior wood screws: Approximately $10
- Heavy-duty hinges (6 total): Approximately $20
- Latches (3 total): Approximately $10
- Tools:
- Circular saw or hand saw
- Drill with drill bits
- Measuring tape
- Pencil
- Safety glasses
- Gloves
- Level
Total Estimated Cost: Approximately $165
Where to Buy: Most of these materials can be found at your local hardware store (Home Depot, Lowe's, Ace Hardware). You can often find lumber on sale, or even use reclaimed wood to further reduce costs.
Step-by-Step Instructions: Building Your Compost Empire
Ready to get your hands dirty? Follow these detailed instructions to build your three-bin compost system:
Step 1: Planning and Preparation
- Choose a level, well-drained location for your compost bins. A spot that receives partial sun is ideal.
- Clear the area of any debris, rocks, or vegetation.
- Gather all your materials and tools.
Step 2: Building the Frames
- Cut the 2x4s to create the frames for each bin. You'll need the following cuts for each bin:
- Four pieces at 4 feet long (for the sides)
- Four pieces at 3 feet long (for the front and back)
- Assemble the frame for each bin by attaching the 2x4s with 3-inch wood screws. Ensure the corners are square. Use a level to ensure each frame sits flat.
Step 3: Adding the Siding
- Cut the 1x6 boards to fit the sides, front, and back of each bin frame. You will need roughly five boards per side, front, and back, depending on the exact width of your 1x6s.
- Attach the 1x6 boards to the outside of the 2x4 frames with 2-inch wood screws, leaving small gaps between the boards for ventilation. This is crucial for proper aeration of your compost pile.
Step 4: Constructing the Front Doors
- For each bin, you'll create a door that spans the front opening.
- Measure the width and height of the front opening of each bin.
- Cut 1x6 boards to fit the opening, leaving a small gap for easy opening and closing.
- Attach the boards together using 2x4 scraps as supports on the back of the door, securing them with 2-inch screws.
- Attach two hinges to the bottom of each door and then to the frame of the bin.
- Install a latch at the top of each door to keep it securely closed.
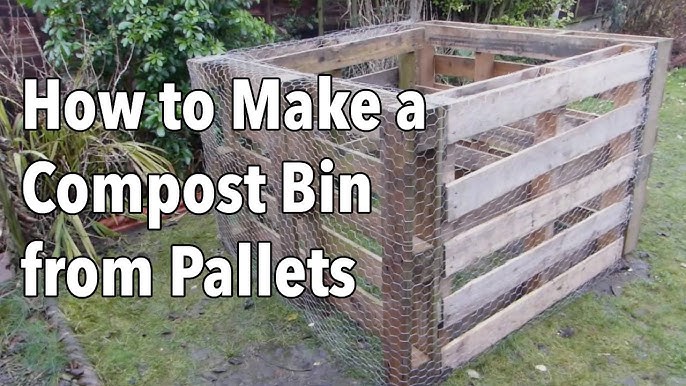
Step 5: Assembling the Three-Bin System
- Position the three bins side-by-side, ensuring they are level and aligned.
- Attach the bins to each other using 2x4 scraps and 3-inch wood screws. This will provide stability and prevent the bins from shifting.
Step 6: Finishing Touches
- Inspect the entire structure for any sharp edges or loose screws.
- Sand down any rough spots to prevent splinters.
- Consider applying a non-toxic wood sealant to protect the bins from the elements and extend their lifespan.
Using Your Compost Bin System: Turning Waste into Wonder
Now that your compost bin system is built, it's time to start composting! Here's how to use the three-bin system effectively:
- Bin 1 (Fresh): This is where you'll add your fresh "greens" (nitrogen-rich materials like food scraps, grass clippings) and "browns" (carbon-rich materials like dried leaves, straw, cardboard). Aim for a 1:1 or 2:1 ratio of browns to greens.
- Bin 2 (Cooking): Once Bin 1 is full, move the contents to Bin 2 to continue composting. Turn the pile regularly (every few days) to aerate it and speed up decomposition.
- Bin 3 (Curing): When Bin 2 is nearly full or you need compost, move the contents to Bin 3 to cure. Curing allows the compost to fully break down and stabilize, resulting in a richer, more beneficial end product.
Troubleshooting Tips: Addressing Common Composting Challenges
- Smelly Compost: This usually indicates a lack of oxygen. Turn the pile more frequently and add more "browns" to improve aeration.
- Compost is Too Wet: Add more "browns" like shredded cardboard or dried leaves to absorb excess moisture.
- Compost is Too Dry: Add water to the pile until it's damp like a wrung-out sponge.
- Compost is Not Decomposing: Ensure you have a good balance of "greens" and "browns" and that the pile is adequately aerated. You may also need to add a compost activator (available at garden centers).
- Pests: Avoid composting meat, dairy, and oily foods, as these can attract pests. Cover the pile with a layer of soil or leaves to deter flies.
Alternative Approaches: Adapting to Your Needs
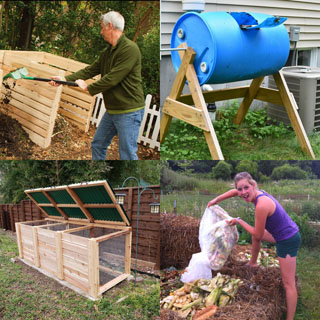
- Smaller Spaces: If you have limited space, consider building a two-bin system or using a compost tumbler.
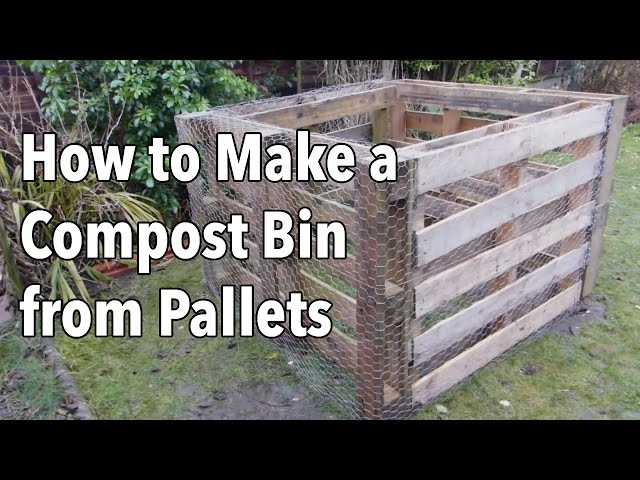
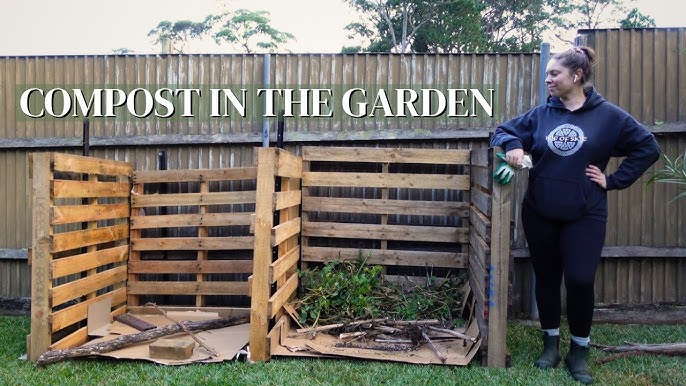
- Reclaimed Materials: Use reclaimed wood pallets or other recycled materials to build your compost bins for an even more sustainable and budget-friendly project.
- No-Dig Gardening: Integrate your compost directly into your garden beds using the "lasagna gardening" or "sheet mulching" method.
Composting Don'ts
- Meat & Dairy: Avoid these, as they attract pests and create odors.
- Oily Foods: These decompose slowly and can also attract pests.
- Diseased Plants: Don't compost plants with diseases, as this can spread the disease to your garden.
- Weeds with Seeds: These can re-sprout when you use the compost.
- Pet Waste: This can contain harmful pathogens.
Conclusion: Reap the Rewards of Your Homestead Compost
Congratulations! You've successfully built your own compost bin system and are well on your way to creating nutrient-rich compost for your garden. By composting, you're not only reducing waste and saving money, but also contributing to a healthier and more sustainable homestead. Remember, the key to successful composting is patience and experimentation. Don't be afraid to try different ratios of "greens" and "browns" and adjust your methods as needed. The rewards of your efforts will be evident in the vibrant health and productivity of your garden.
What other small homesteading projects are you tackling this season? Share your experiences and results in the comments below! Let's build a thriving community of self-sufficient homesteaders, one compost bin at a time!